After Effects
This was my first time using After Effects and it was actually a really enjoyable experience. We got to use multiple techniques and tricks for this including the pin tool and the 3D effect. I think this was my favourite ComVis lesson as I learnt a lot and everything I took from this I used in my final animation.
We learnt about how to use the different layers of each image by turning on 3D and manipulating the images (scale, position etc). We also learnt how to use the pin tool, that is how I made Kong move from left to right but in a fixed position so it's like he is bouncing.
We also learnt some effects, like the lighting. As you can see, there are two spotlights that crossover him which I was taught to move around and change colours on.
Generally, this lesson was awesome.
|
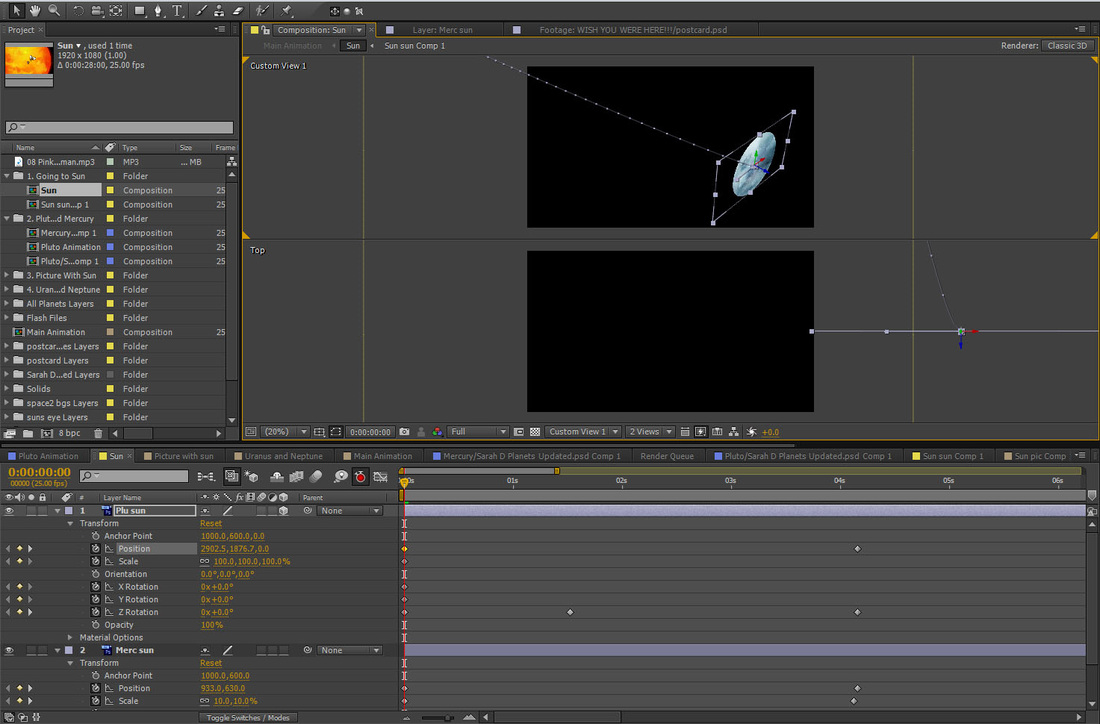
The manipulation of each planet I had was something I learnt from the Kong lesson. Above is a video showing the movement of mercury and pluto that was then used in my final piece. I used rotation, scale and position manipulations to give the circles life.
|
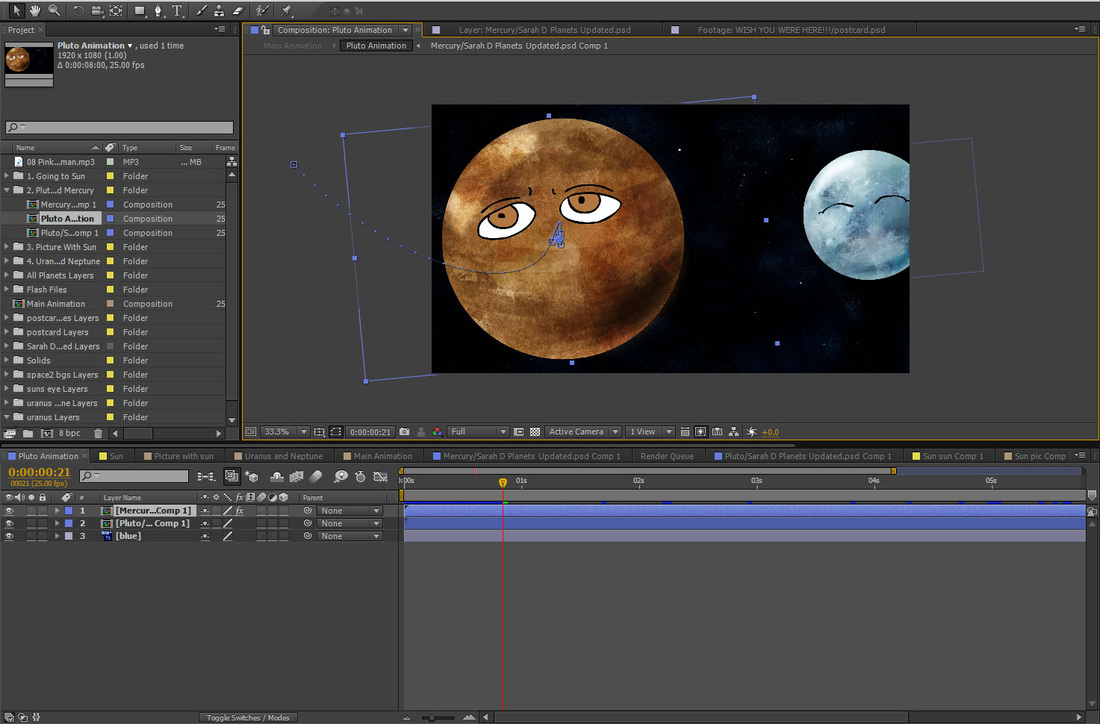
Also, I learnt about pre compositions and how I could import flash files onto pre comps. This was how I did the eyes in the end.
|
Here are a few images I used on the final piece, working in After Effects. Thanks to the Kong lesson, I learnt about making 3D space (fig 1) and general movement (fig 2).
Warp Stabilizer on After Effects
I actually missed this lesson, but I thought I should catch up so I made these after discovering what the lesson was about. The first video shows two videos with really shaky camera sequences. The Warp Stabilizer effectively takes away as much shake as it can, stabilizing the video for better viewing.
The second video shows the scene as still thanks to the warp stabilizer and I made it black and white because I wanted to test the features on After Effects. The third video I also stabilized and I tried out some other effects including glow and blur. To be honest, the third video didn't come out the way I intended, but I think the warp stabilizer method worked perfectly for the other video.
The second video shows the scene as still thanks to the warp stabilizer and I made it black and white because I wanted to test the features on After Effects. The third video I also stabilized and I tried out some other effects including glow and blur. To be honest, the third video didn't come out the way I intended, but I think the warp stabilizer method worked perfectly for the other video.
|
|
|
|
Flash
Here are some SWF files of the eyes I added onto my planets. This was really fun to do on flash as I got to draw frame by frame.
(the images below should move... I hope)
(the images below should move... I hope)
|
|
|
|
Maya
This was probably the lesson I dreaded the most. Learning Maya was scary, but at the same time, very helpful. I knew this term we weren't going to be using Maya, but it was a really interesting tool to know even so early. The first introduction I had to Maya was making the city and the various shapes. Here is a quick playblast version of my city made of various shapes and the camera movement I put with it. It was actually a little difficult to get going at first as there was so much information, but I figured things out in the end.
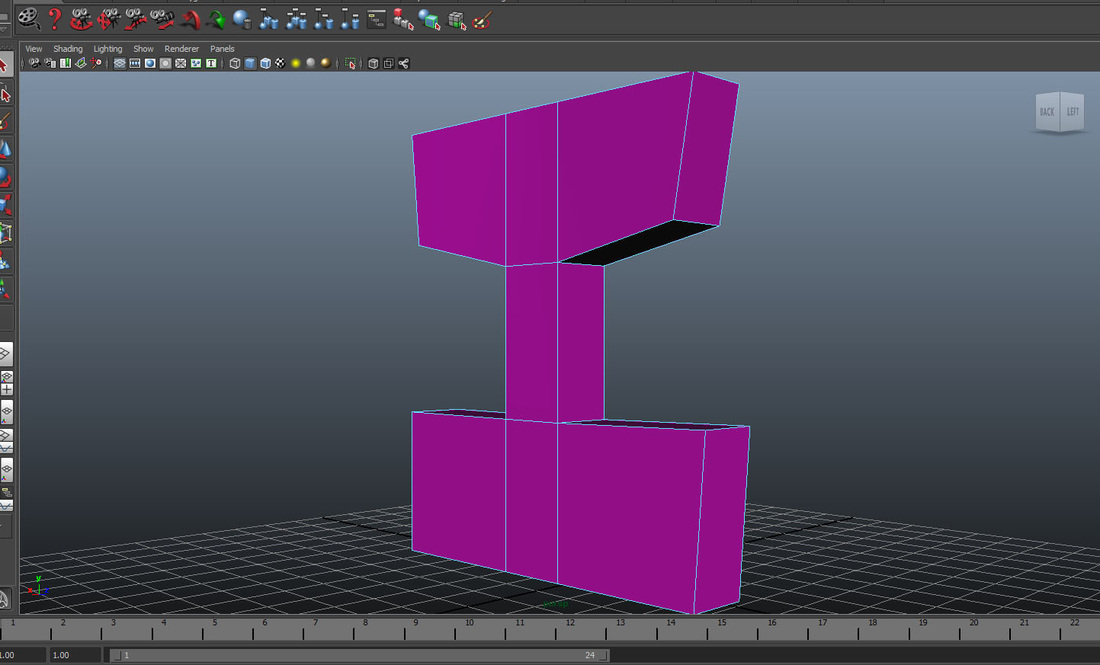
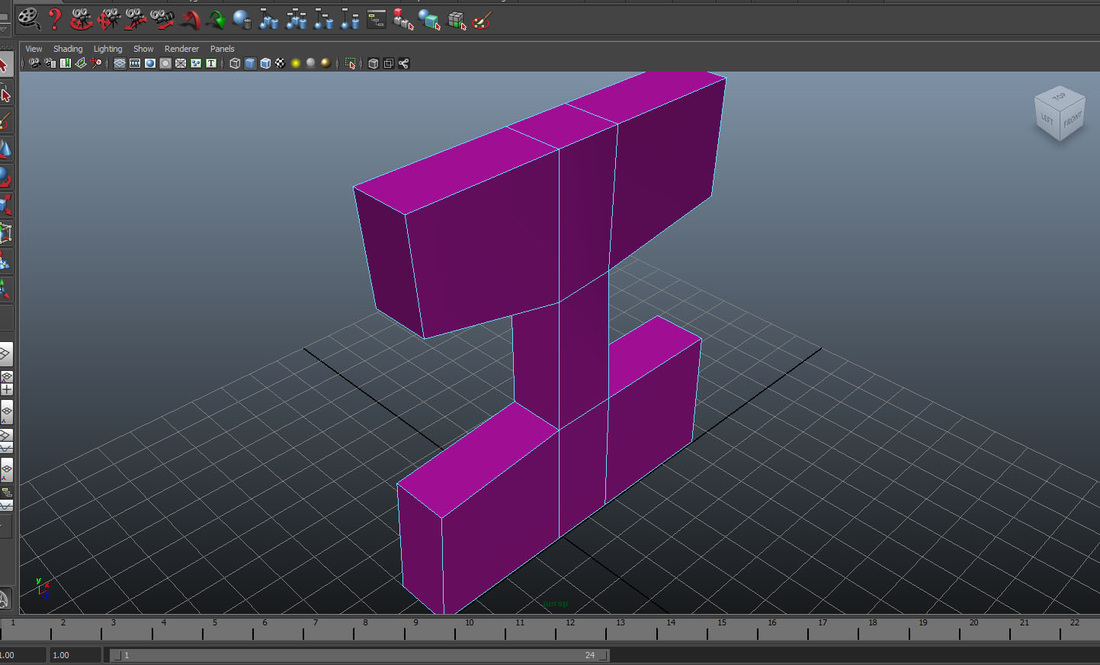
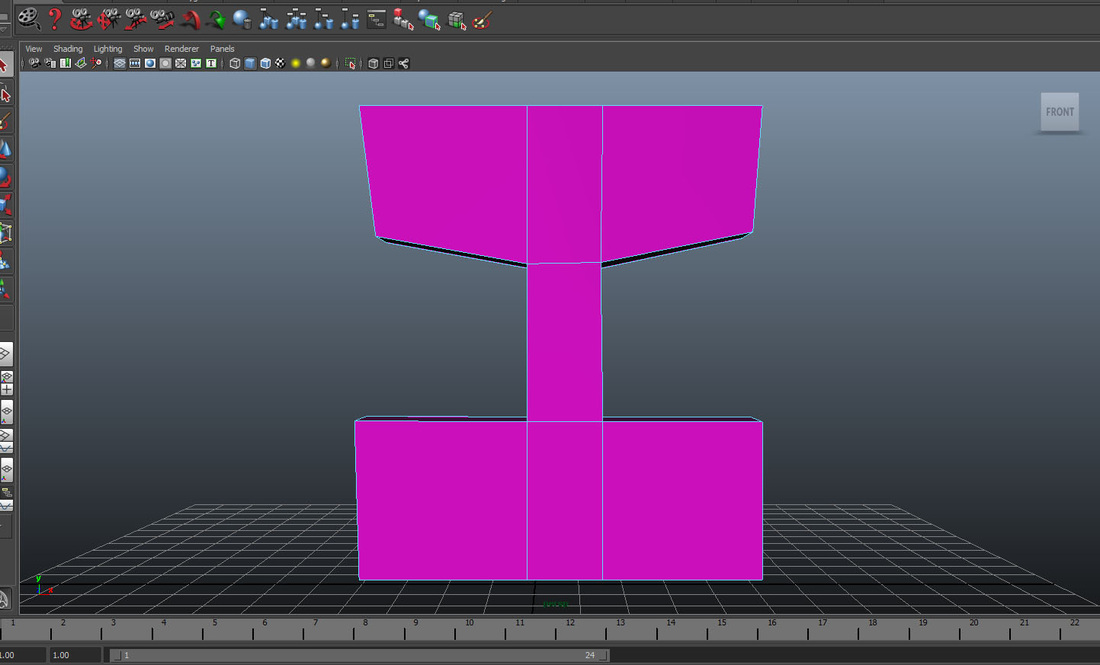
This is the letter 'I' that I made. This was the first thing I had shaped on Maya and it was really easy when I got the hung of it.
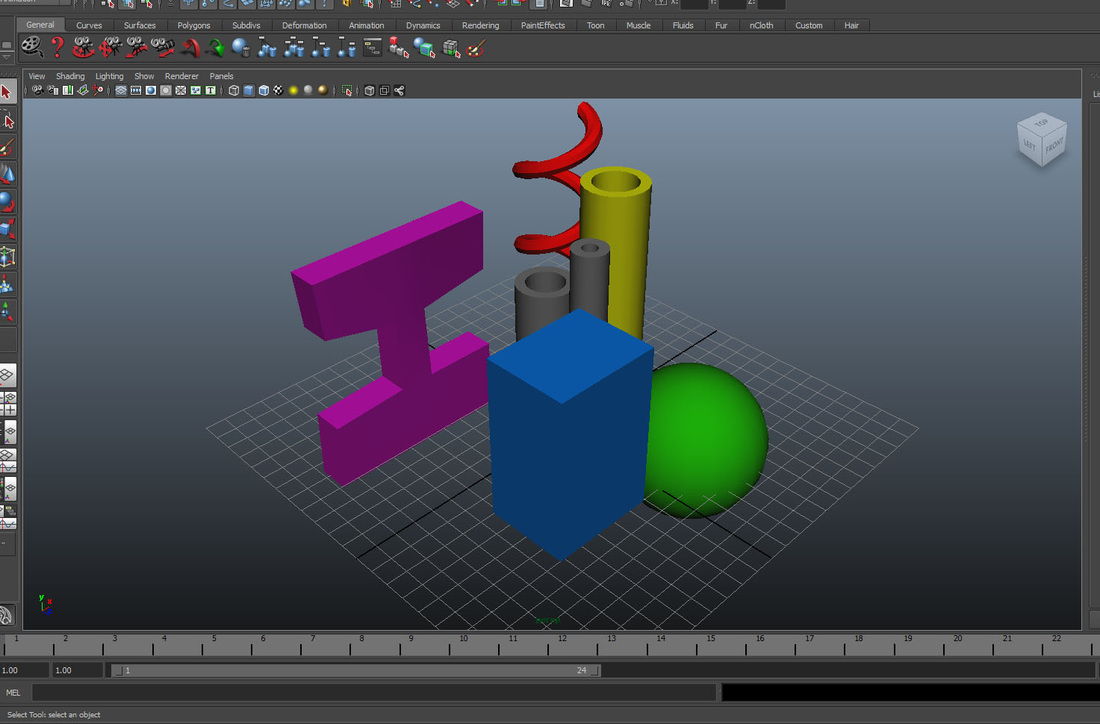
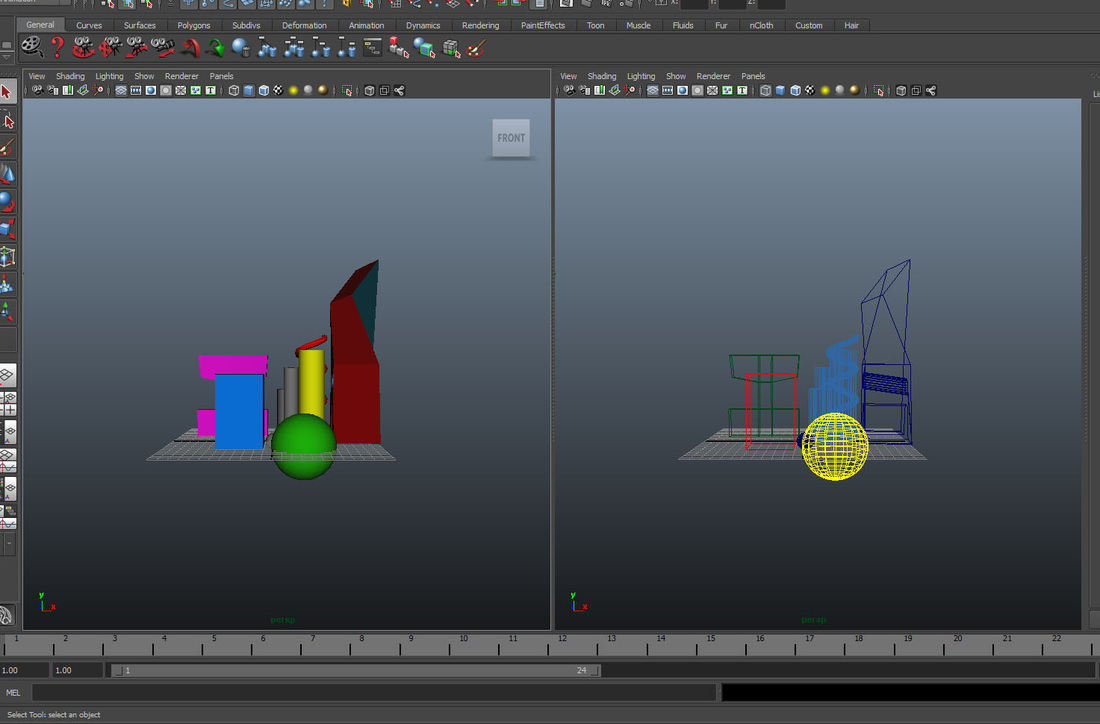
The two images above show the different shapes I used on my city.
This was another test I did when learning how to use the camera. Three parallel spheres with the camera going around all of them.
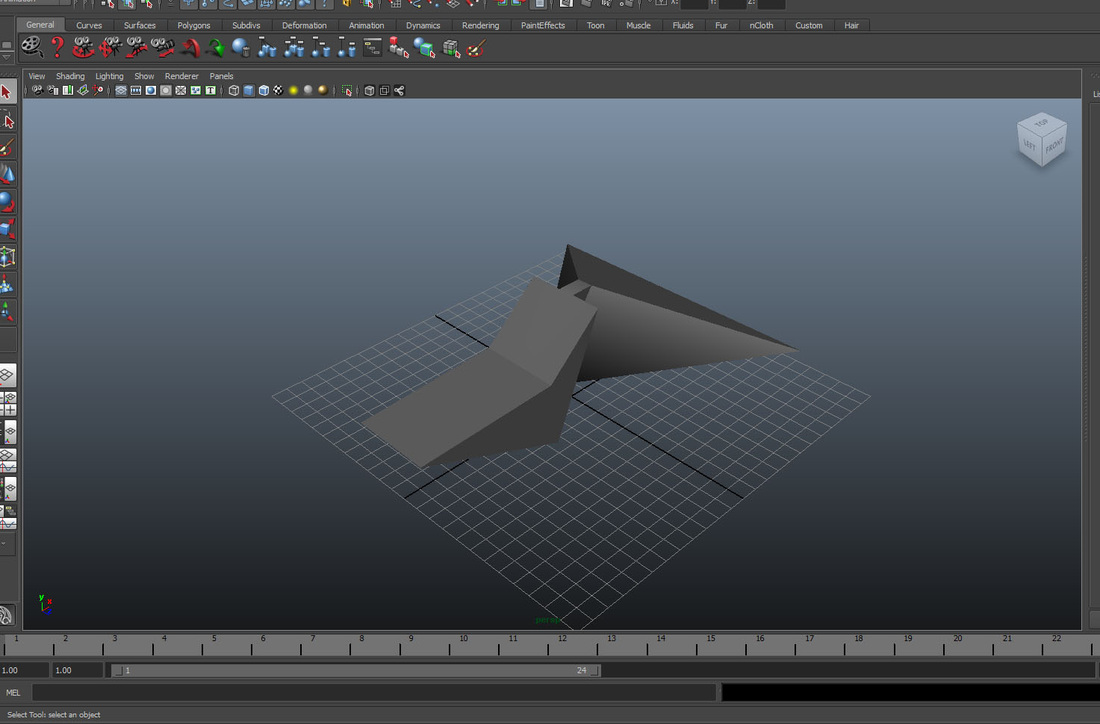
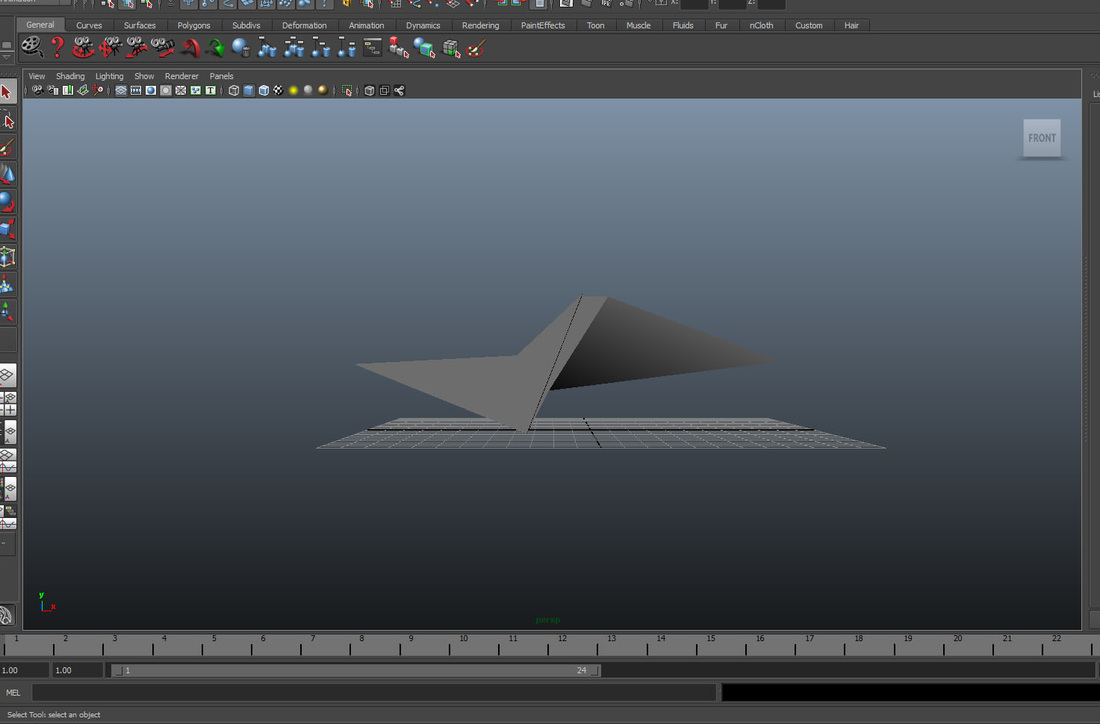
Below are images of a shape, perhaps a type of space craft that I made. It's not at all finished, but the shaping of it really taught me how to use the basic tools to manipulate each face and edge.