Colouring and LIGHTING
WEEK 4
|
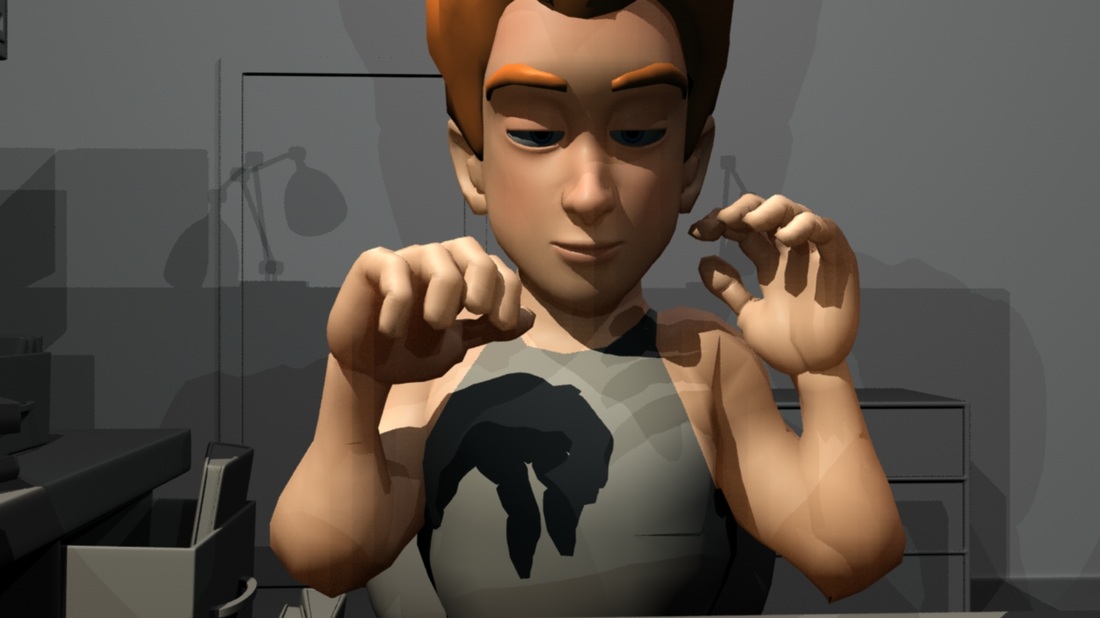
LO1 We discussed that since I could not get the same look as Niel's design for animation, that we would have a different pipeline. Niel would do rough animation, Rod would clean the lines and I would 2D colour.
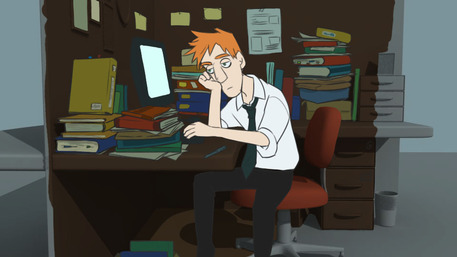
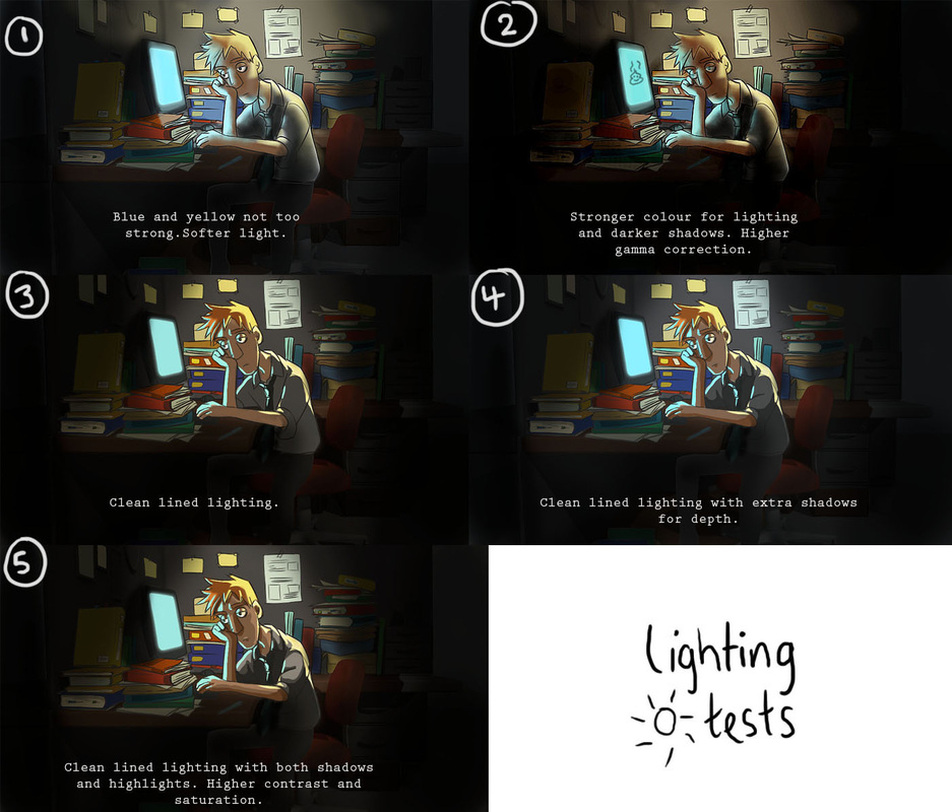
Below are some of the references from google I used and to the right is Niel's original image that I later worked on to do lighting tests. LO2 |
|


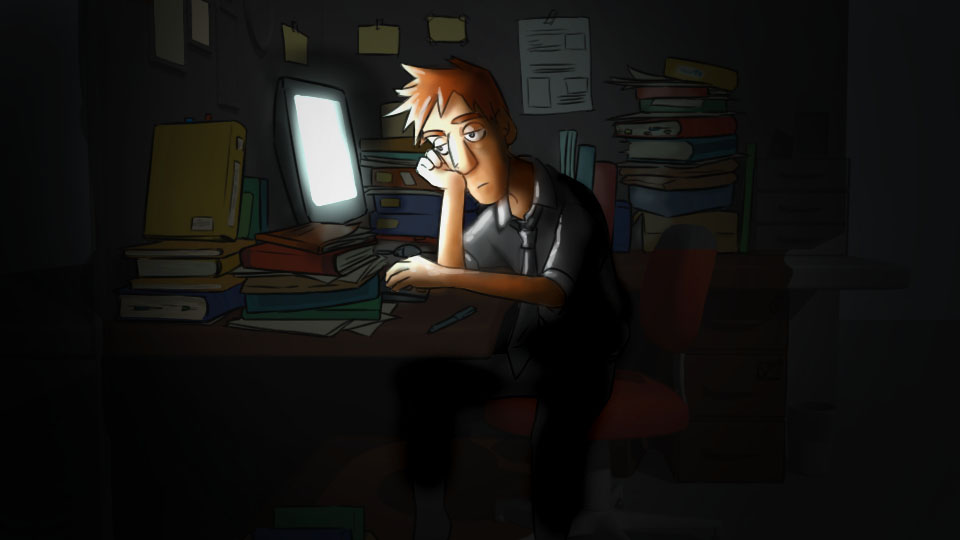
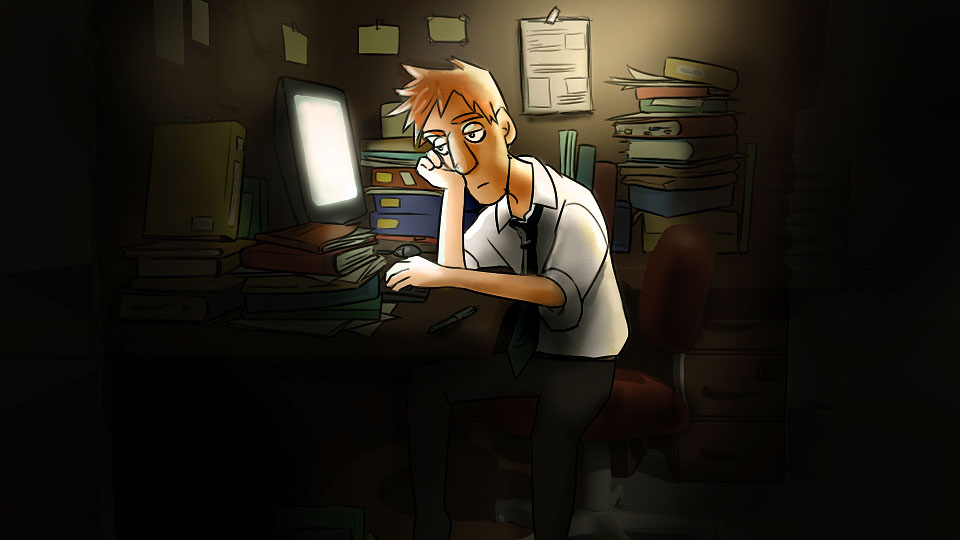
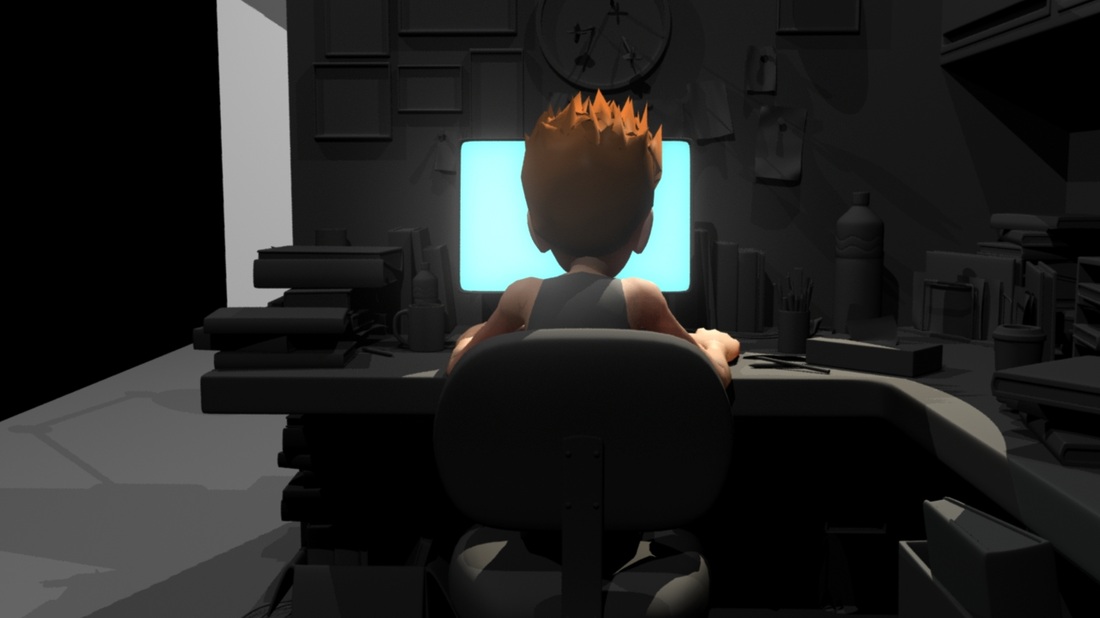
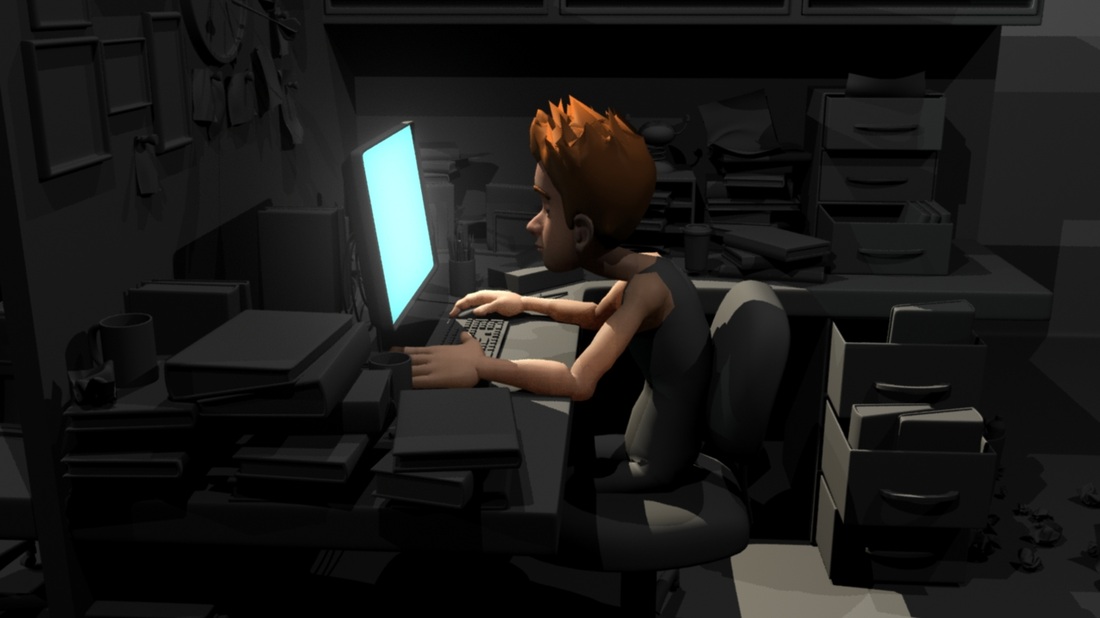
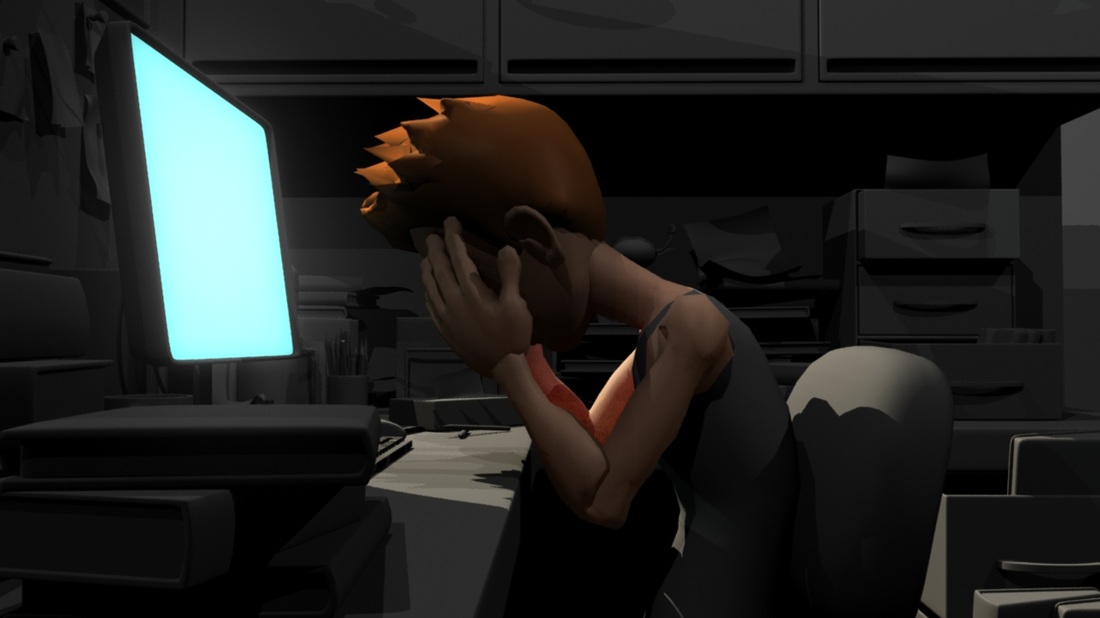
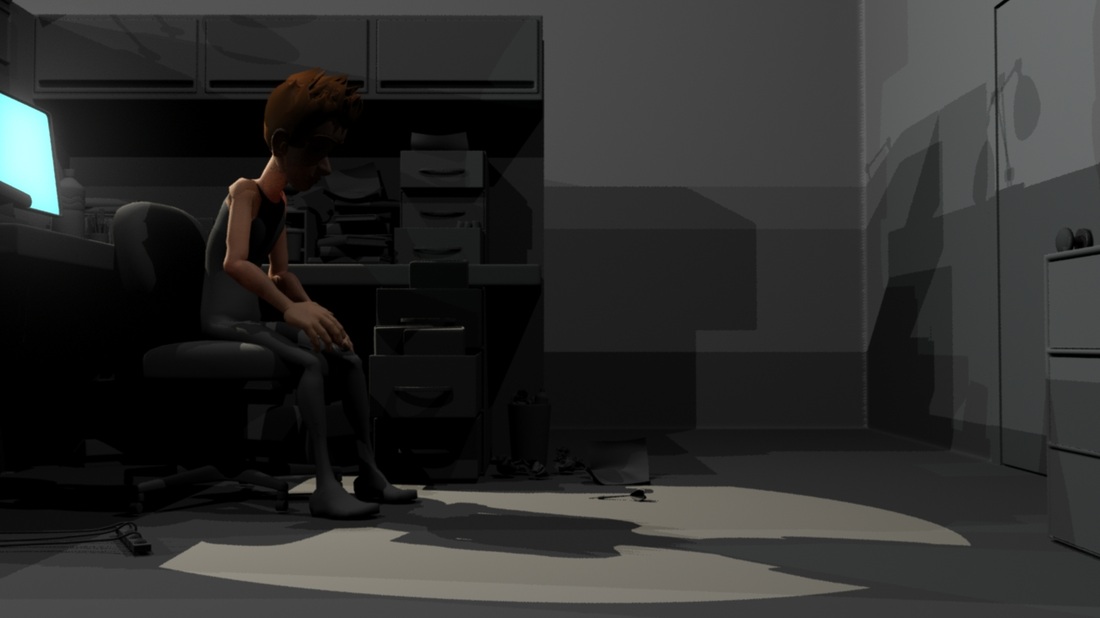
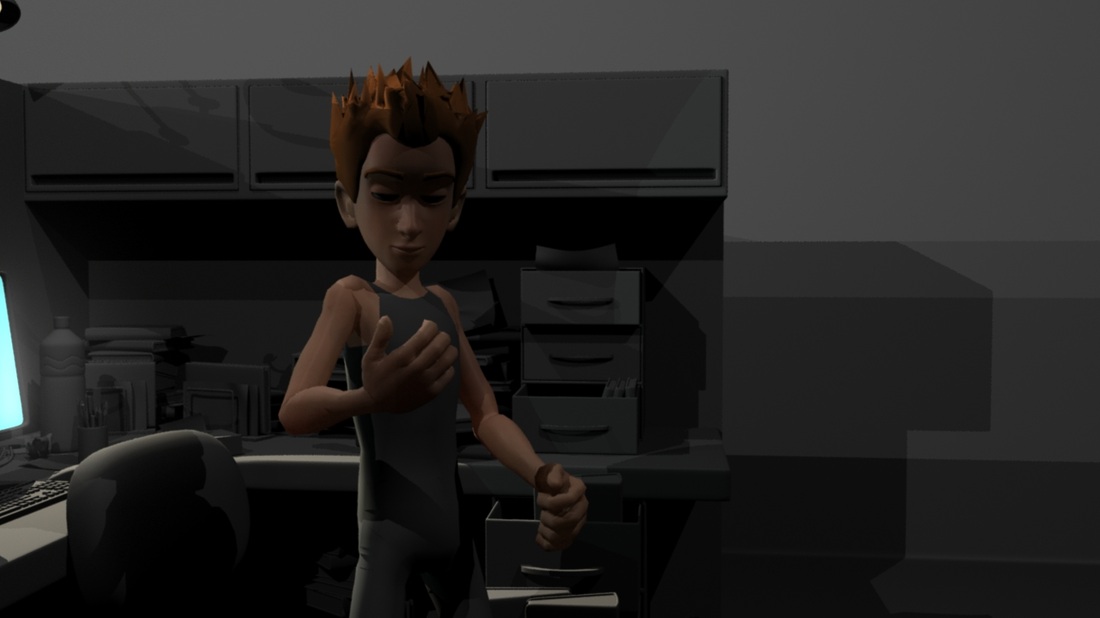
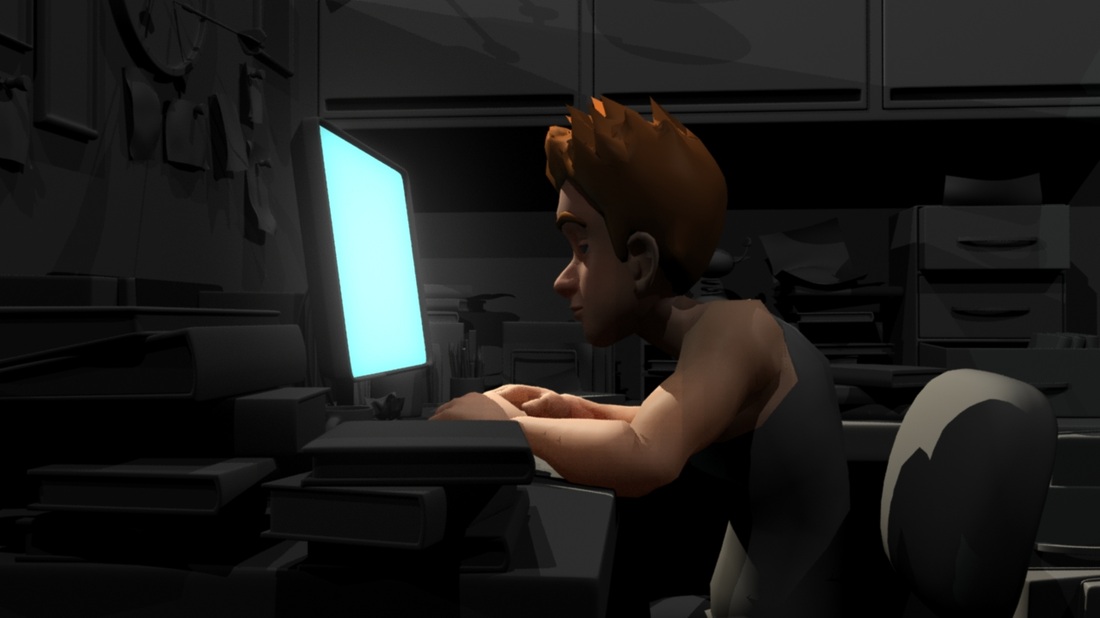
Above are the lighting tests I did of the screen light and the other with 2 light sources LO3
Niel then gave me feedback on the shots and told me exactly what she liked about the shots. She liked the second one and I decided to go with it. LO5
She also mentioned that Nadia would have a basic model for me to use for doing Morpheus tests.
Niel then gave me feedback on the shots and told me exactly what she liked about the shots. She liked the second one and I decided to go with it. LO5
She also mentioned that Nadia would have a basic model for me to use for doing Morpheus tests.
WEEK 5 and 6
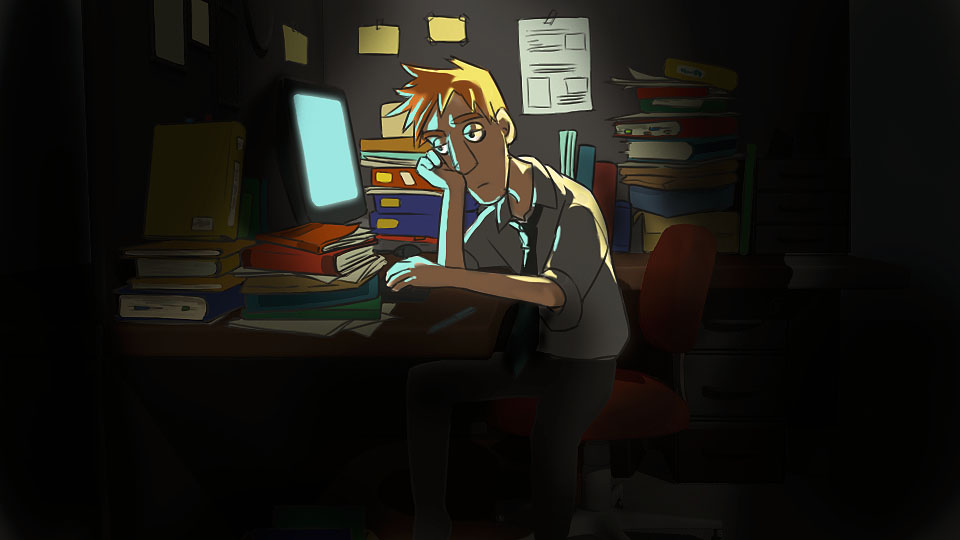
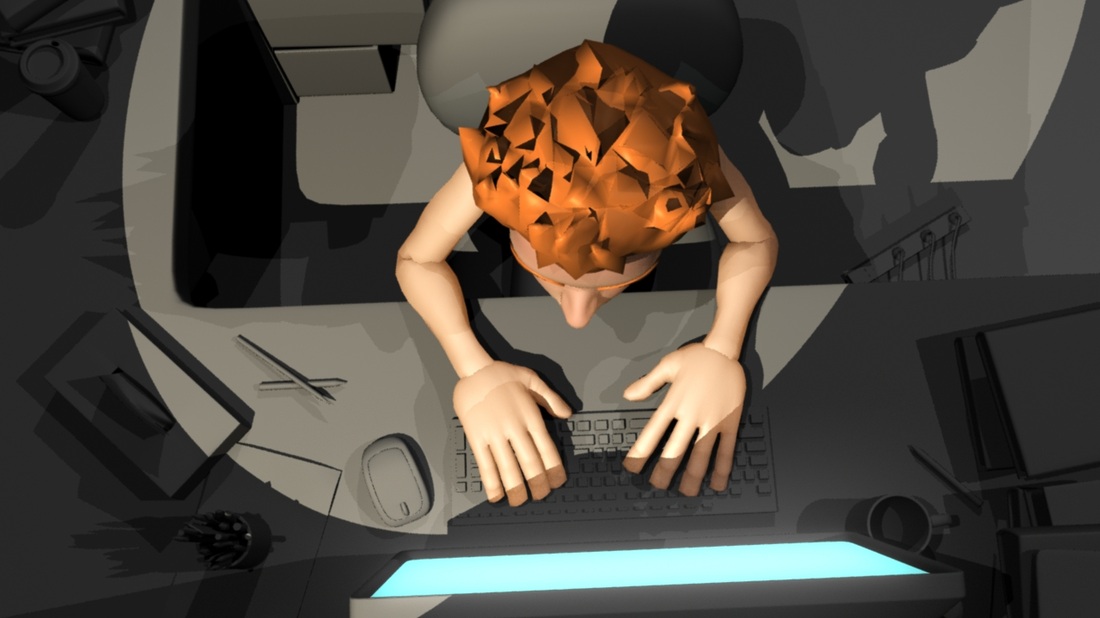
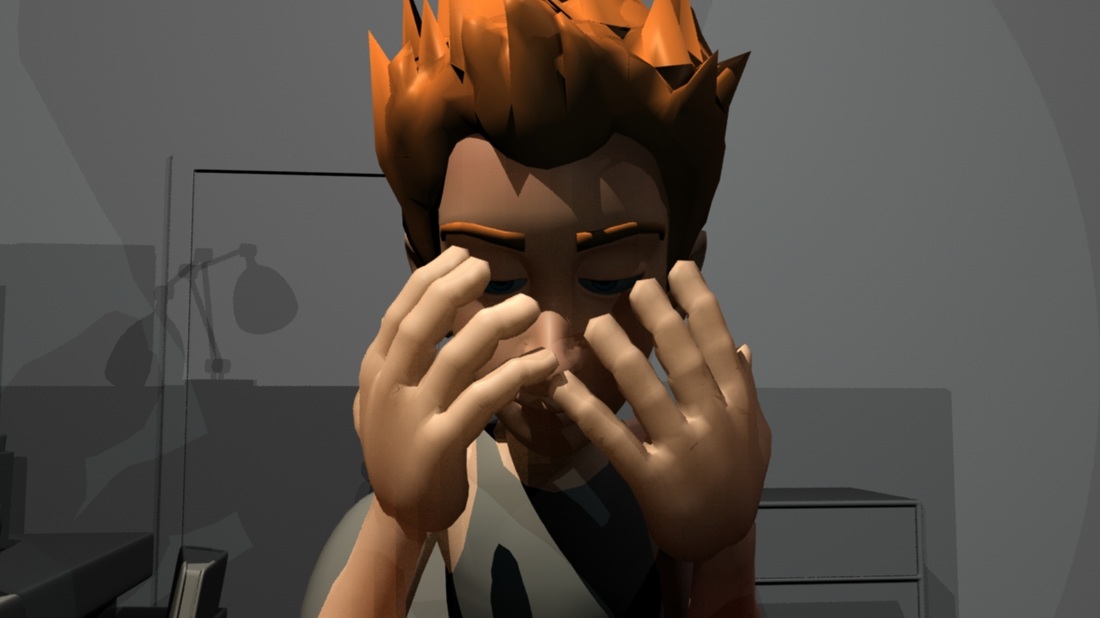
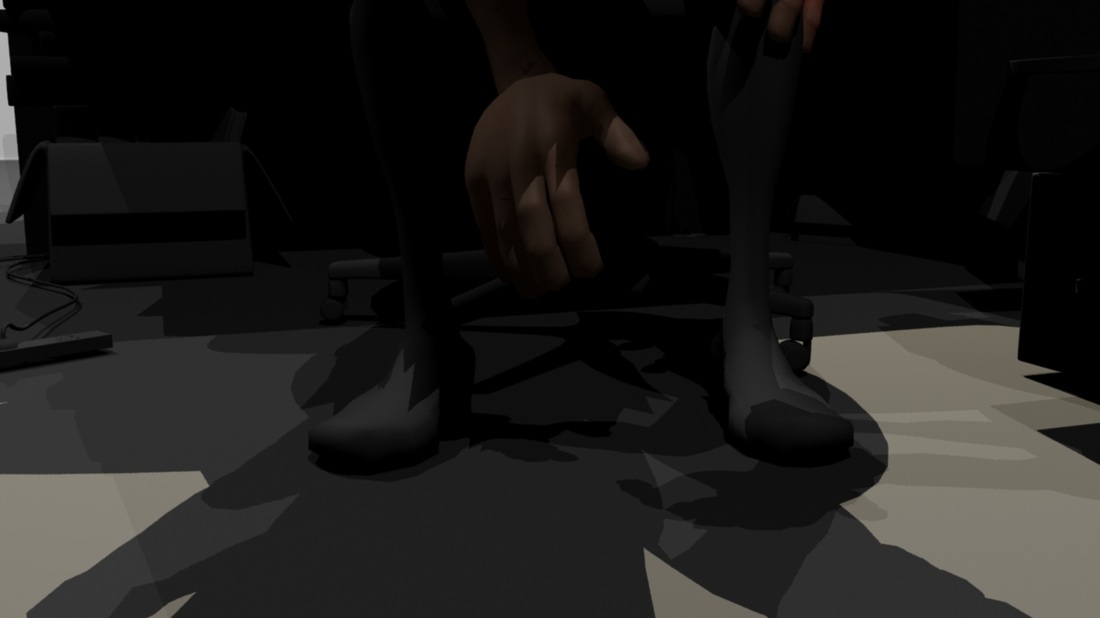
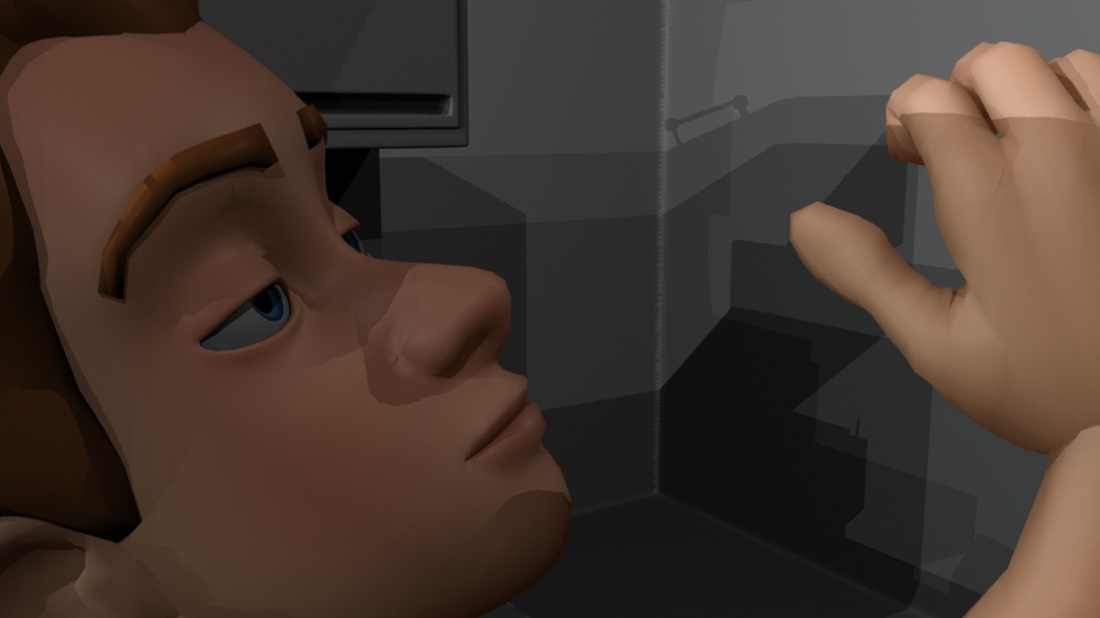
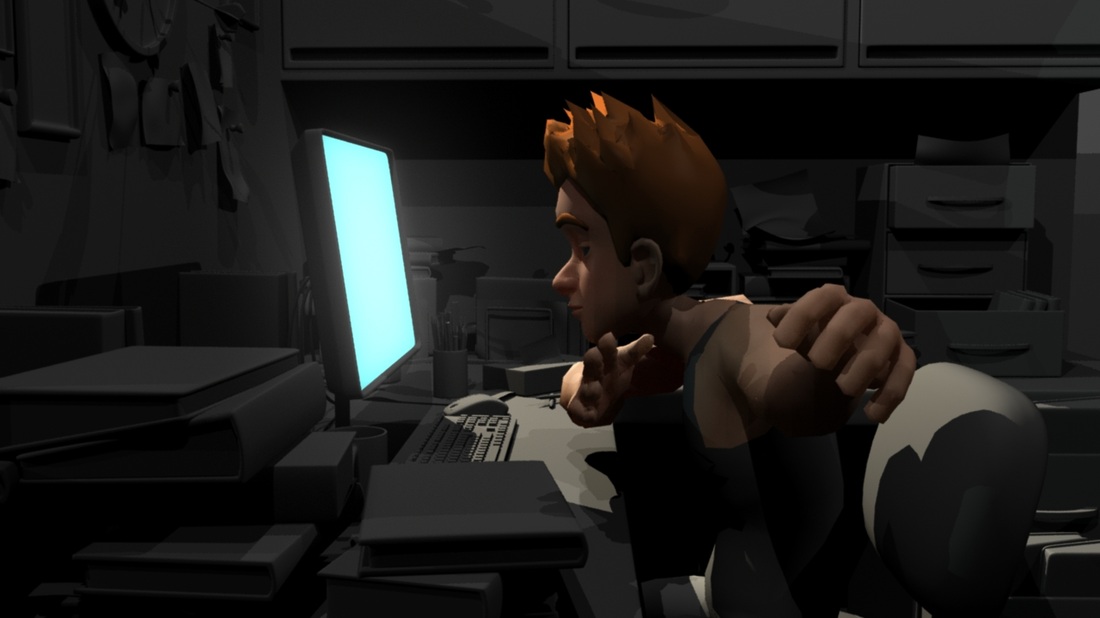
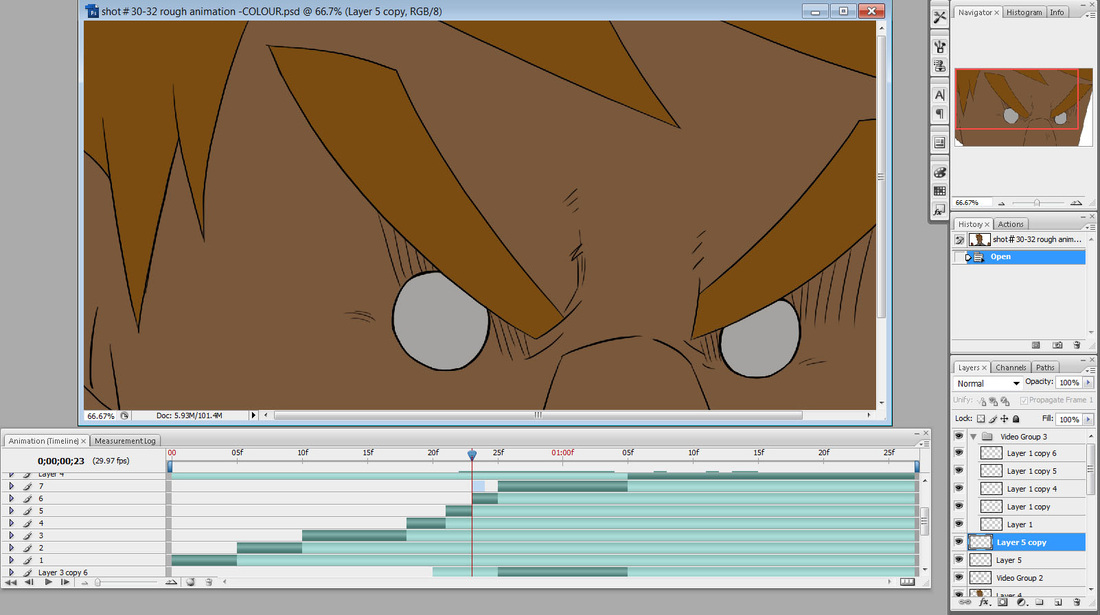
I was asked to do a few more lighting tests and these were the results below. LO3
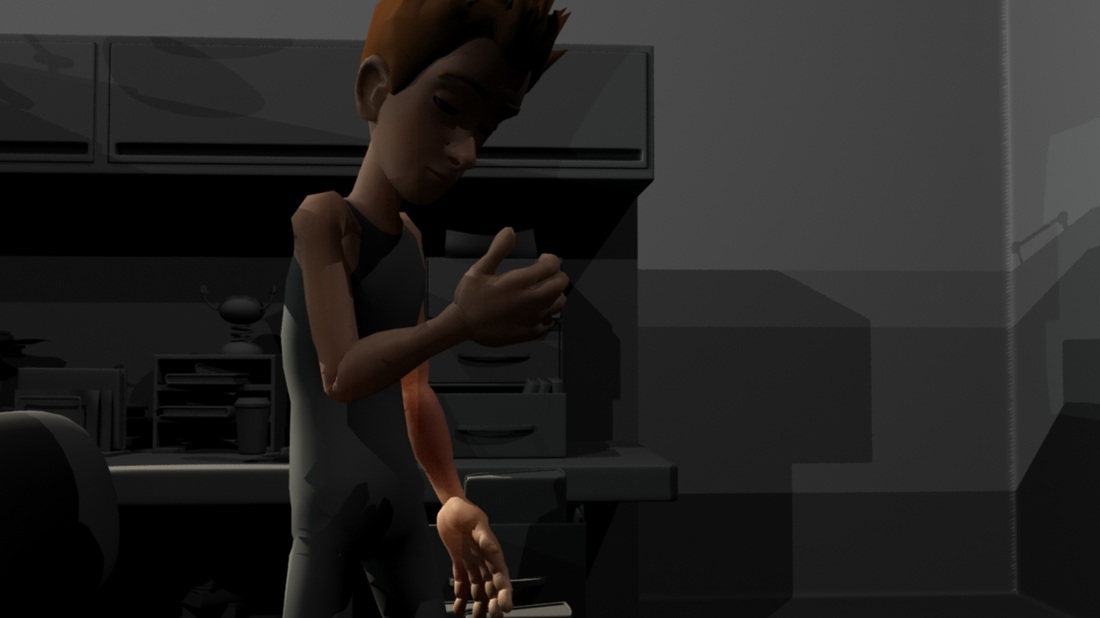
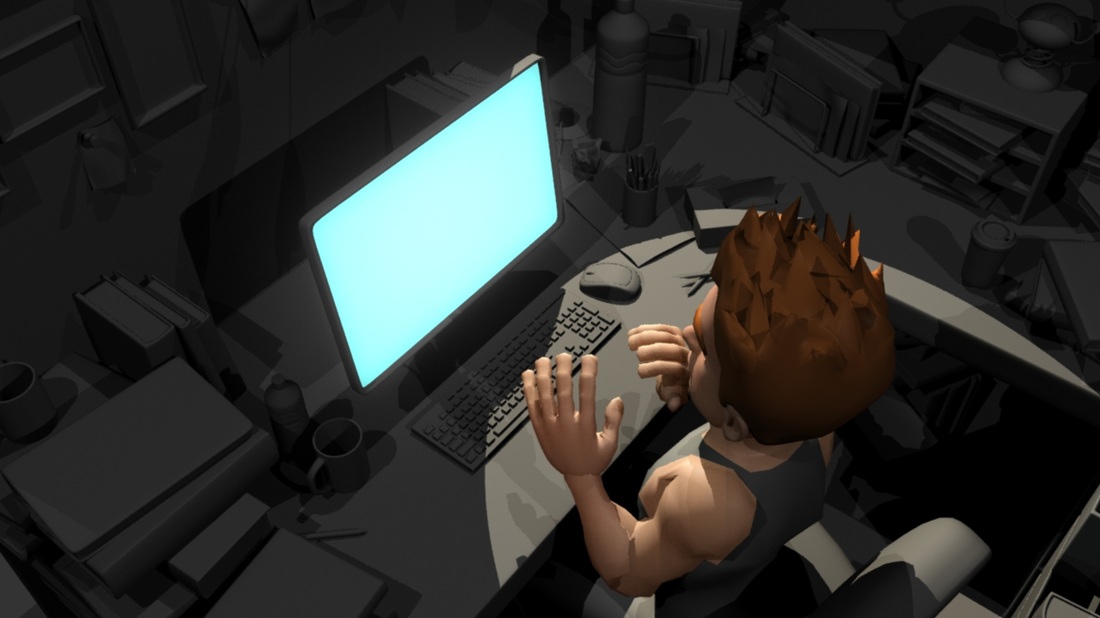
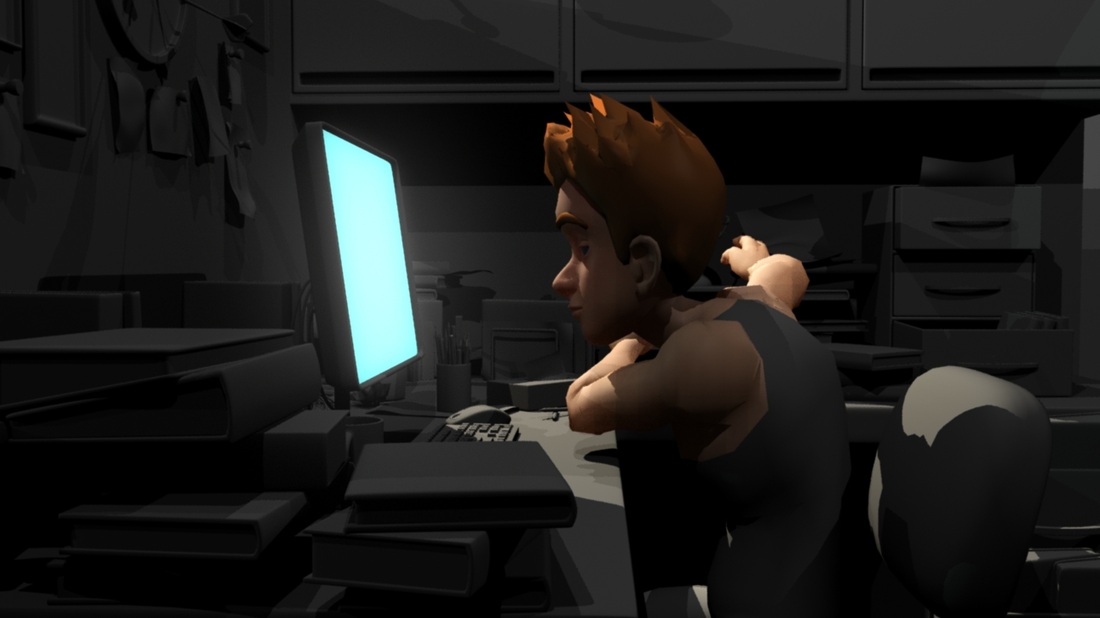
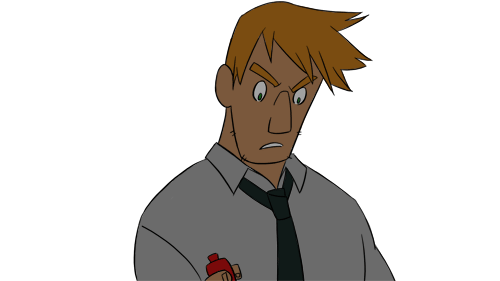
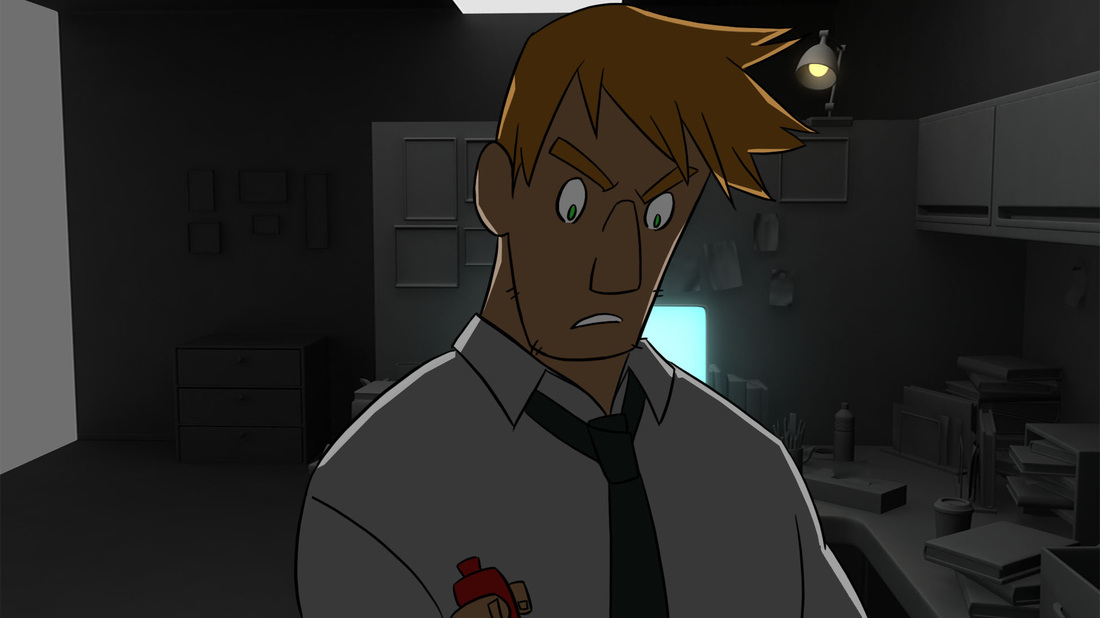
Below is the final colouring shot we diecded to go with. There is a cel-shaded lighting from both sides and the closer it is to the computer and lamp, the more coloured we will have the lights. LO4
WEEK 7
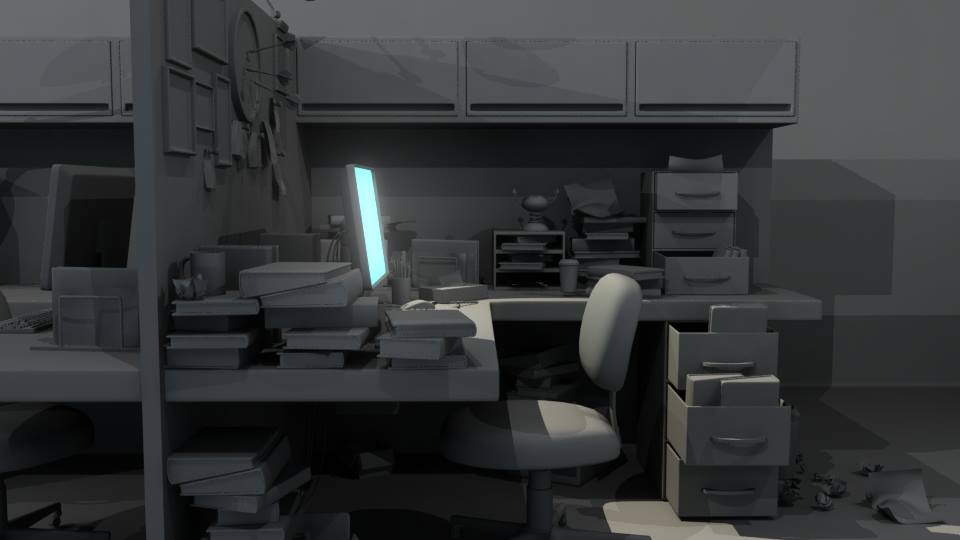
I was warned that the 3D model for the office would be a day late, thus I could not start my morpheus lighting tests, but that was okay because I was given notice. LO6
Here is Nadia's final model (without textures) for the office.
Before I was sent Nadia's model, I decided to sort out Morpheus and change his features and colours to match our character. However I ran into a few problems that we worked out between us on facebook messages (as I panicked a little). It was mainly figuring out how to use the hypershade because I had literally forgotten how to use Maya in that moment. LO5
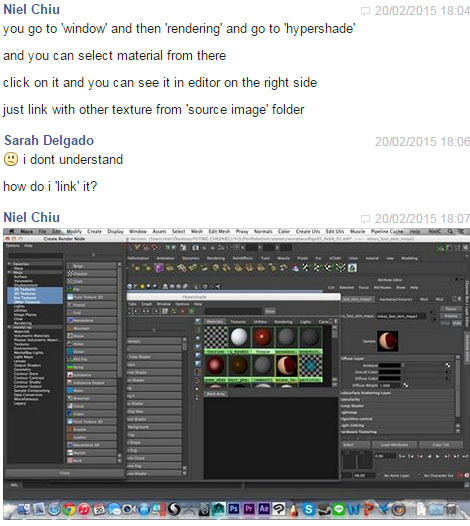
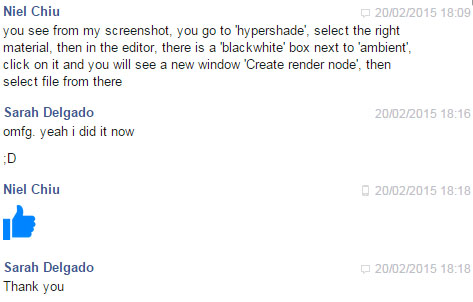
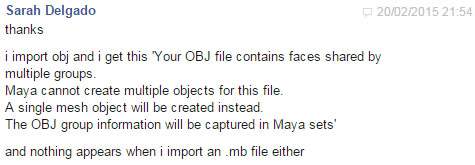
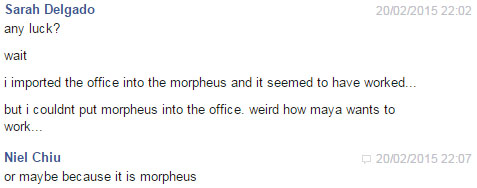
Below, I also had the problem of not being able to put Morpheus onto the scene Nadia sent. It was really confusing as I tried morpheus in a variety of formats, such as .ma and .obj but it would not import. Finally I imported the scene into the Morpheus file and somehow it worked out. LO5
These were to be used as reference images fro when we did the 2D lighting. I needed to see how the Morpheus character was lit to give me the idea of how I could draw the 2D lighting. Also, it gave us a chance to see the background in angles as actual shots. LO2 + LO3


I noticed as I lit that the lighting was so dark when the character was away from the desk area. I was worried that even if I made the 2D characters a bit lighter, it would look odd in the shot that was too dark. I mentioned this to Niel and Nadia and it was agreed that Nadia would go and change the lighting a bit more to light up the entire scene a bit more.
WEEK 8
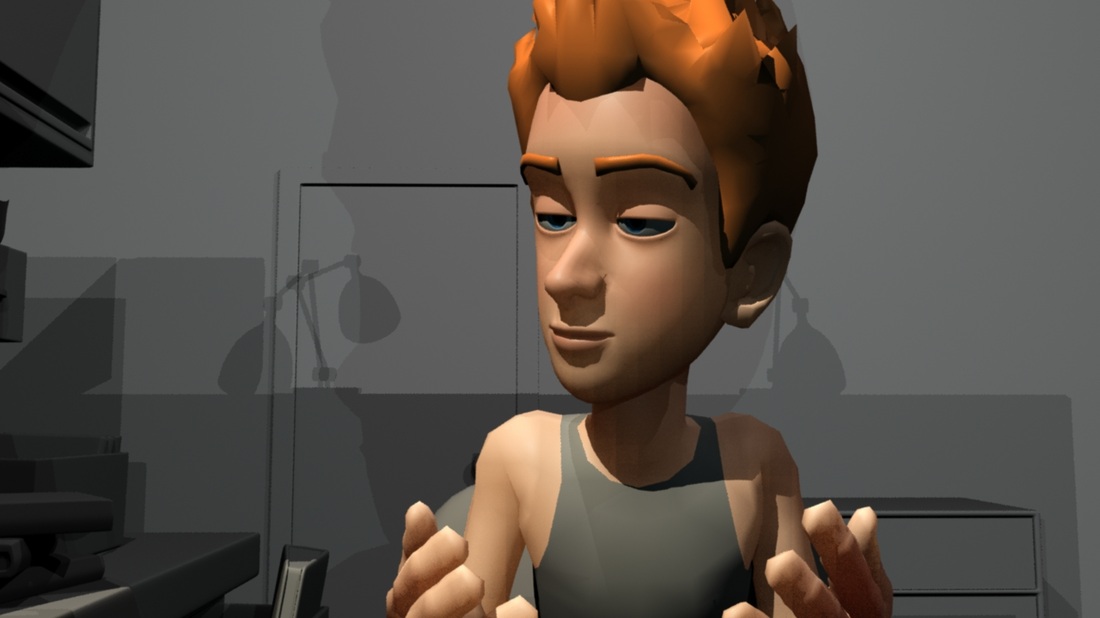
Below, here are the first three cleaned up shots I was given to colour. I literally just block coloured each cleaned up shot with the agreed upon colours. LO3
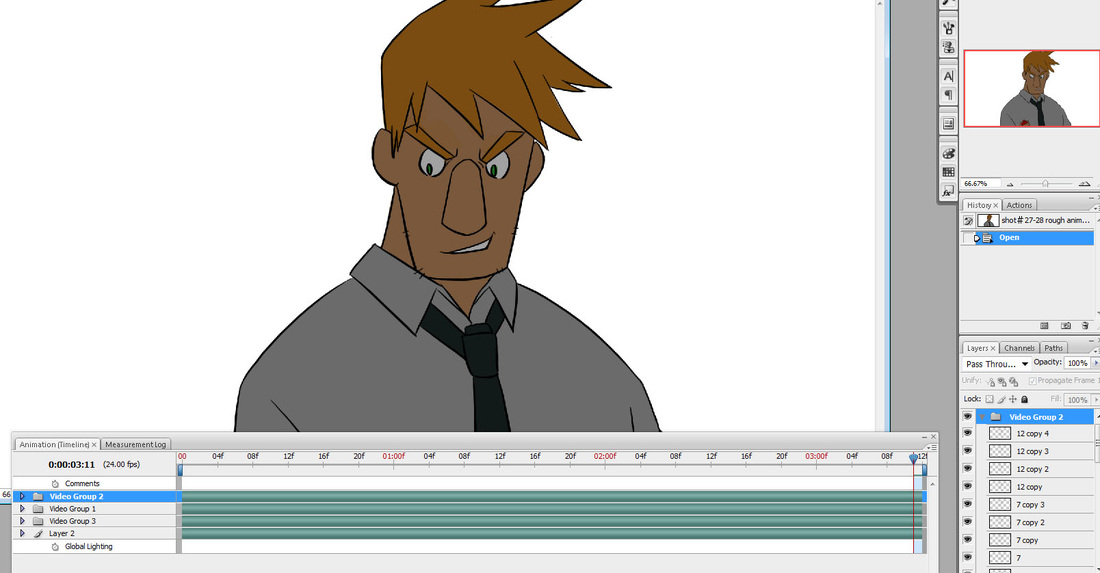
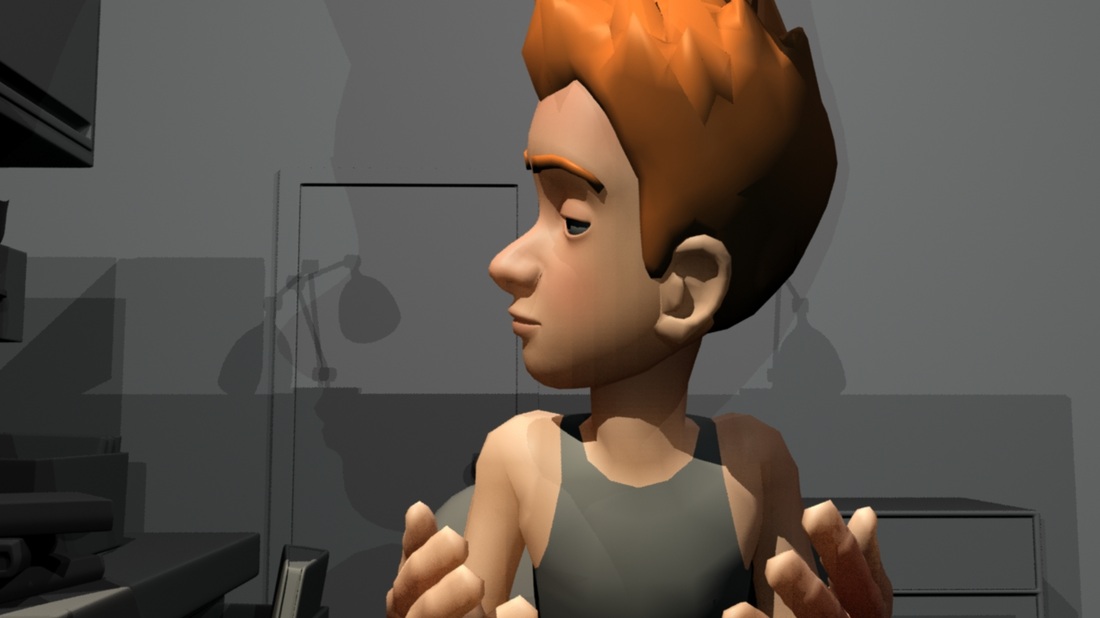
Here is the example of the animations with the colour.
WEEK 9
|
|
|
When I input the coloured character, with lighting, into the scene, I thought it was far too light, but the character and the background. LO3
I discussed the two varieties I had with Niel and she liked the darker colours, but the background was far too dark witht he overlay. So we agreed to the lighter background with the darker character for the colour. LO5
I discussed the two varieties I had with Niel and she liked the darker colours, but the background was far too dark witht he overlay. So we agreed to the lighter background with the darker character for the colour. LO5
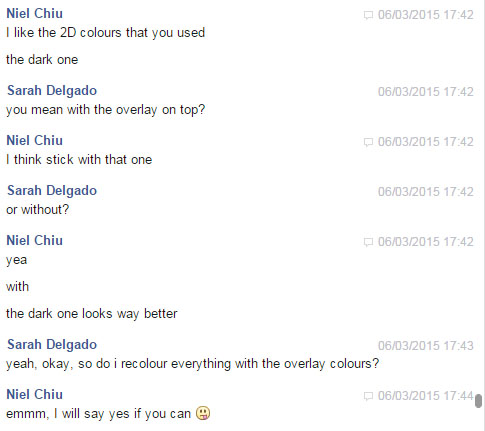
This is close to what the final look will be. However the background needs texture and I may add shadows. LO4
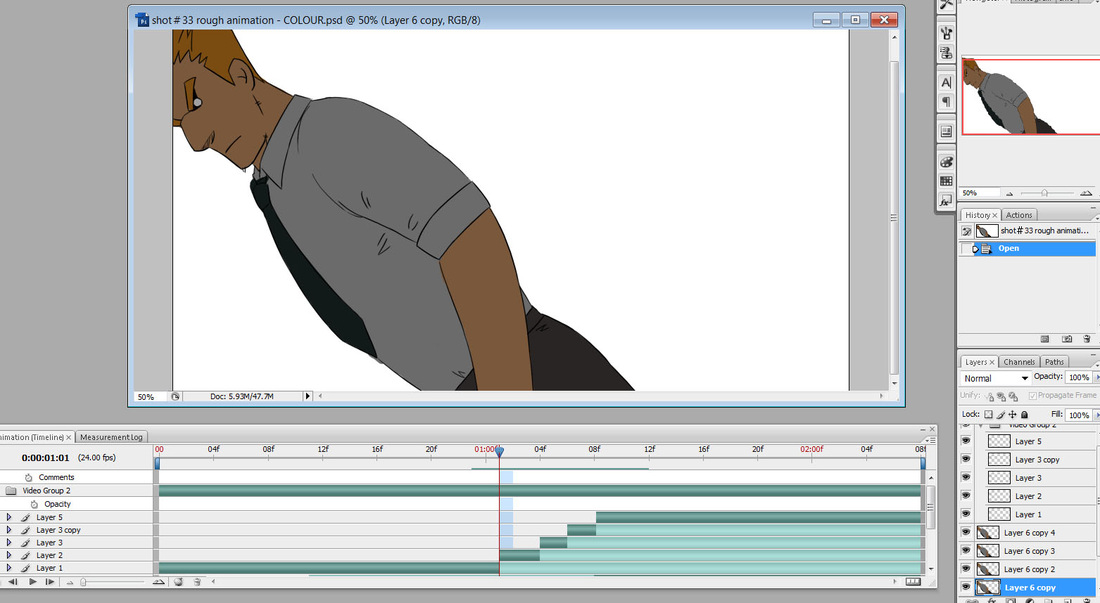
Below is also another lit shot.
Below is also another lit shot.

WEEK 10
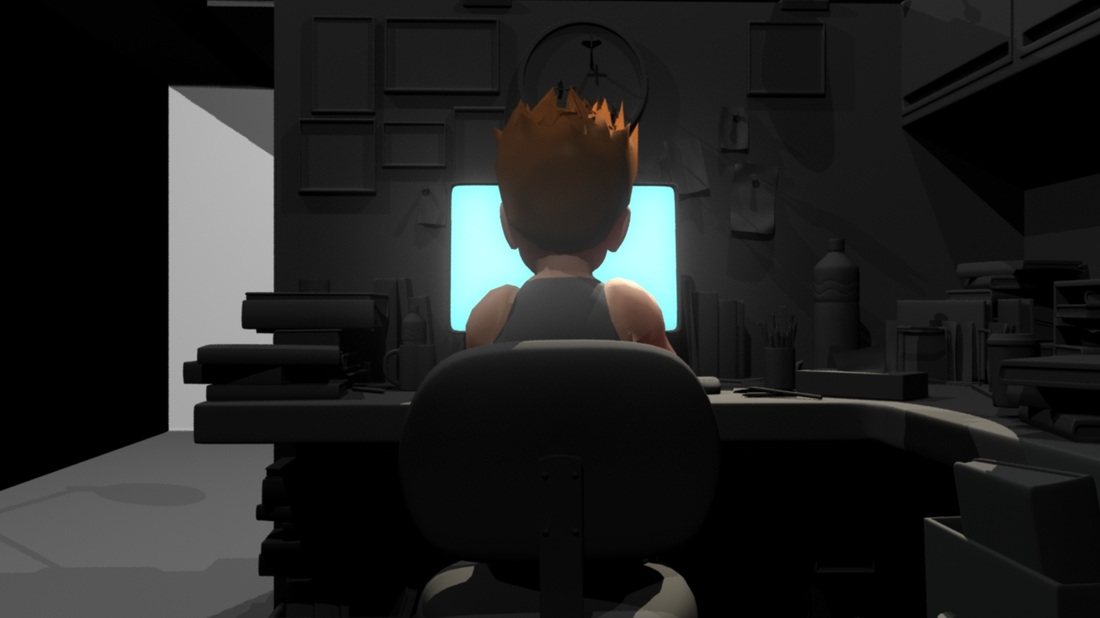
Here are some more lit shots with a general background for reference. LO4
 |
 |
After Effects Compositing and Editing
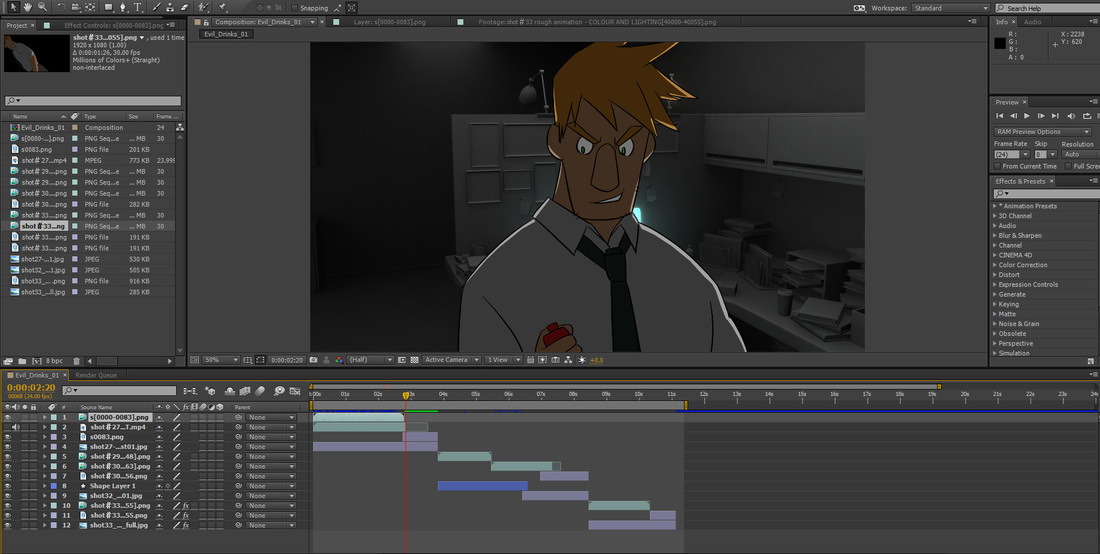
Here is the After Effects file I used to composite. I could have made it easier and composite on seperate compositions but for the formative I thought this would be okay to work with for now. The hardest part about this was actually figuring out the layering at times and the angle of the final shot. LO3
Me and Niel came into uni to work on this compositing together. She had Maya open to sort out the angles, I had the actual AE file open to put together and time correctly with any additional effects (such as the blur in the final shot or resizing of the background images). LO5
Me and Niel came into uni to work on this compositing together. She had Maya open to sort out the angles, I had the actual AE file open to put together and time correctly with any additional effects (such as the blur in the final shot or resizing of the background images). LO5
shots for Formative
This was the final shot for the formative to show during presentation. I think it looks good and works well. LO4
