NUKE
Nuke is quite a daunting program to get started with, but I went into it with an open mind since I managed to at least learn the basics of Maya. If I could do that, I could do this!
We started off really basically with Nuke, with learning about nodes and some of the tools.
We started off really basically with Nuke, with learning about nodes and some of the tools.

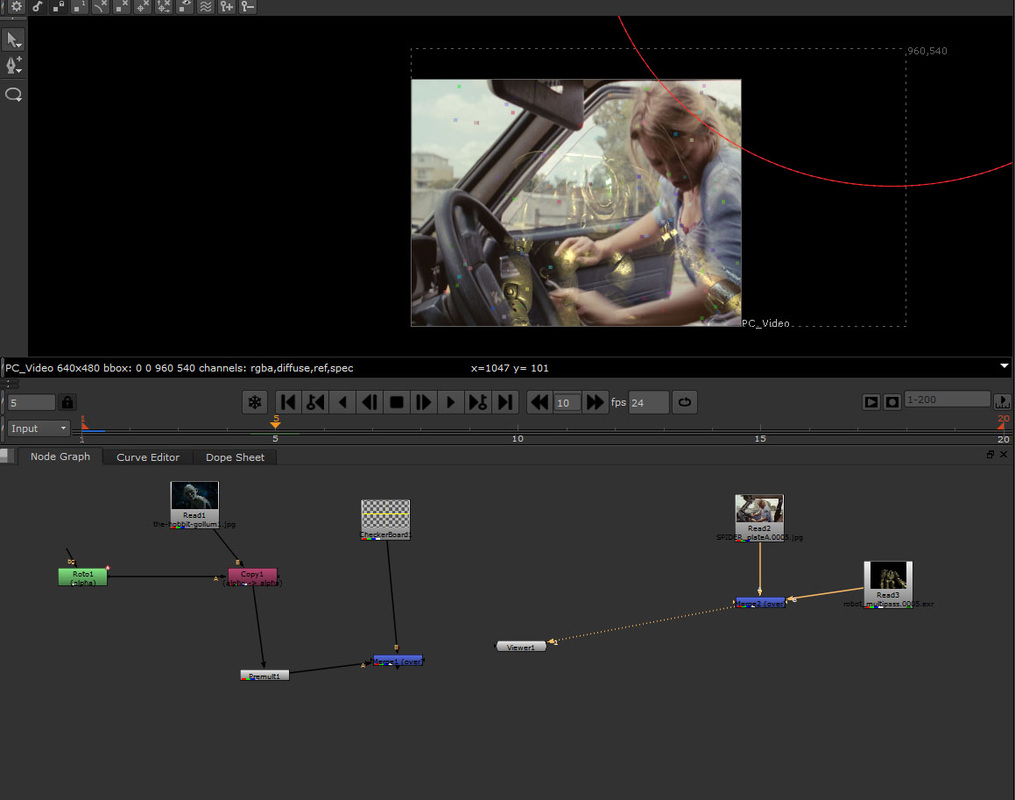
Above: Here we were working with simple things in Nuke. Like importing an image, the eclipse tool, masking and getting to know the use of nodes.
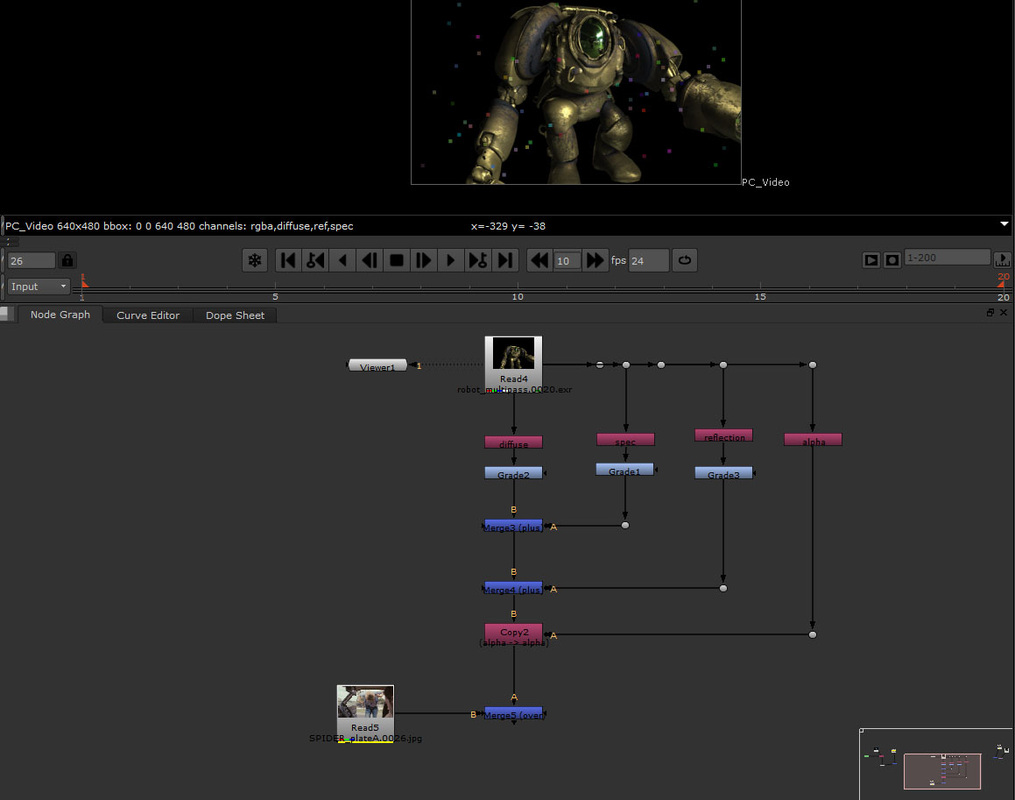
Above: Here is a video of a simple Robot that we had to edit and change. We first cut down the length of the video, then we added several different nodes to change the robot's attributes such as colour.
After, we added that video on top of another video to test out the layering. It worked as you can see in the second image.
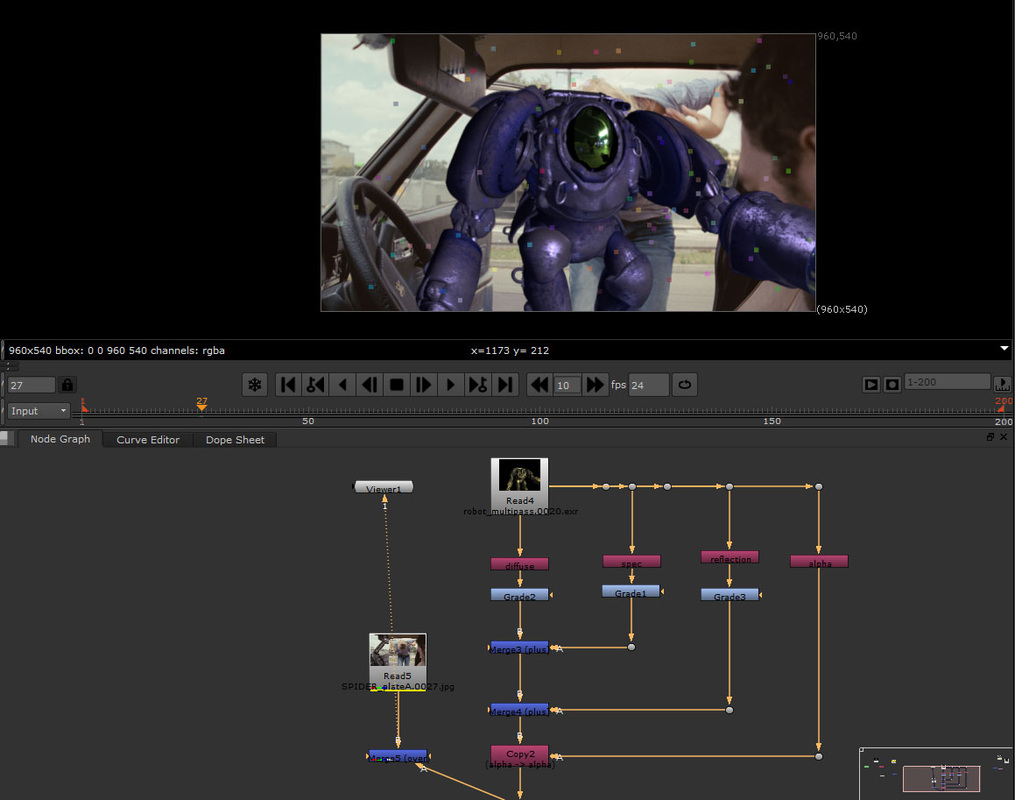
Below: Here we had to fade the Robot so you could slightly see it in the other video. Below is the result.
After, we added that video on top of another video to test out the layering. It worked as you can see in the second image.
Below: Here we had to fade the Robot so you could slightly see it in the other video. Below is the result.
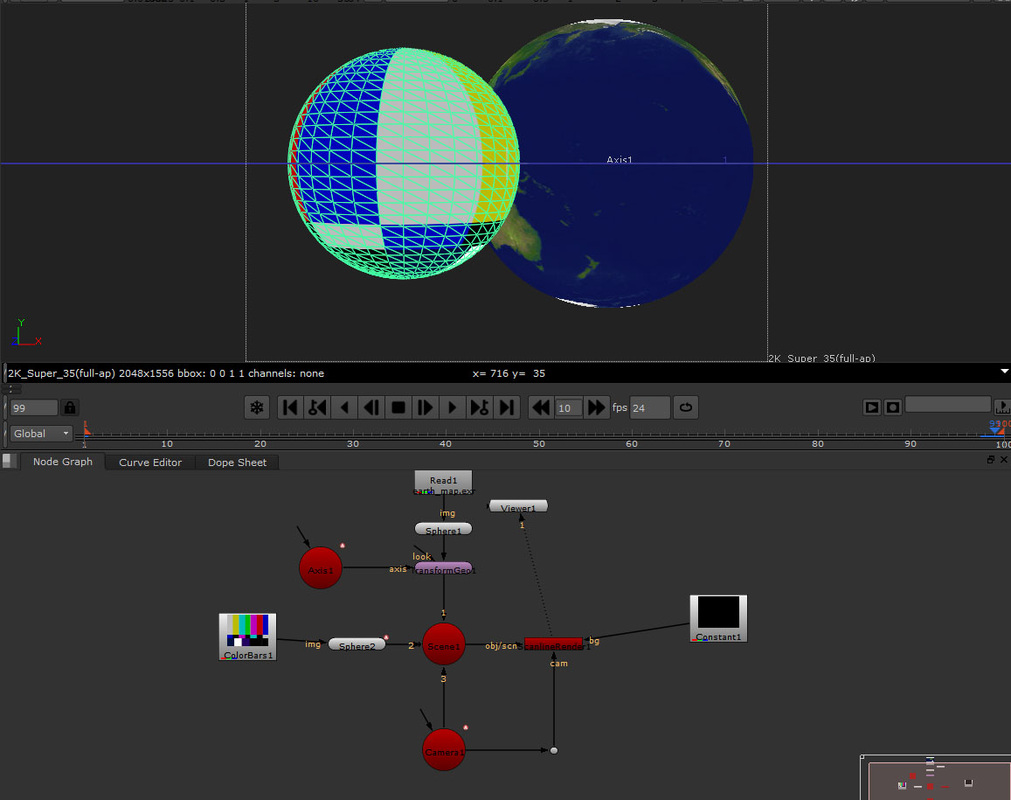
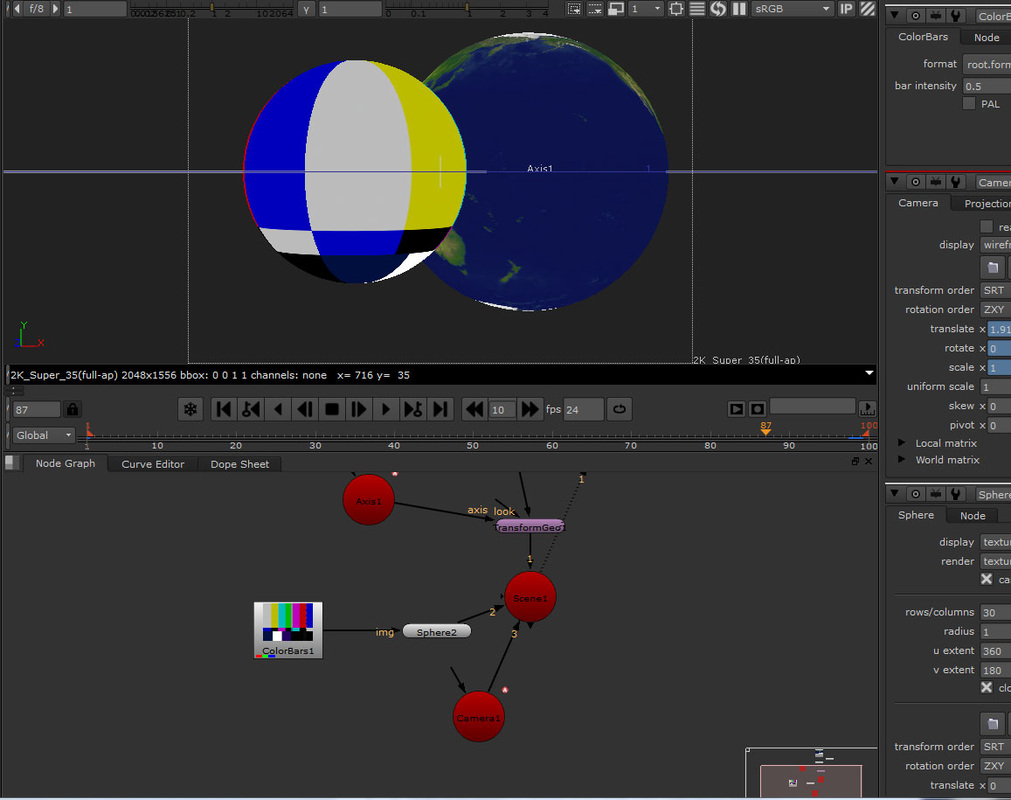
Above: Here we played around with creating an orbit around another object. This was achieved by manipulating the axis and moving the various objects. We also added a camera so you could see the shot properly.
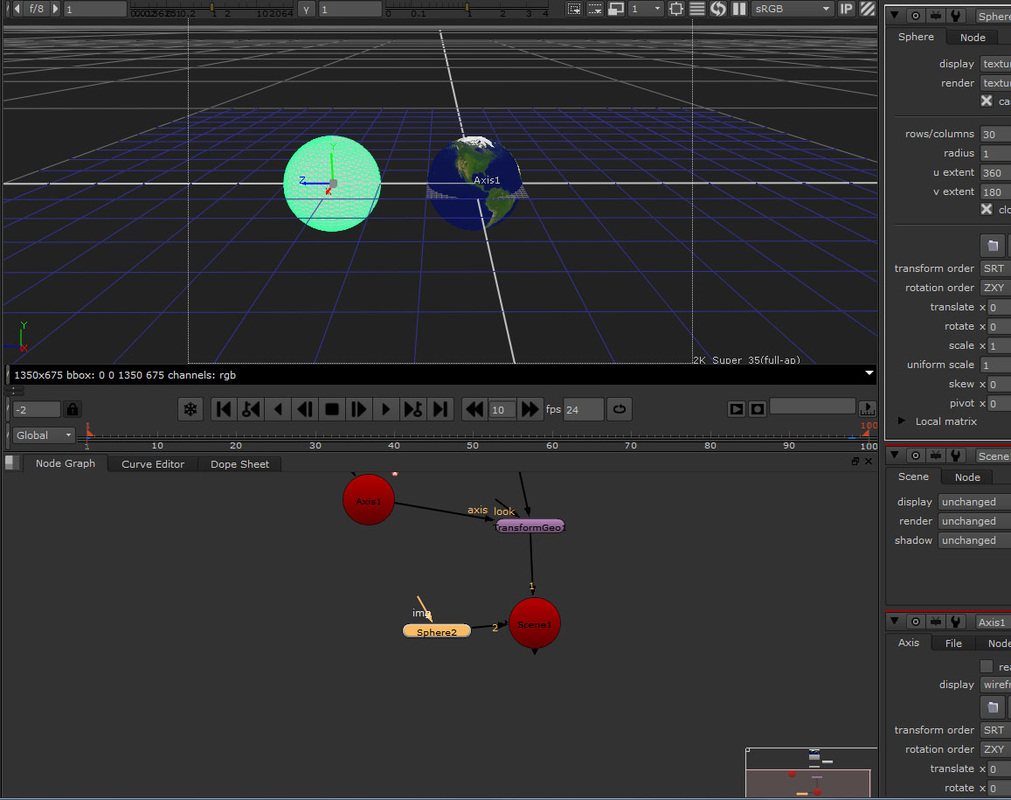
Below: Here is the perspective/default view showing the placement of the camera and the actual objects. I also added a light node to give the objects more depth and shadows.
Below: Here is the perspective/default view showing the placement of the camera and the actual objects. I also added a light node to give the objects more depth and shadows.

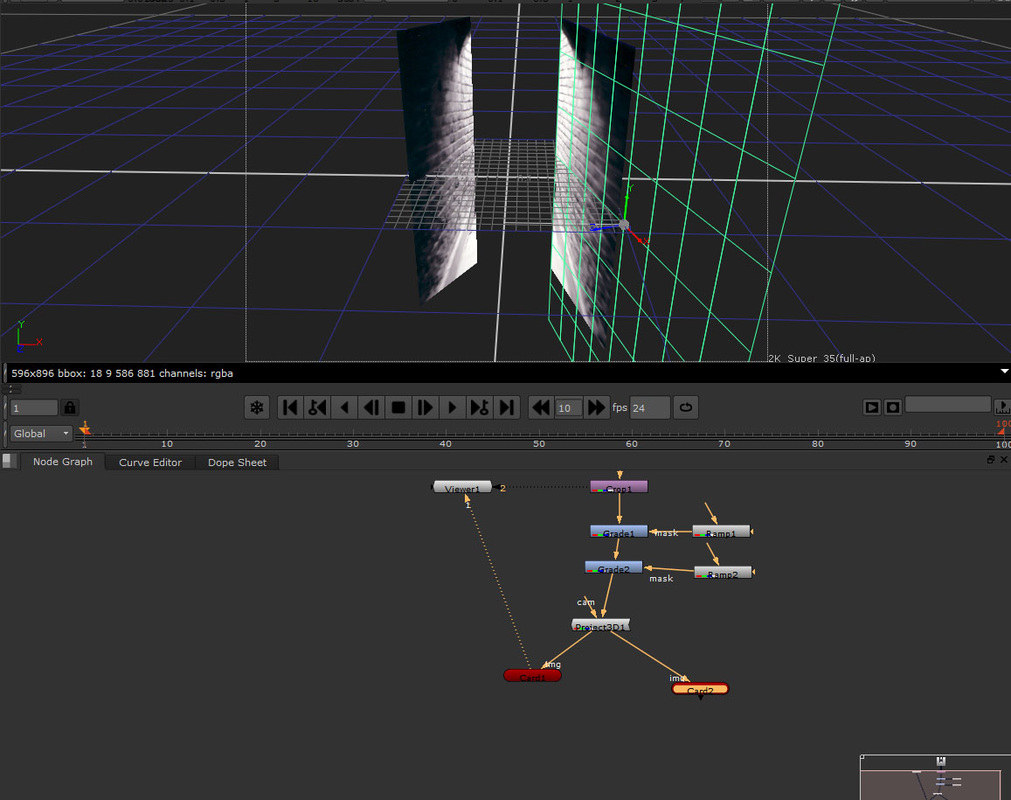
Above: This is something I didn't get to finish, but we took an image of a stairwell and used card nodes to recreate the depth of the image and make it 3D.
