UV Mapping and Texturing Lesson
For one particular lesson, we were taught to do some basic texturing in Maya. We had to use UV mapping to do so, and we mostly used Plannar mapping although we used other mappings as well to try it out.
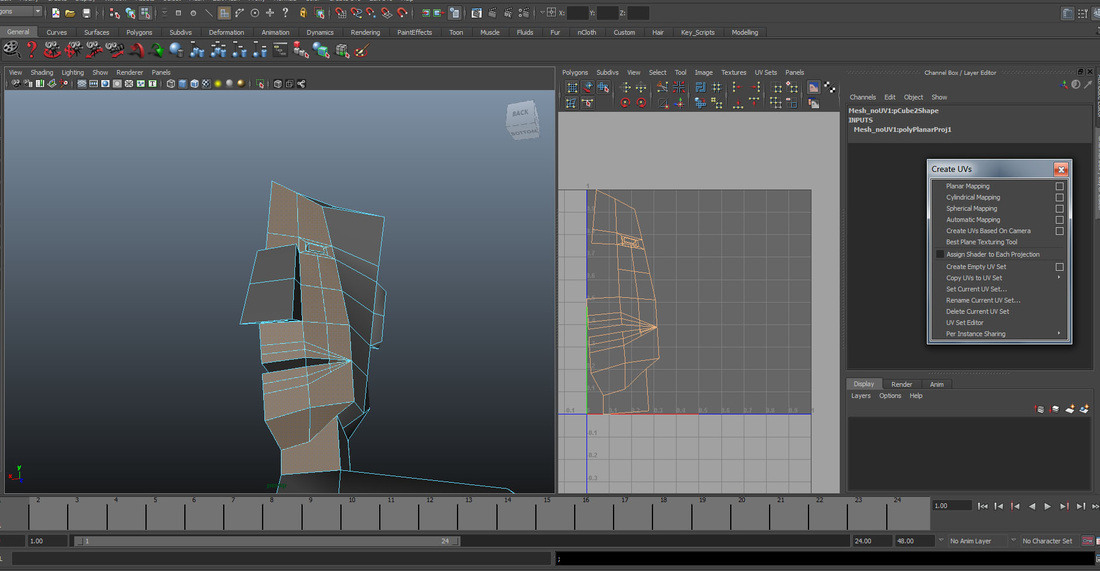
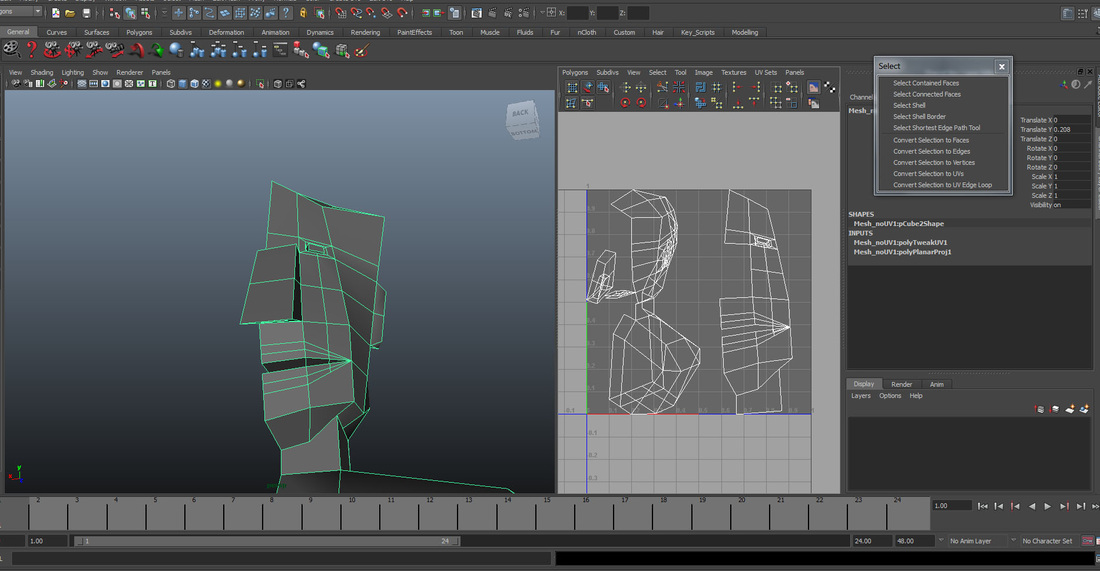
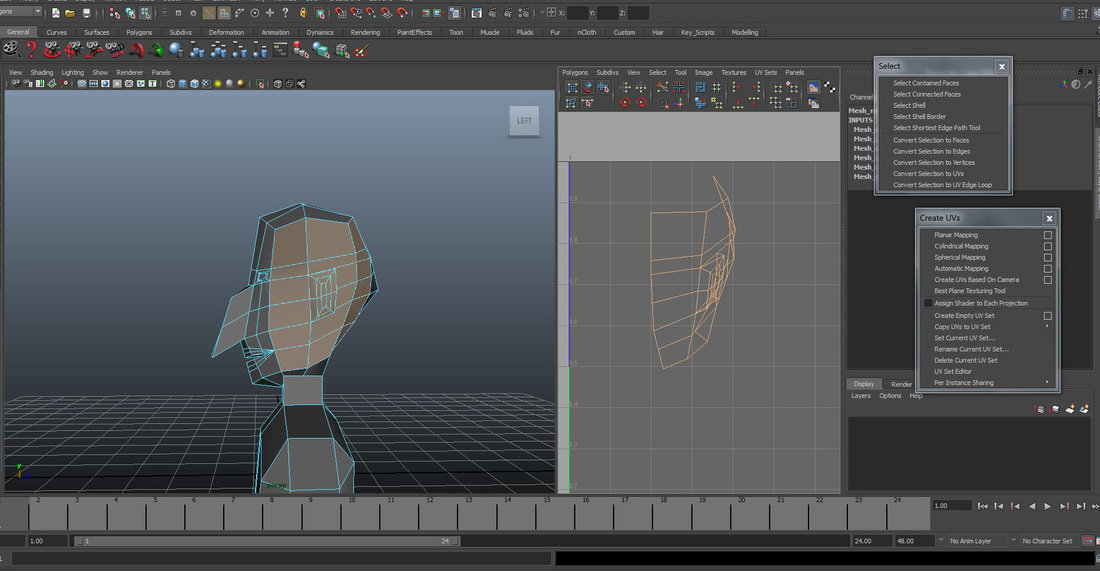
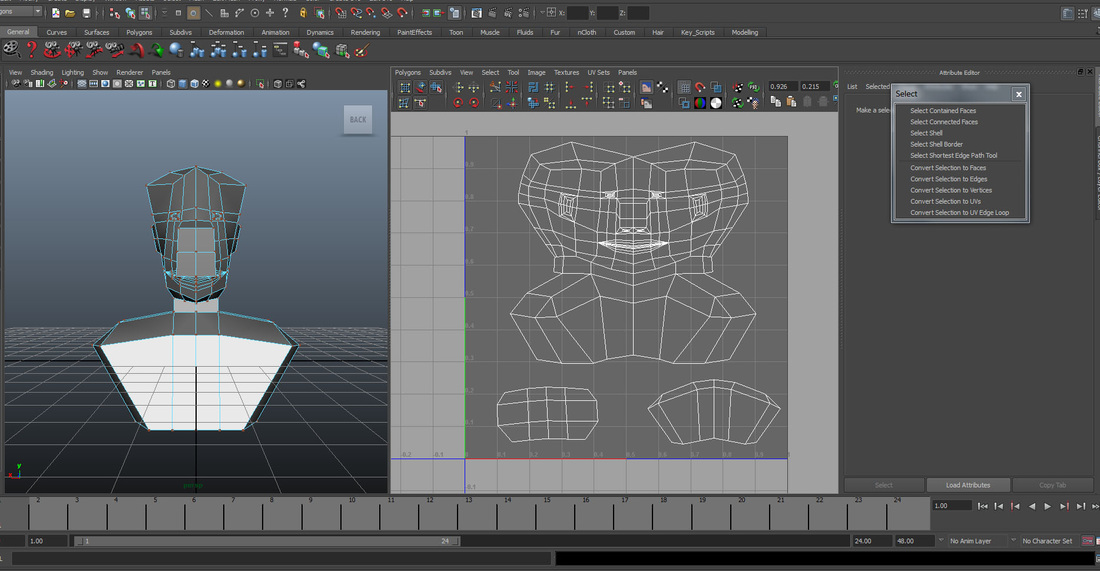
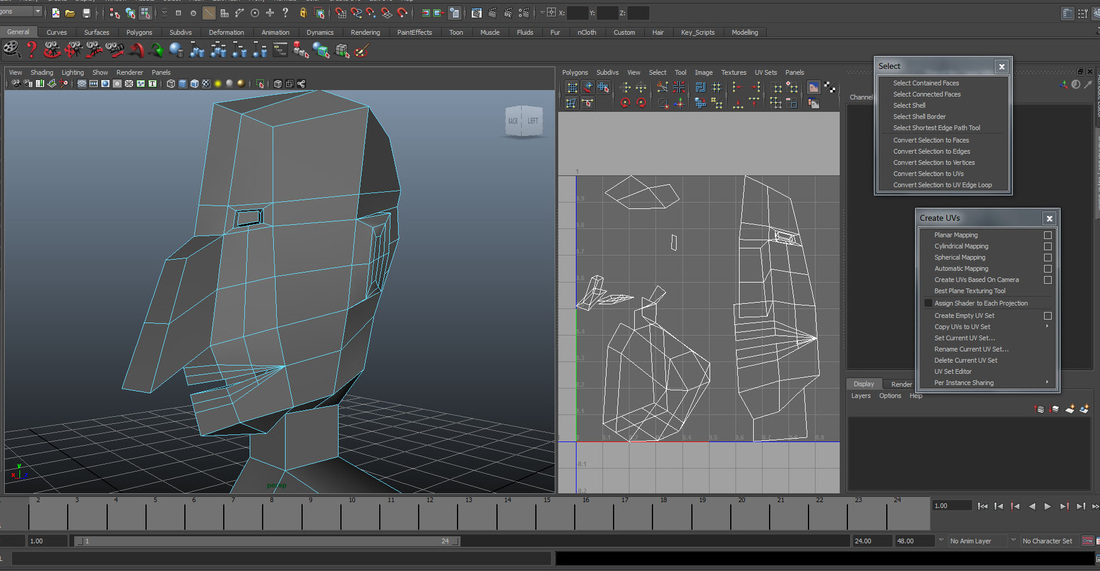

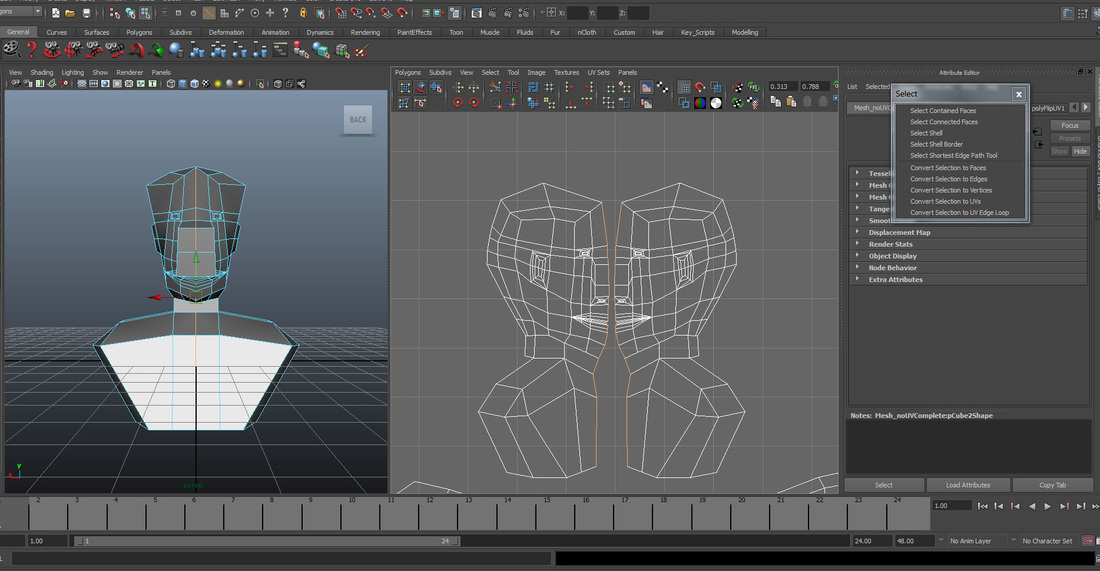
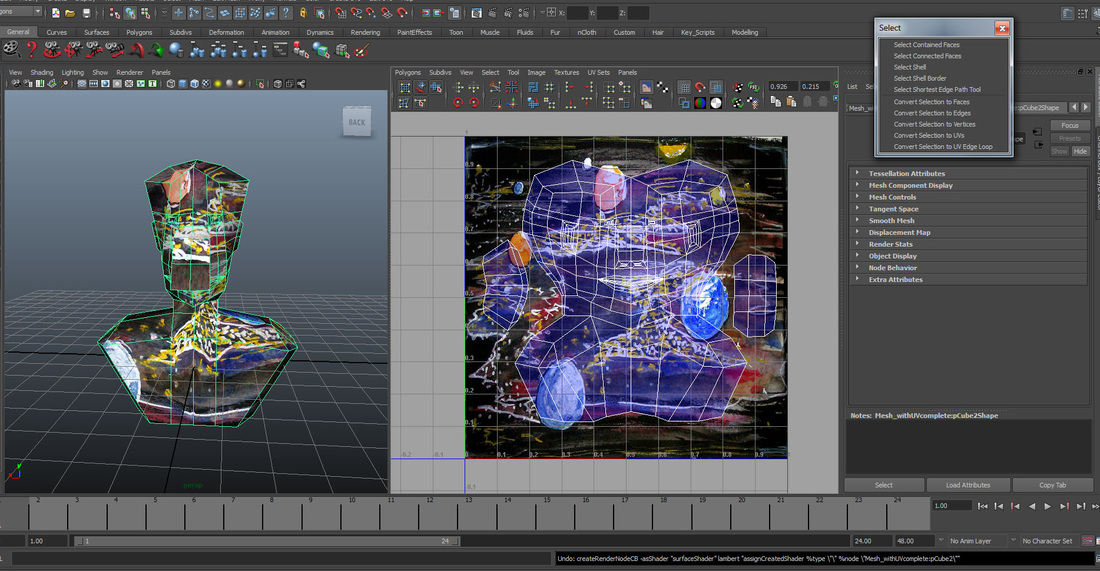
To be honest I struggled quite a lot on this as I kept forgetting the tools used and Maya wouldn't listen to me at times. I managed to slowly, slowly piece things together and sew the two halves we created together. This was hard, but I can imagine that with practice that this would get really easy.
Maya Modelling
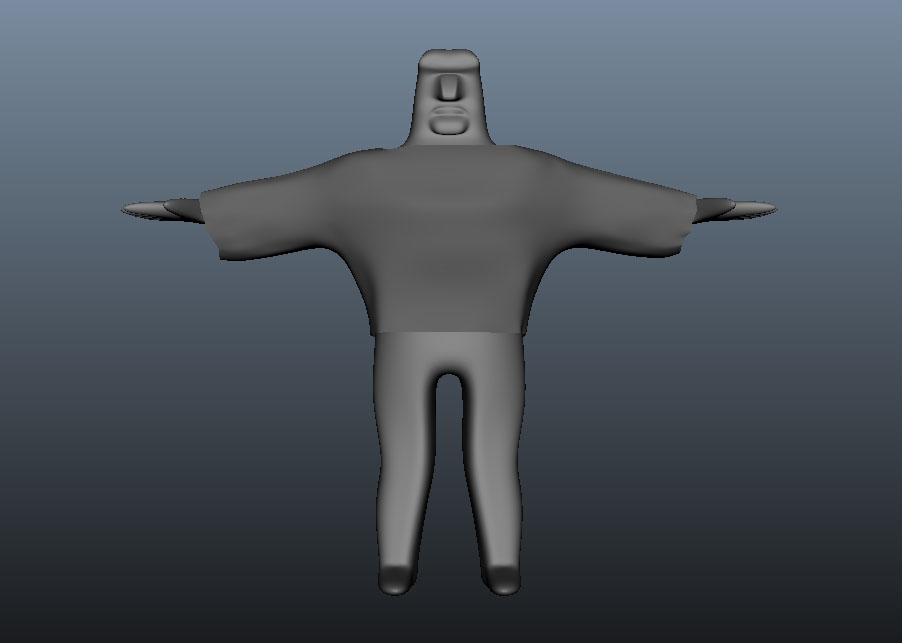
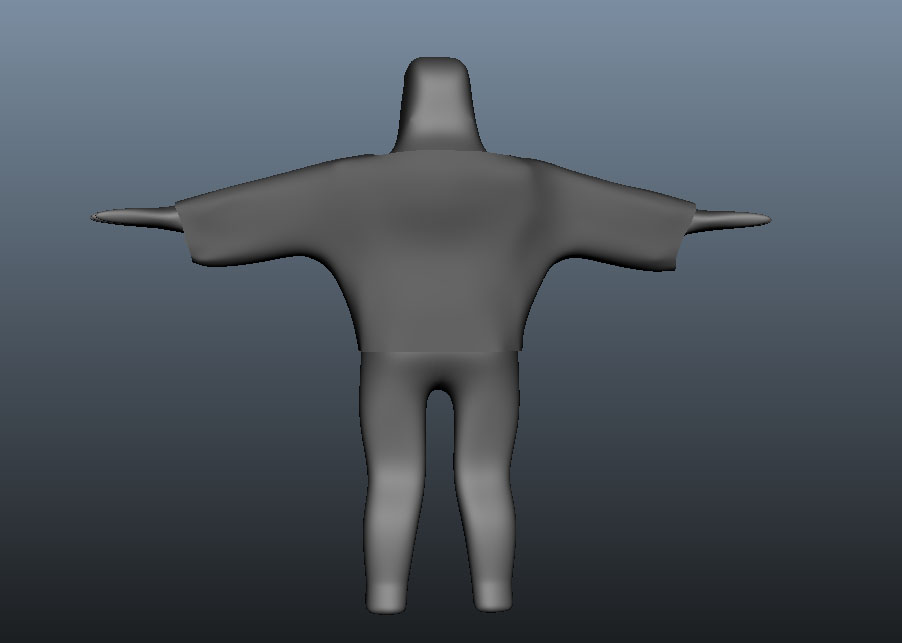
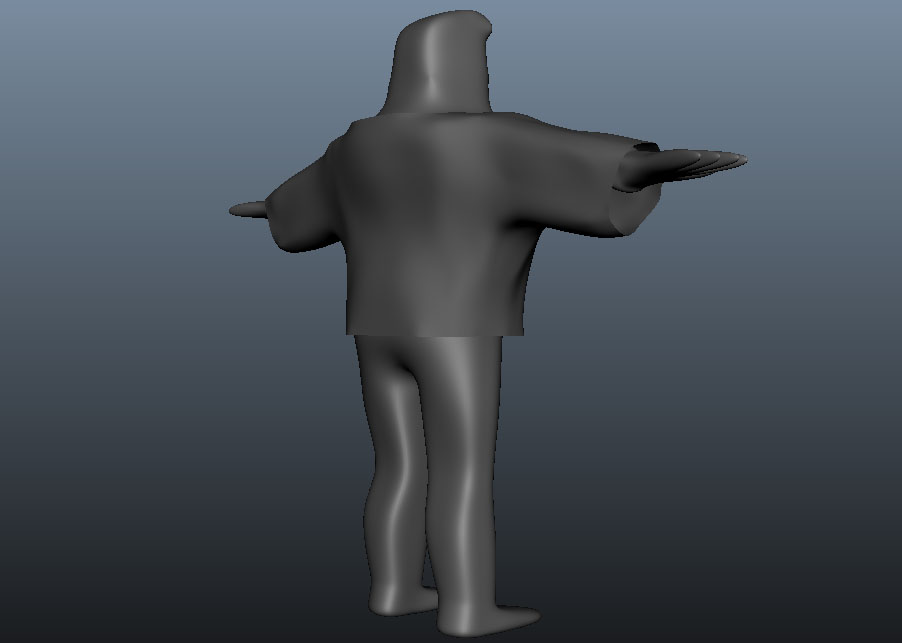
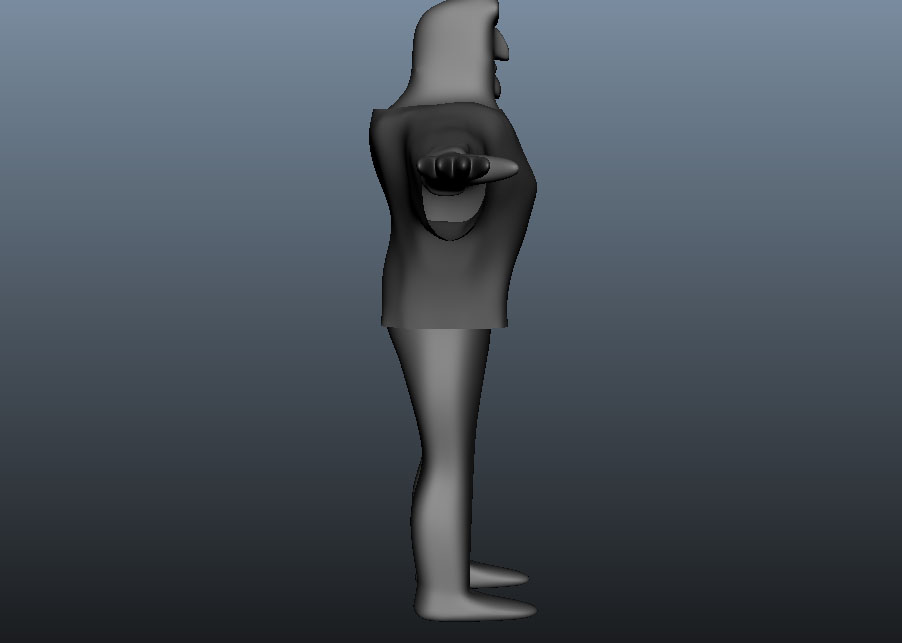
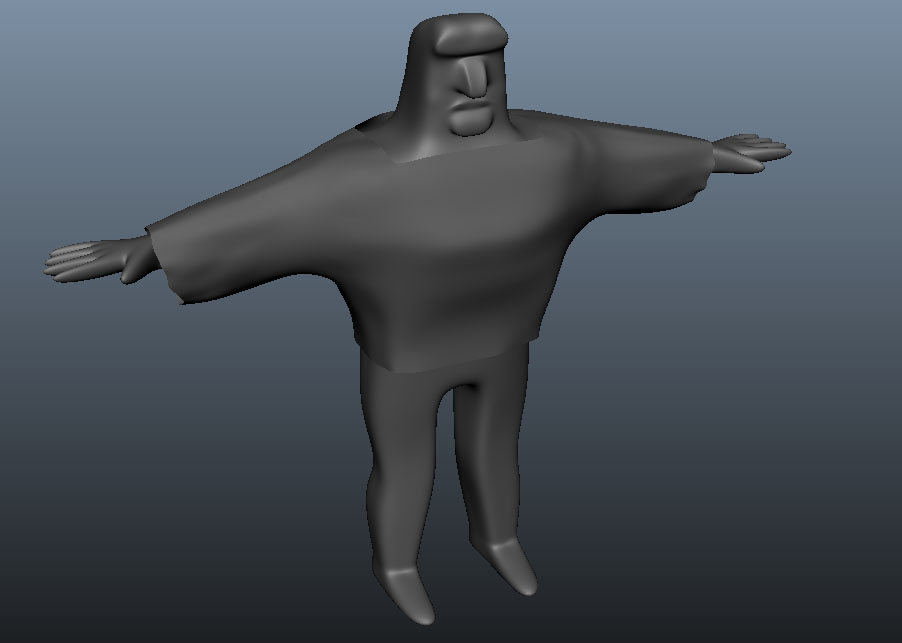
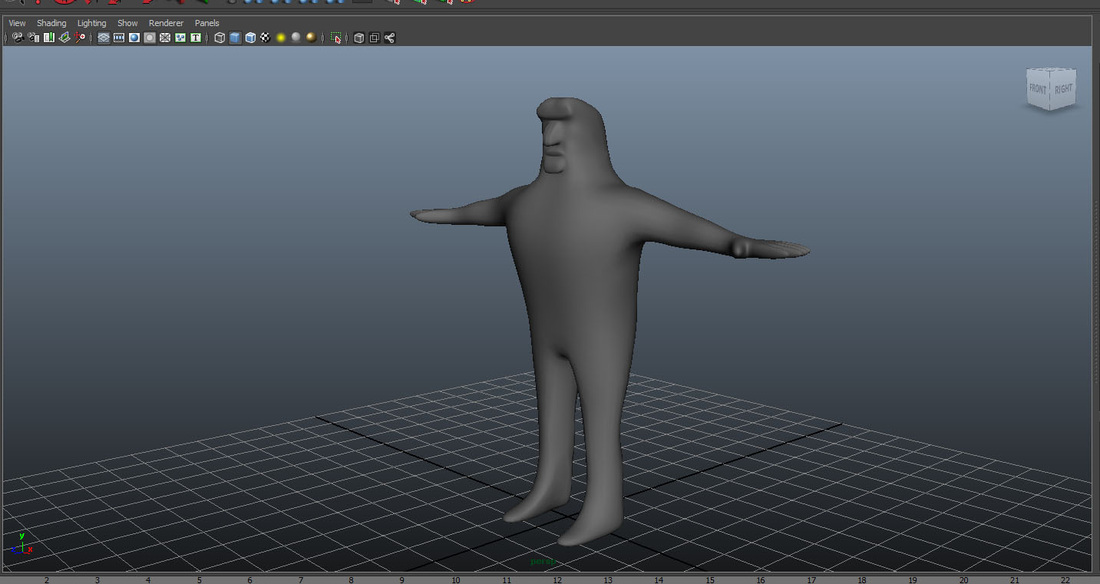
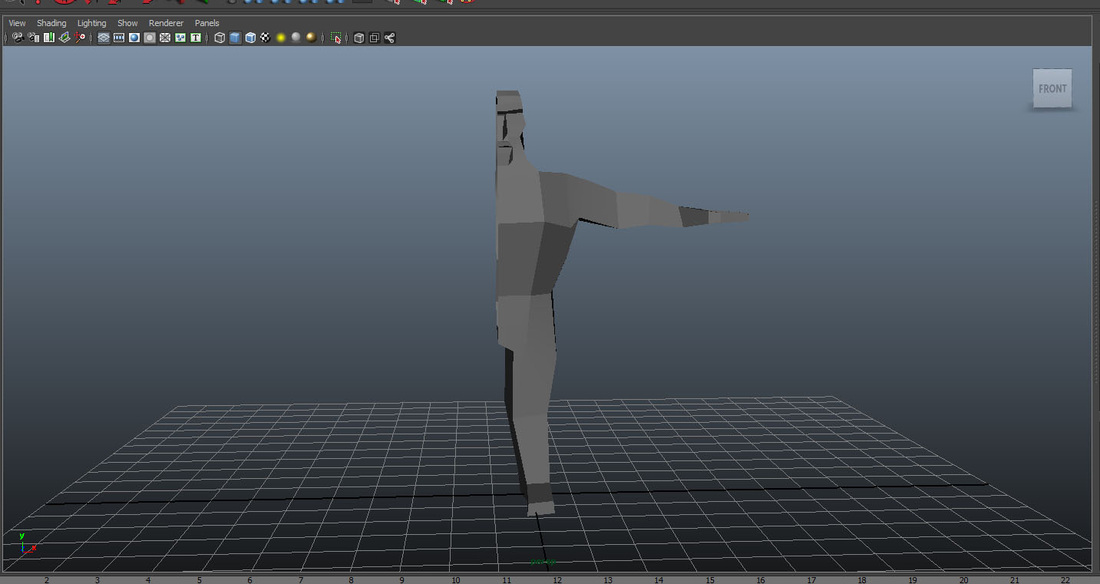
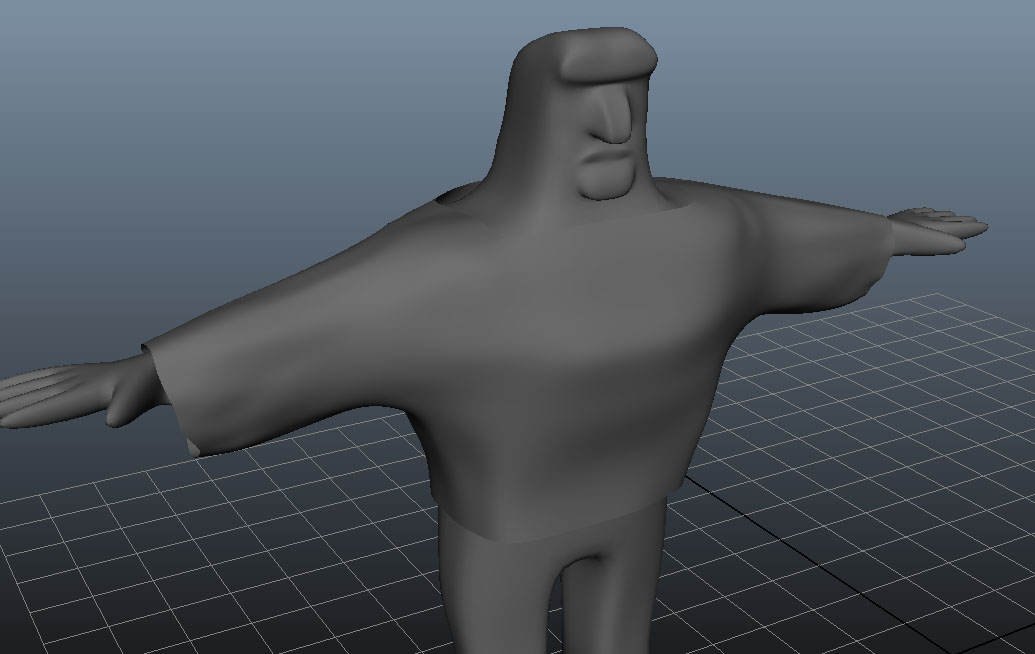
Here is where I started to model my character in Maya. I planned to simply make a basic model of the character that I could then bring into Zbrush and further refine.
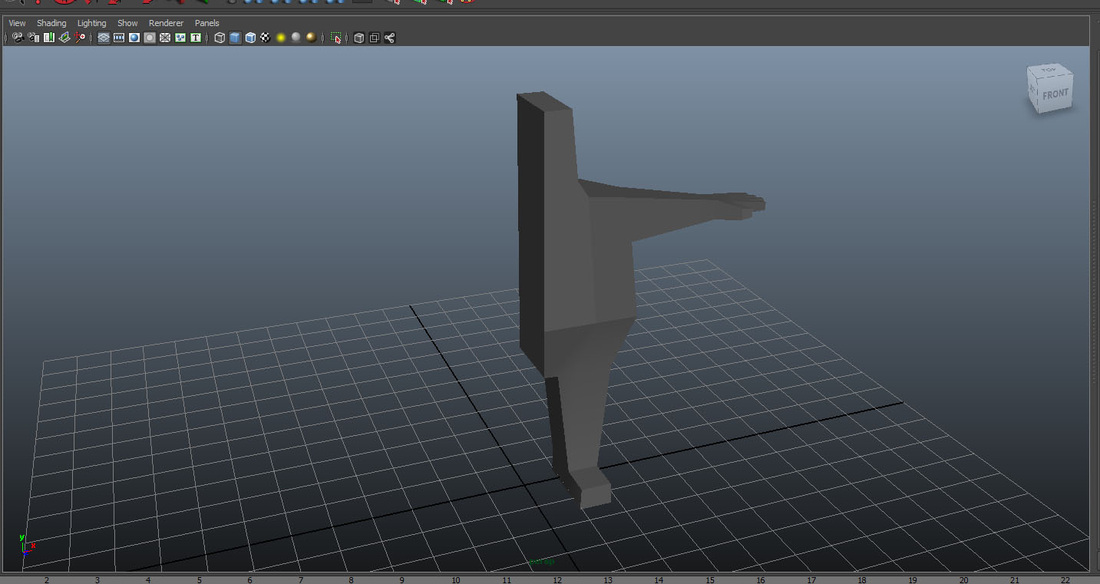
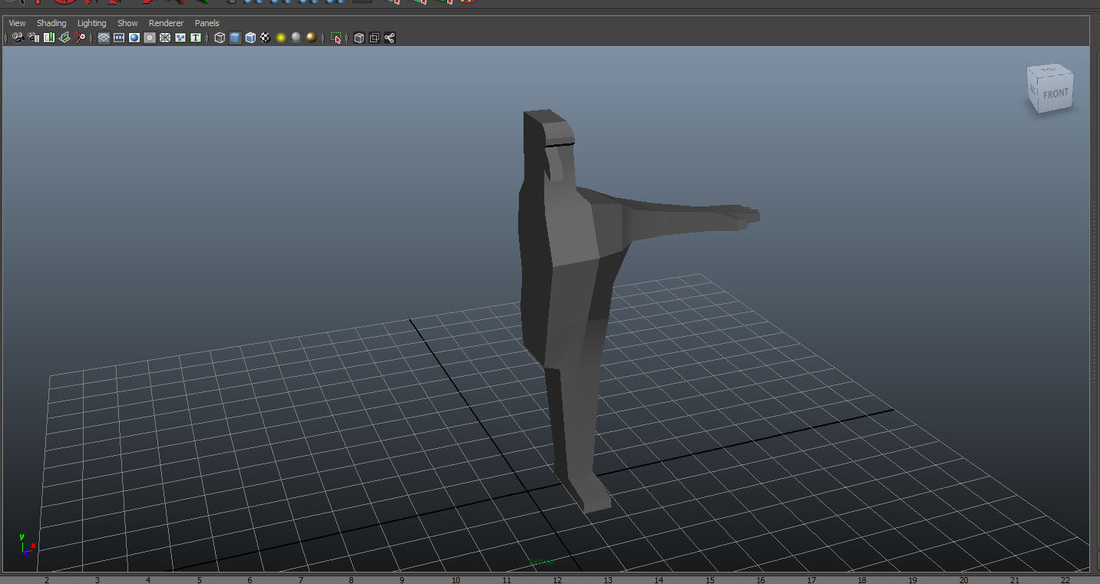
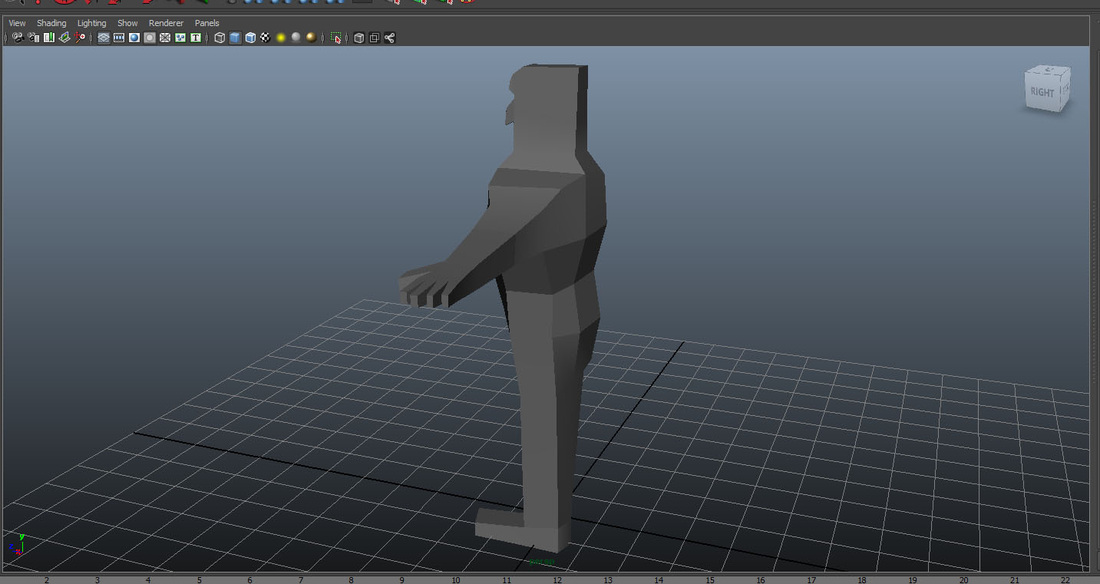
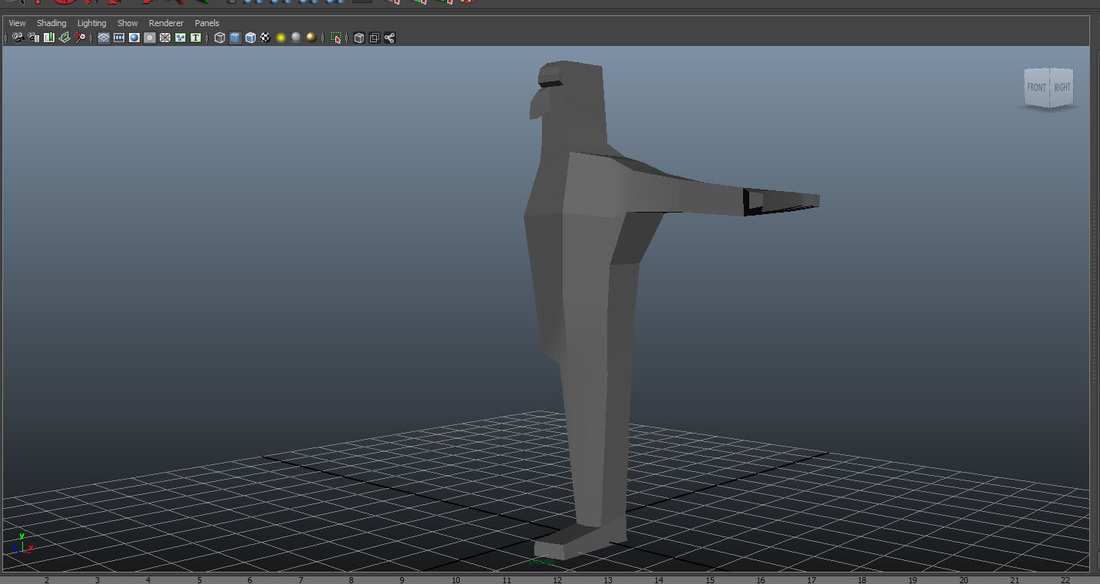
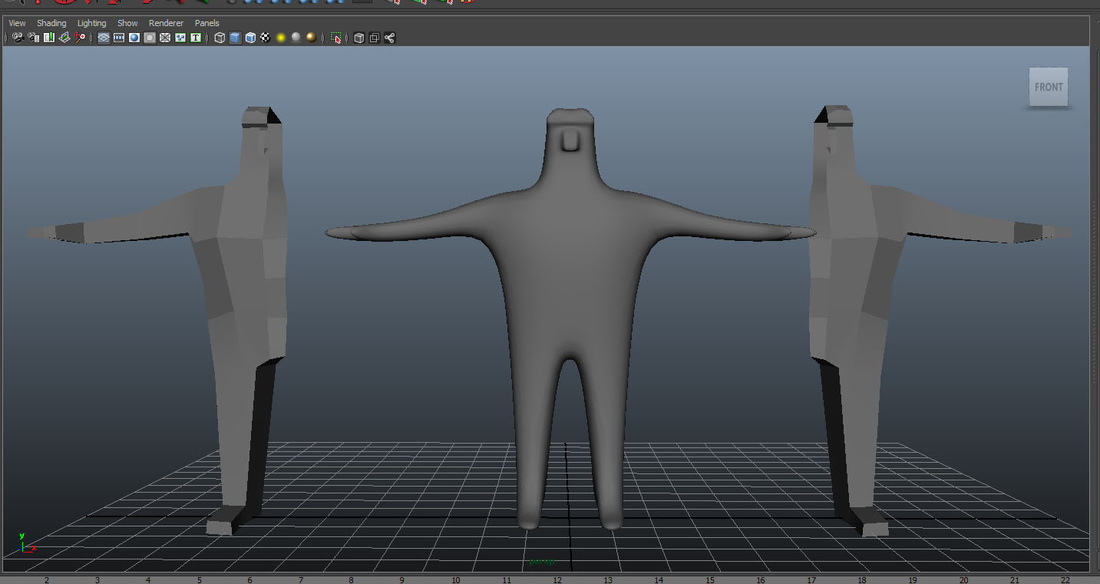
As you can see I had a really basic build with as little polygons as possible, however as it turns out later, this was not a partiuclary good thing. I enjoy modelling simple things in Maya and since I have grown used to a lot of the tools, I feel confident doing this. I especially like using the subdiv proxy tool to get a more finalised look to the character.
Zbrush
After making my basic model in Maya, I imported it into Zbrush to continue adjusting and adding details.
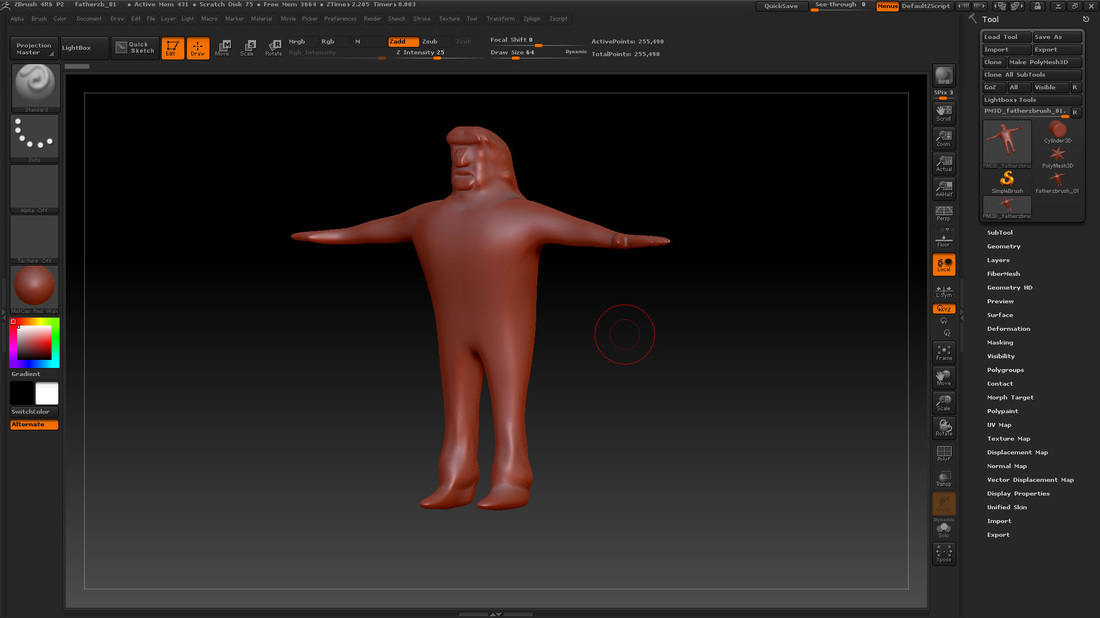
Above: Here is the imported version from Maya.
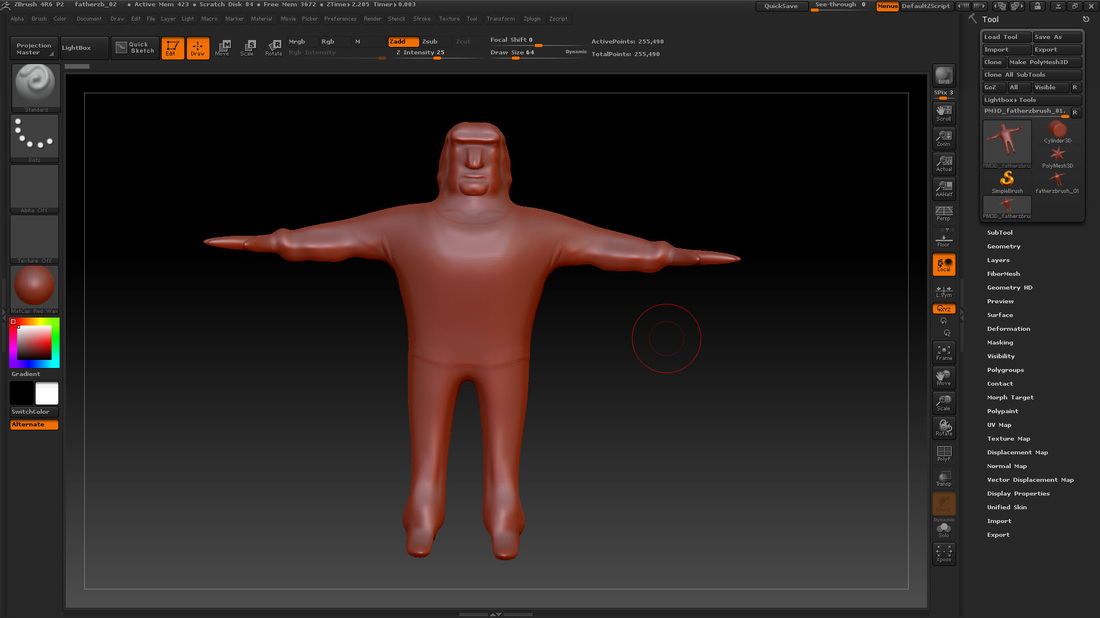
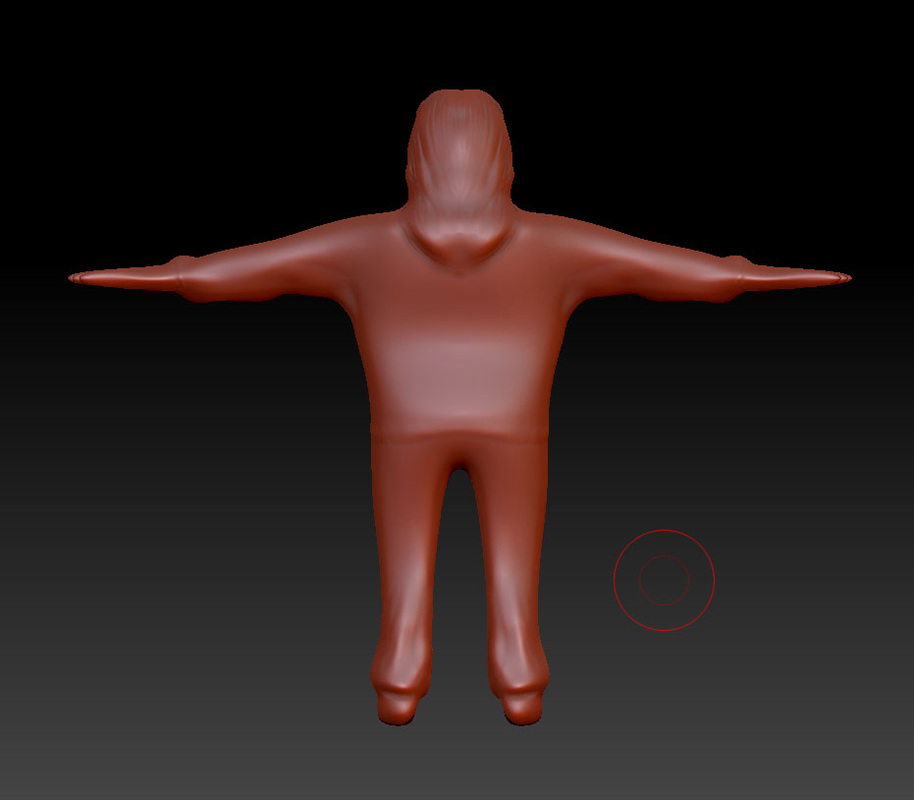
Below: Here is a version with a bit more adjustment and details including weight of clothing, creases and more prominent facial features and hair.
Below: Here is a version with a bit more adjustment and details including weight of clothing, creases and more prominent facial features and hair.
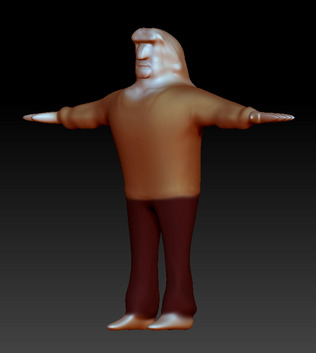
<-- This was simply a test to test out the colouring option on Zbrush. It is easy to use and allowed me to glimpse at what colour the clothes may look like on my model.
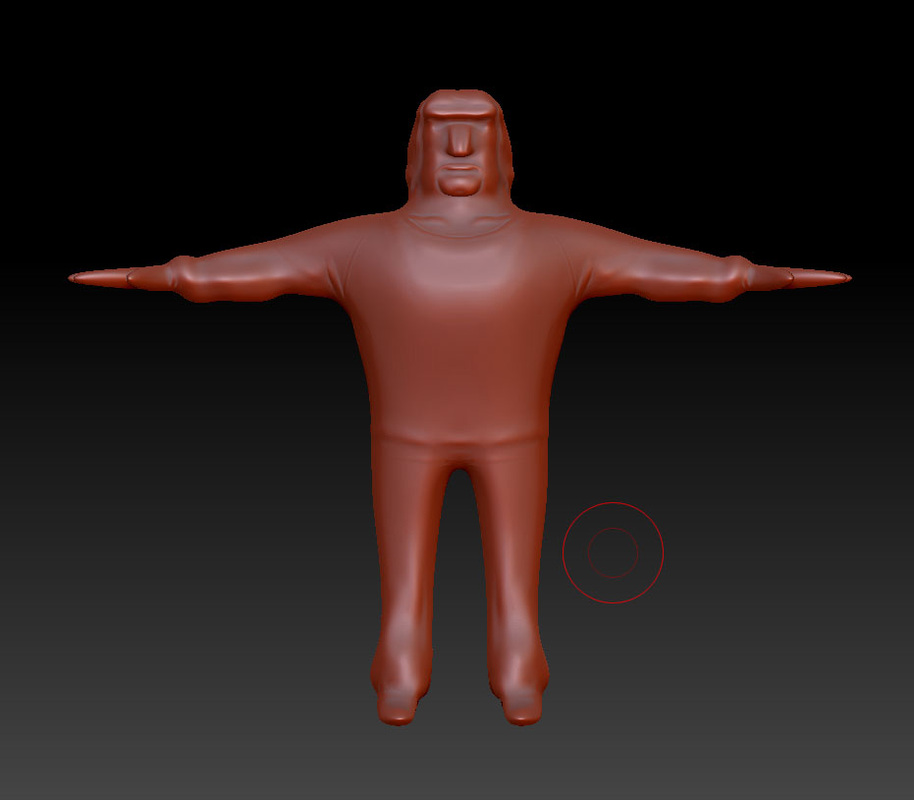
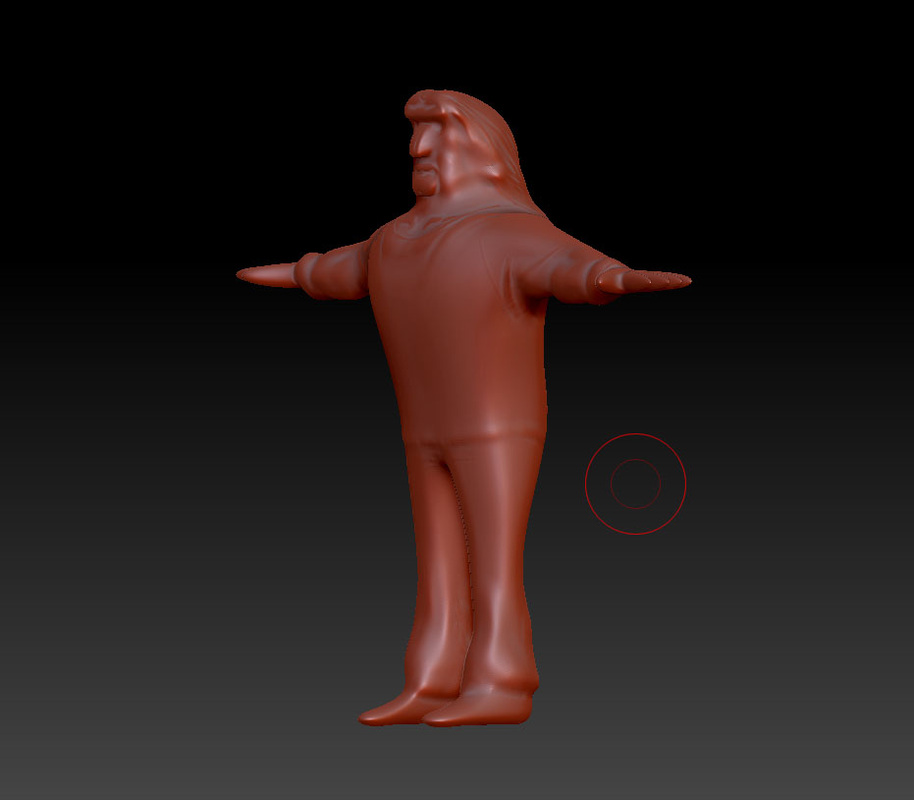
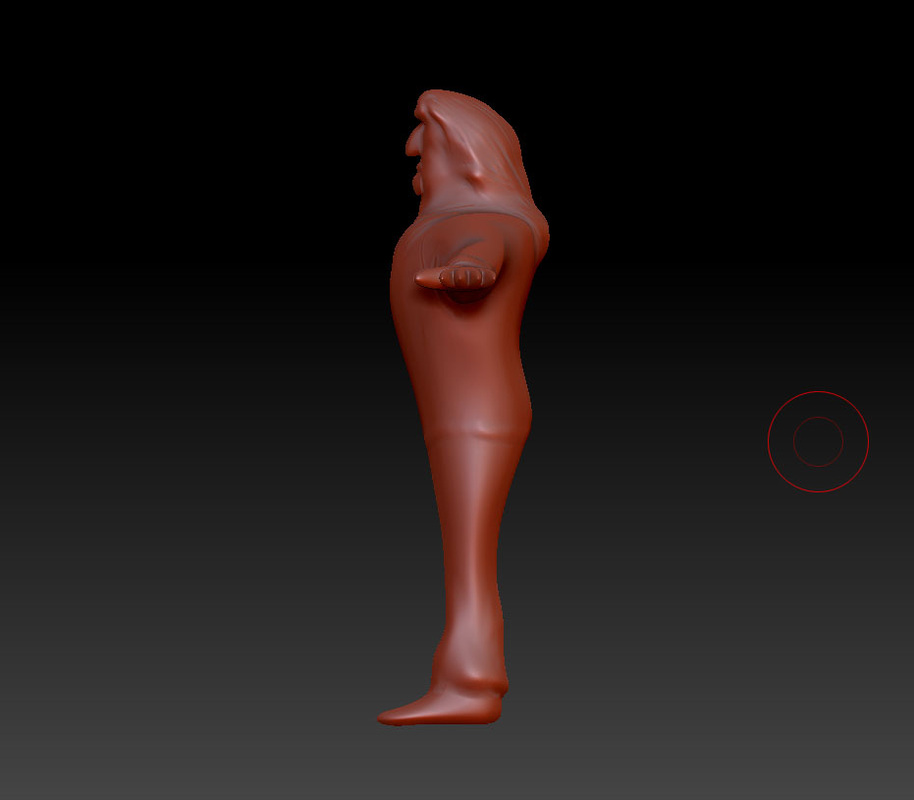
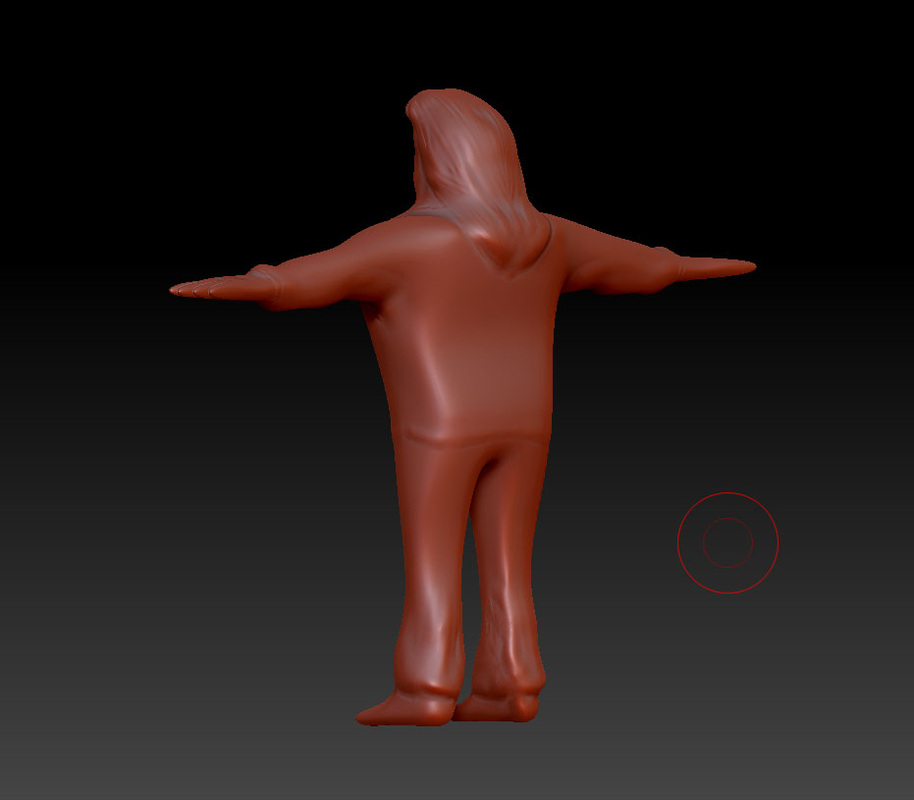
Above: Here are some images so you can see around the actual character. By this point, my tutor told me not to continue in Zbrush as I should do most of my modelling in Maya and UV map it first before taking into Zbrush. So this is not a finished result of Zbrush. The problem was that I had done too much adjustment in Zbrush so bringing it into Maya would be hard to texture. There were to many polygons as I had subdivided too many times on this character on Zbrush.
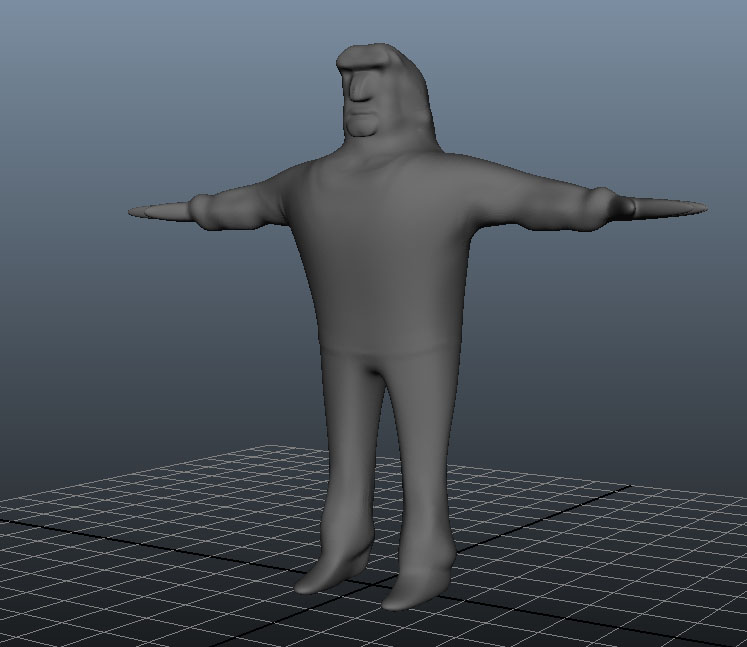
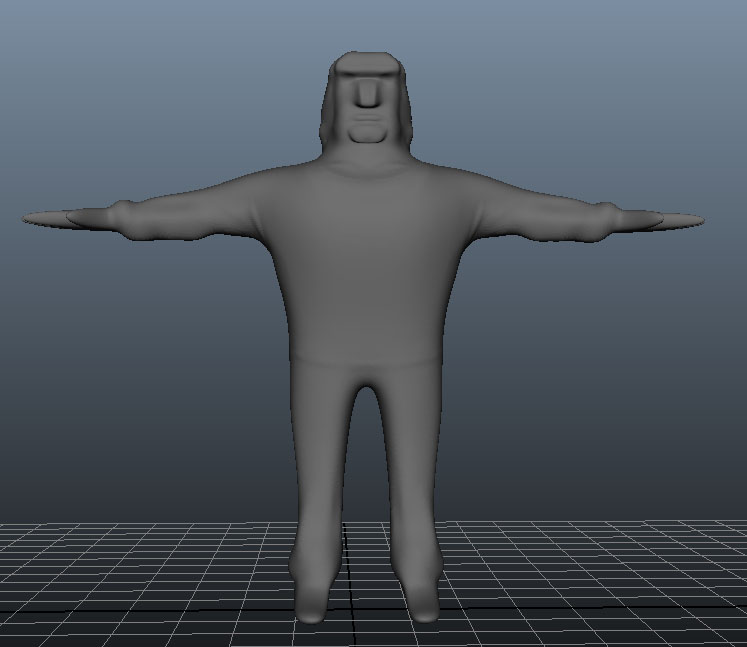
Below: Even if I weren't using this, I imported it into Maya just to see what it would look like in Maya.
Below: Even if I weren't using this, I imported it into Maya just to see what it would look like in Maya.
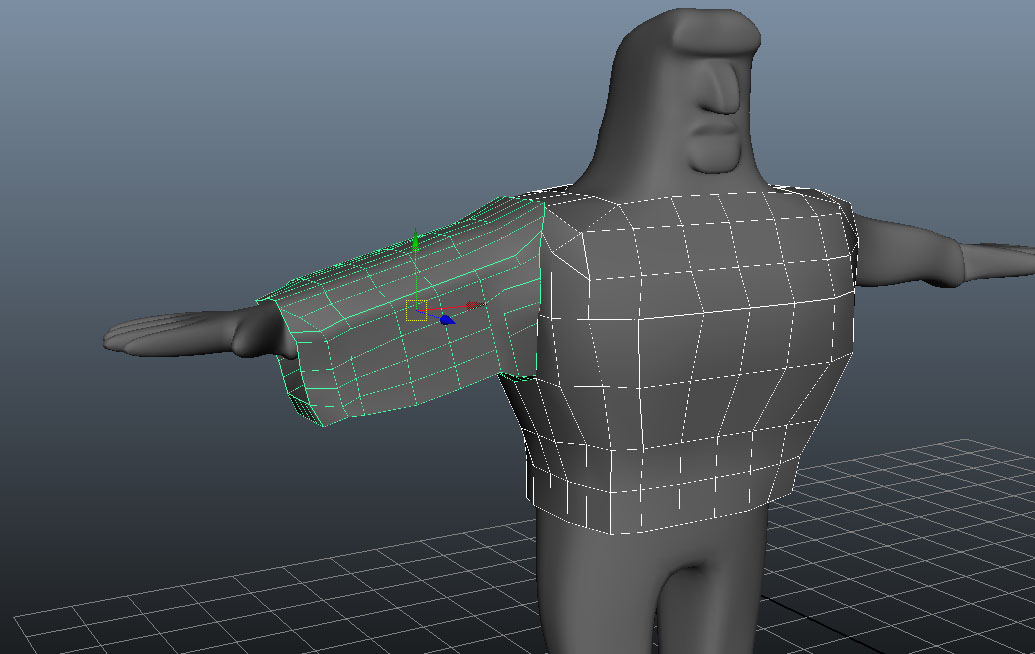
As I was told to rework in Maya, I went back to Maya to my original model and decided to add more polygons and lines and possibly model even the clothes on this version instead of Zbrush. On Zbrush I would merely add creases or a few more extra details that aren't too big.
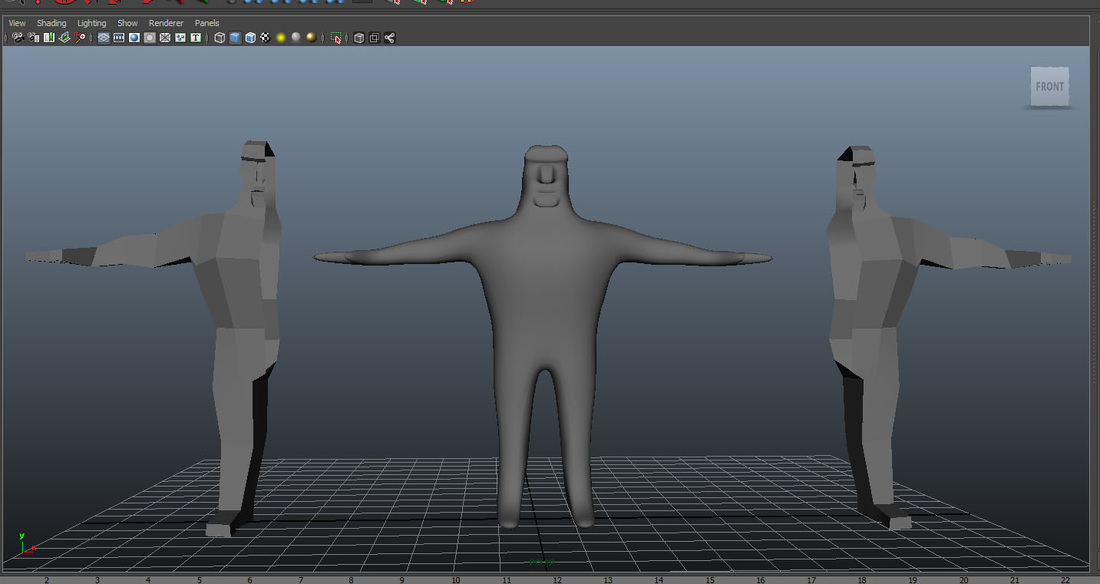
Above: A few images of me remodeling.
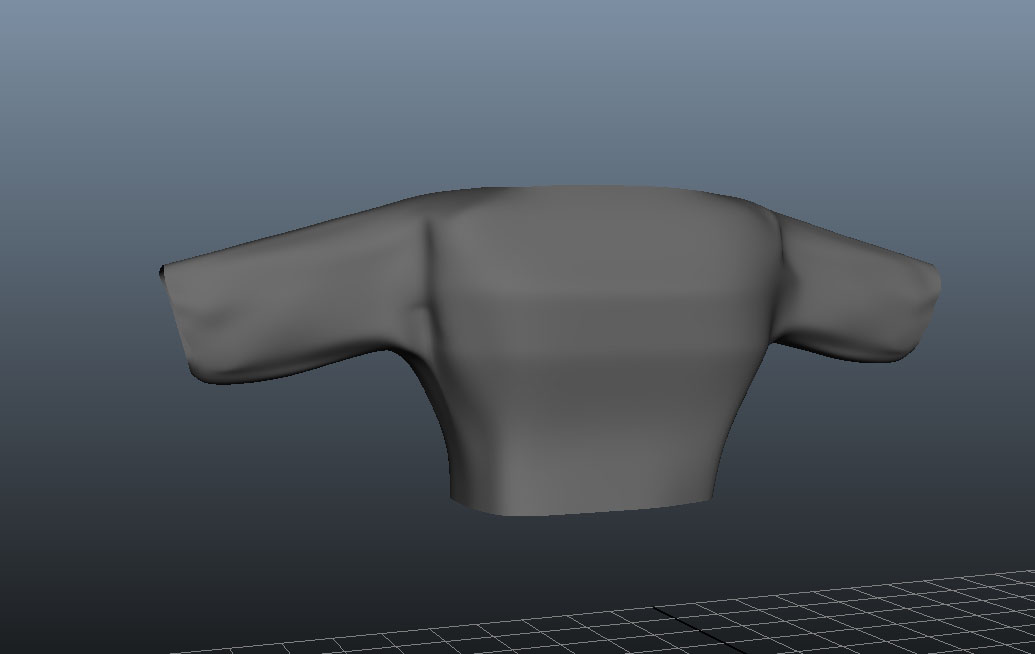
Below: Here is me trying to add a shirt onto the character. It was really difficult for me despite watching a variety of tutorials. I just found it hard making it look smooth and fit against his body correctly. I did try the scult tool in maya, but it didn't feel the same as zbrush. The last image with the colour, I was just trying to see what the texture of that shirt would look like. Result: not very good at all.
Below: Here is me trying to add a shirt onto the character. It was really difficult for me despite watching a variety of tutorials. I just found it hard making it look smooth and fit against his body correctly. I did try the scult tool in maya, but it didn't feel the same as zbrush. The last image with the colour, I was just trying to see what the texture of that shirt would look like. Result: not very good at all.

Below: Here is the design I ended with. I honestly didn't have the right time to do it justice or colour it well. I was so focused on finishing my other projects, I think I neglected this. I will hopefully do another character in the future, one that I don't have a deadline to finish on and one I actually enjoy creating. By the end this got really tedious and frustrating because I felt under pressure. I have learnt a lot though!