Week 1 (03/10/2012)
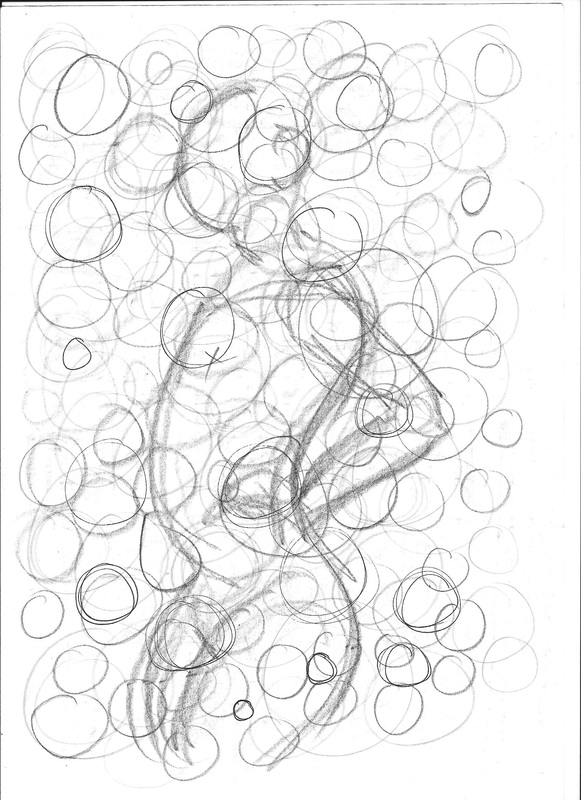
Our first week we were introduced more to the theory and the purpose of life drawing. We didn't actually draw, but were shown good examples of life drawing and what we were expected to achieve in the coming weeks.
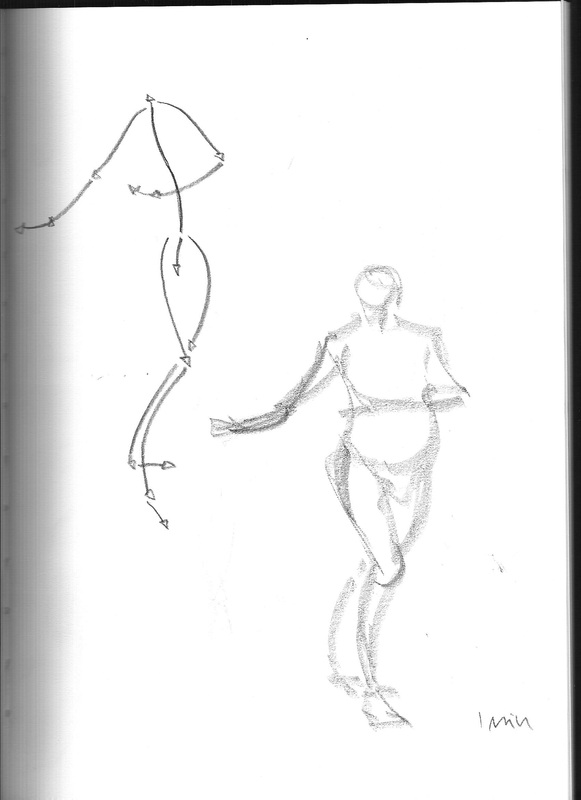
WEEK 2 (10/10/2012)
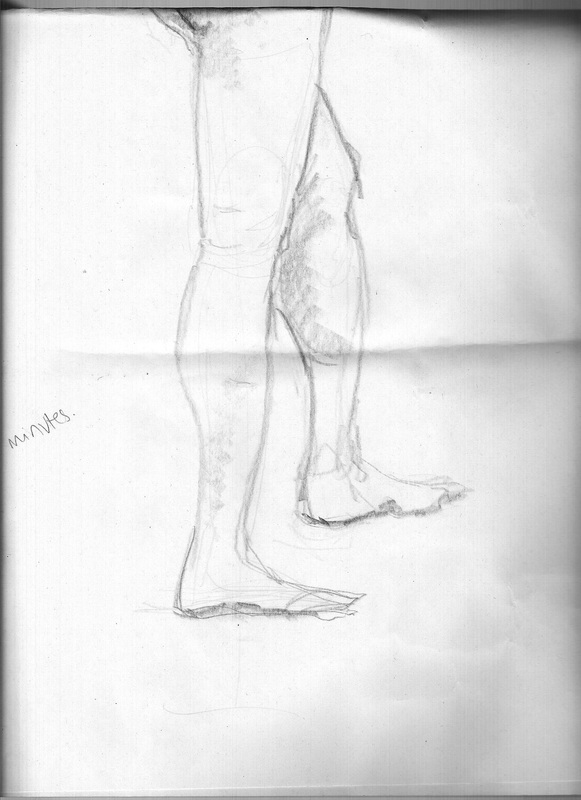
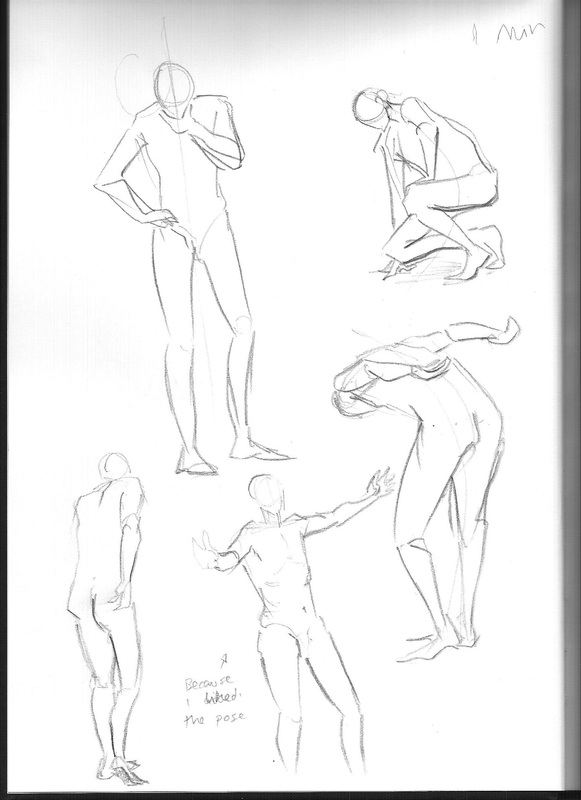
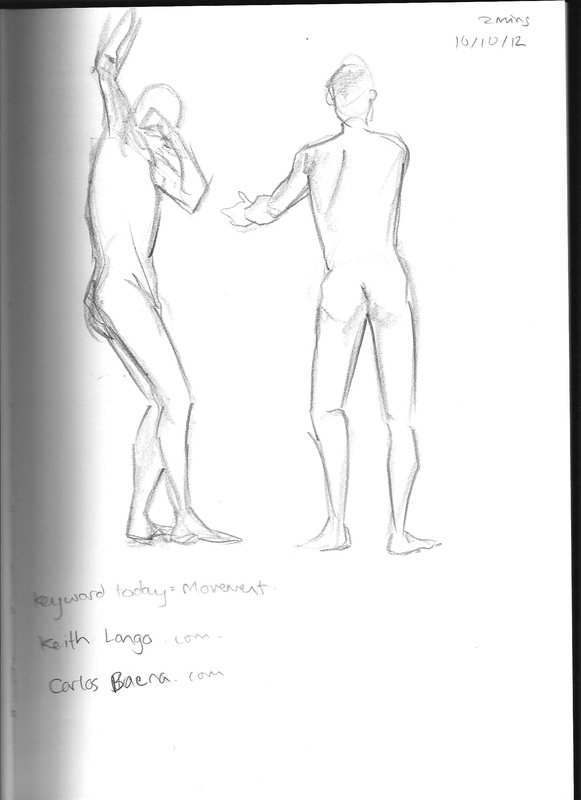
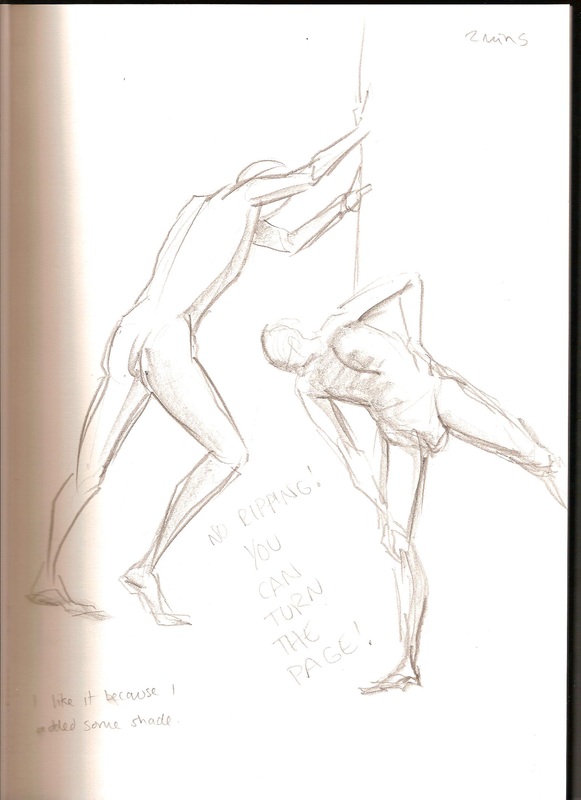
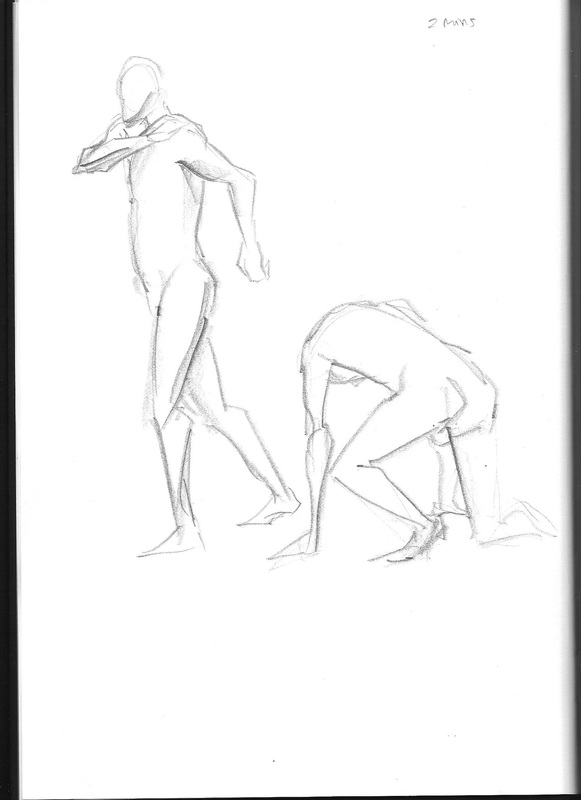
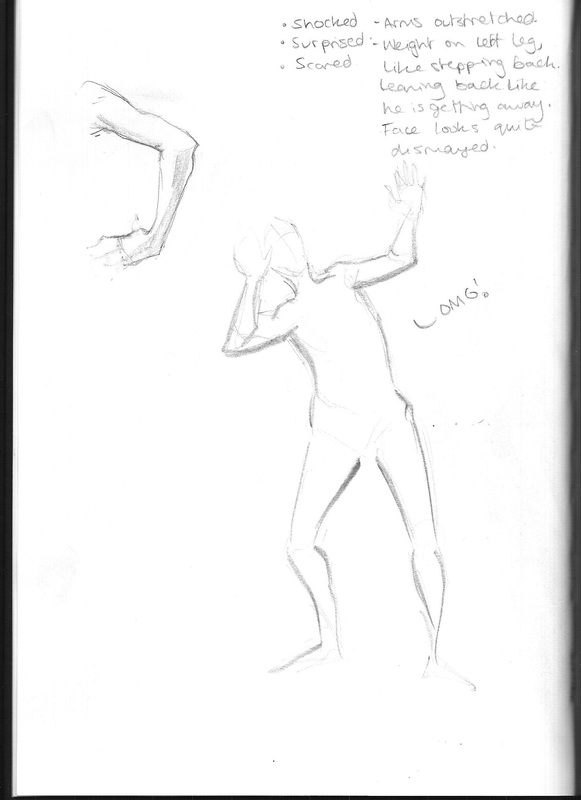
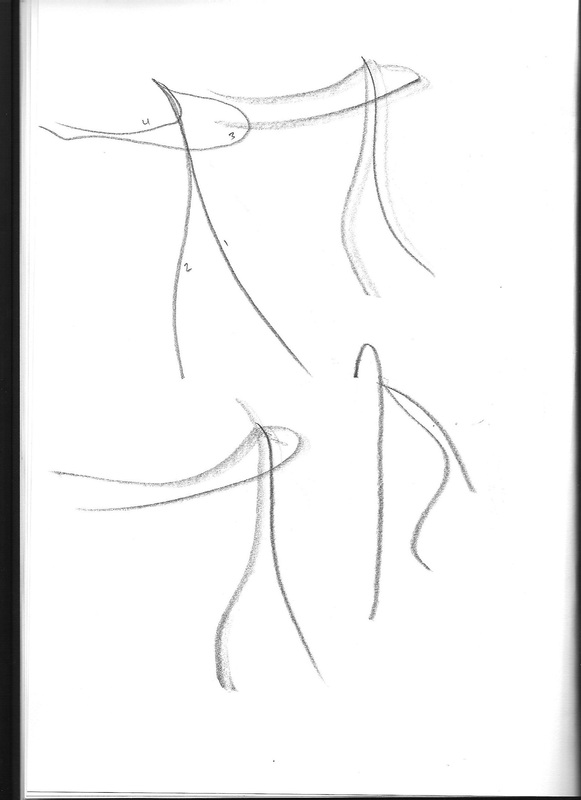
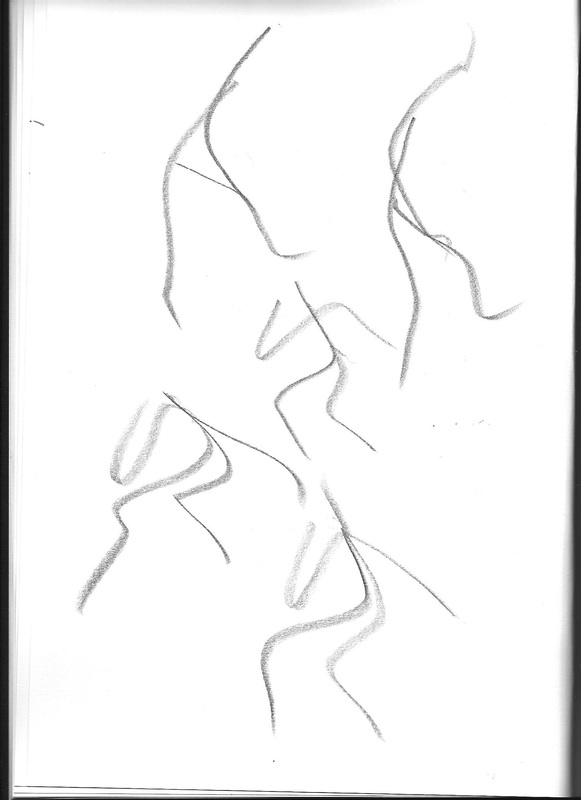
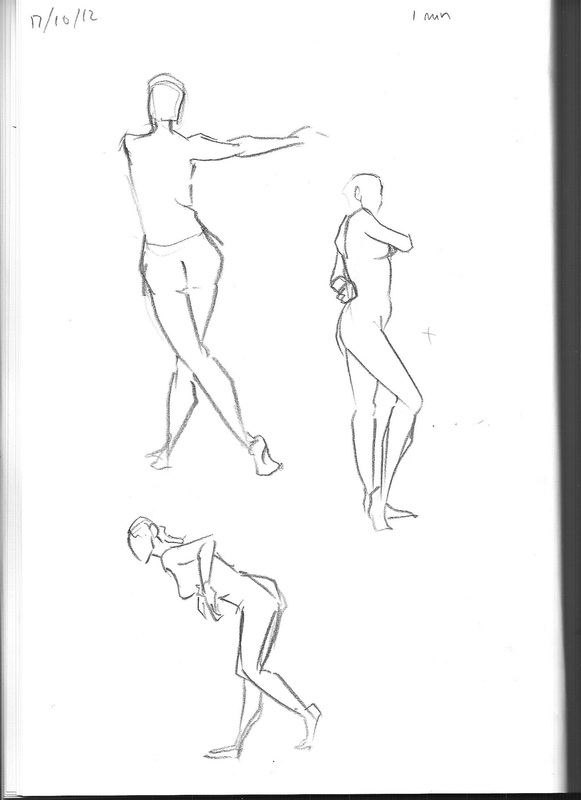
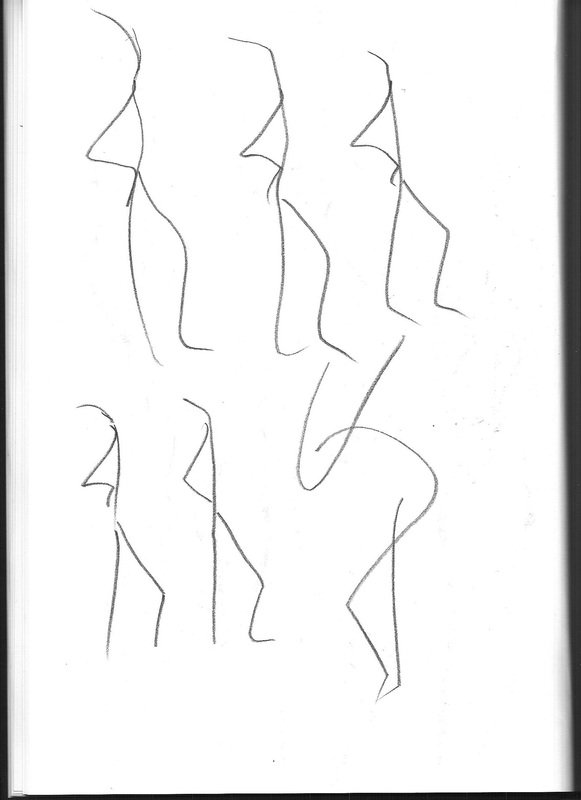
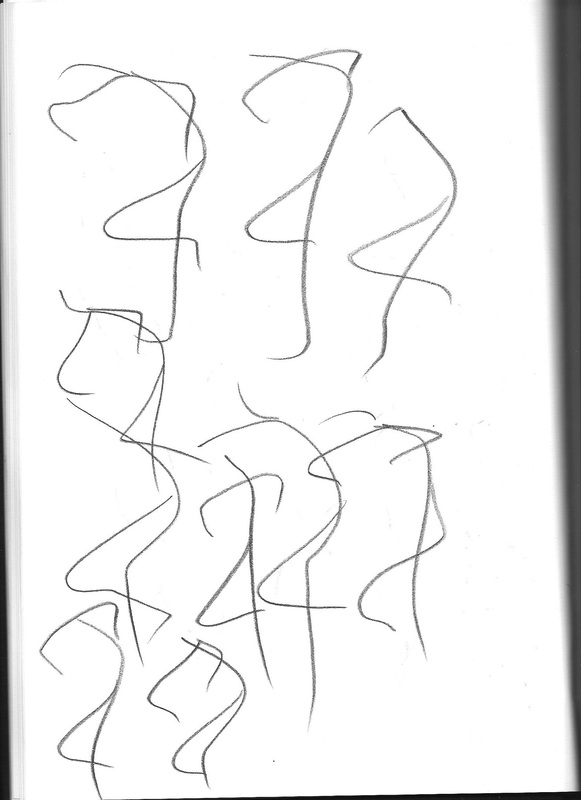
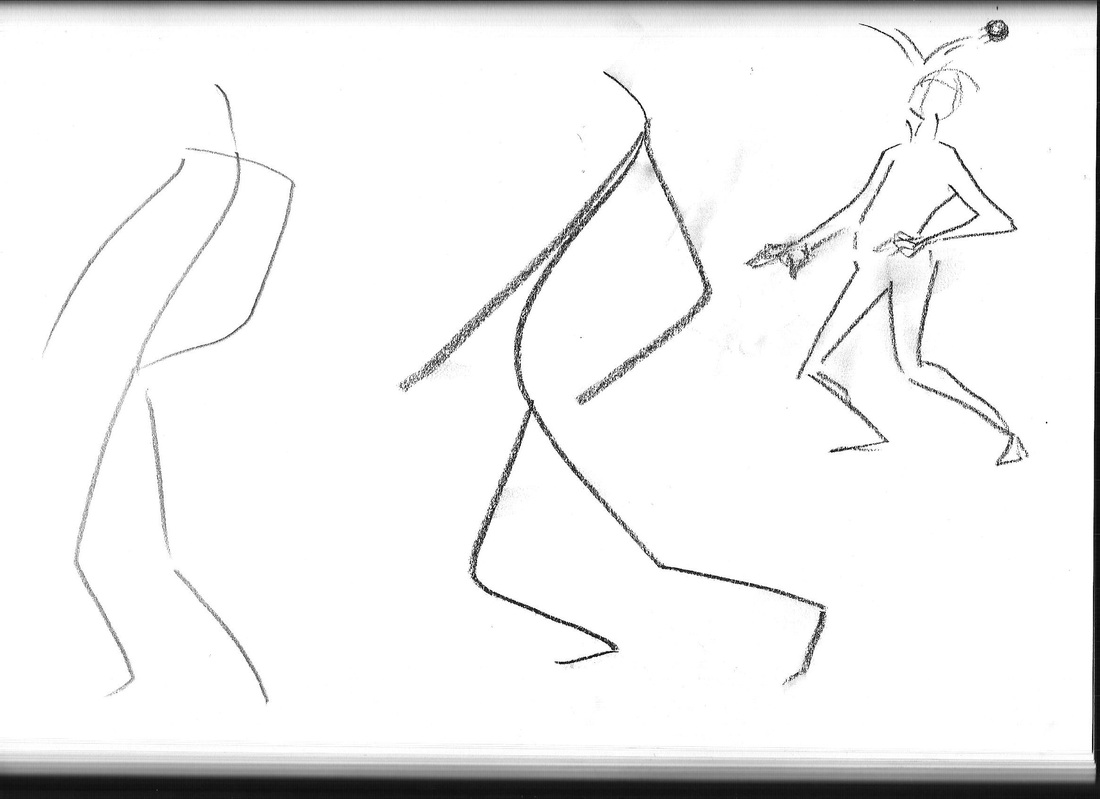
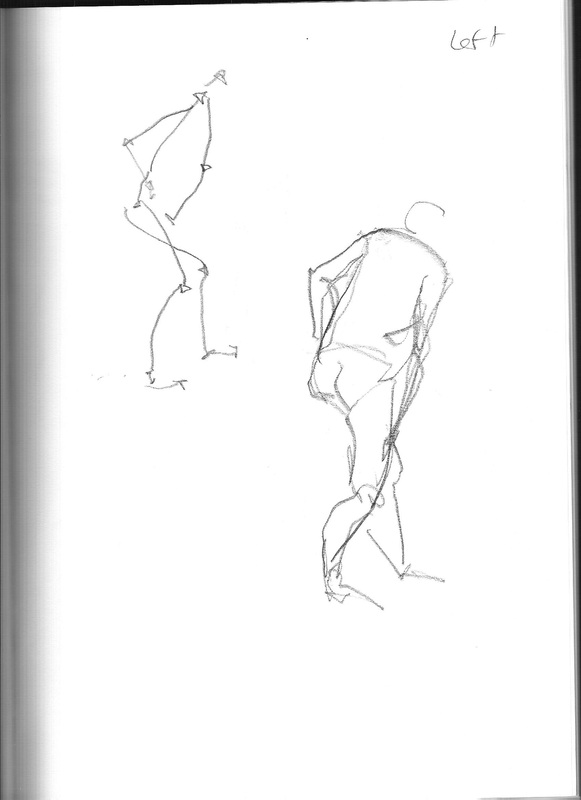
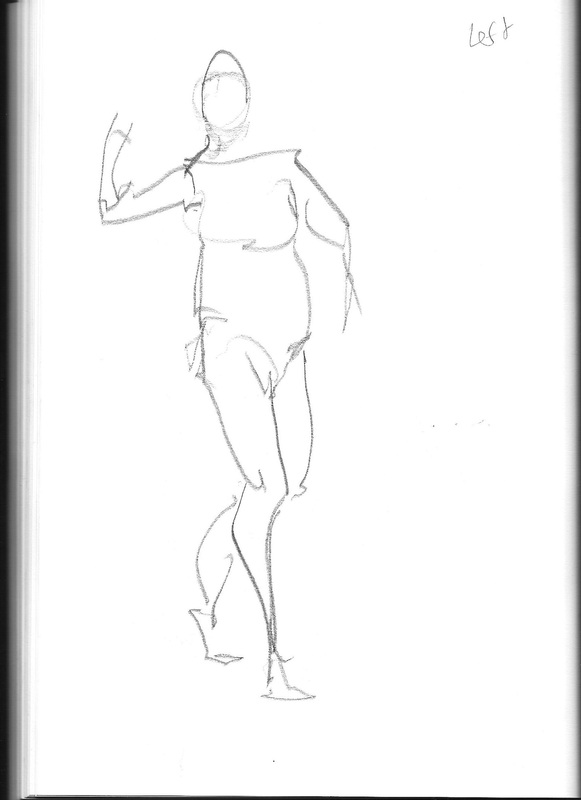
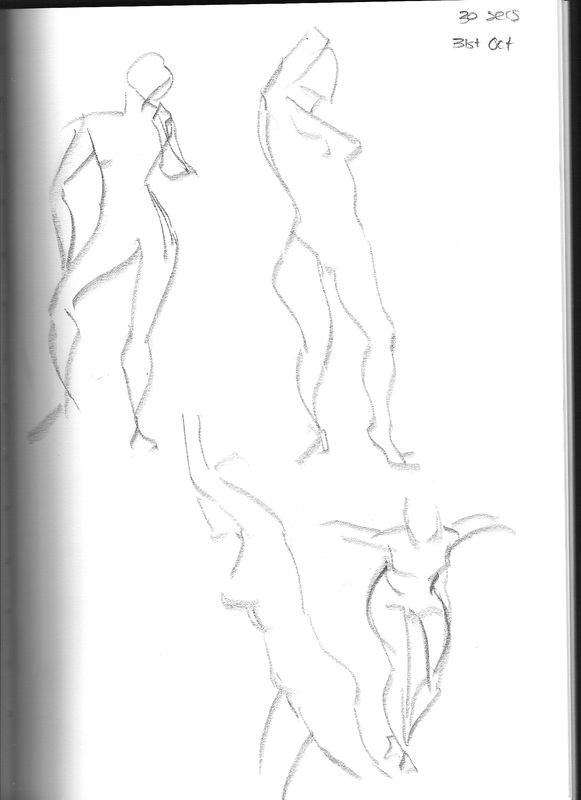
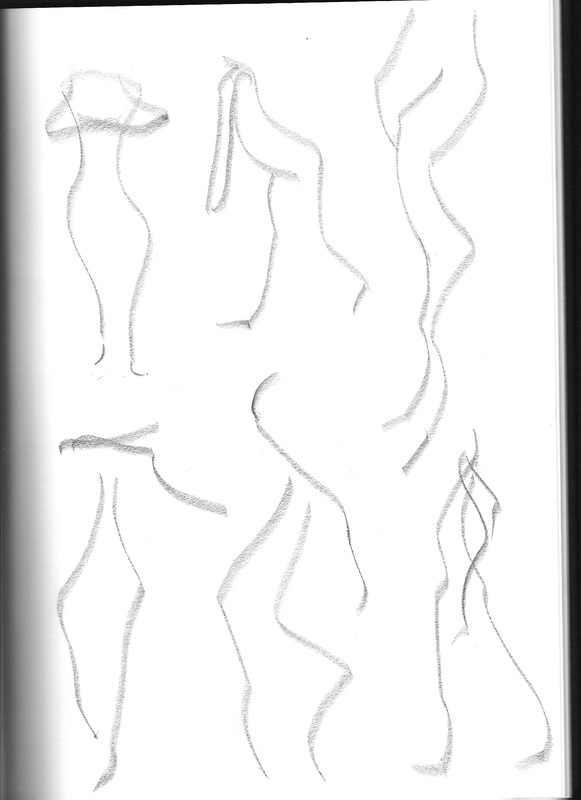
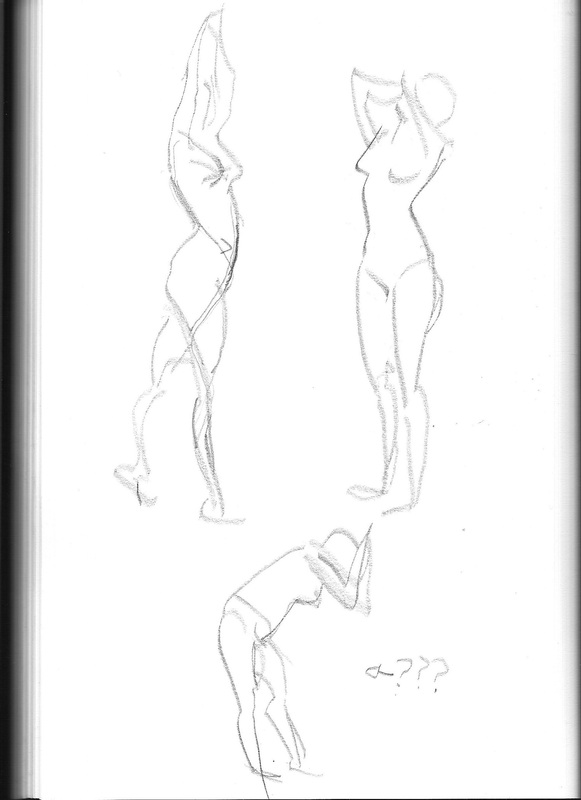
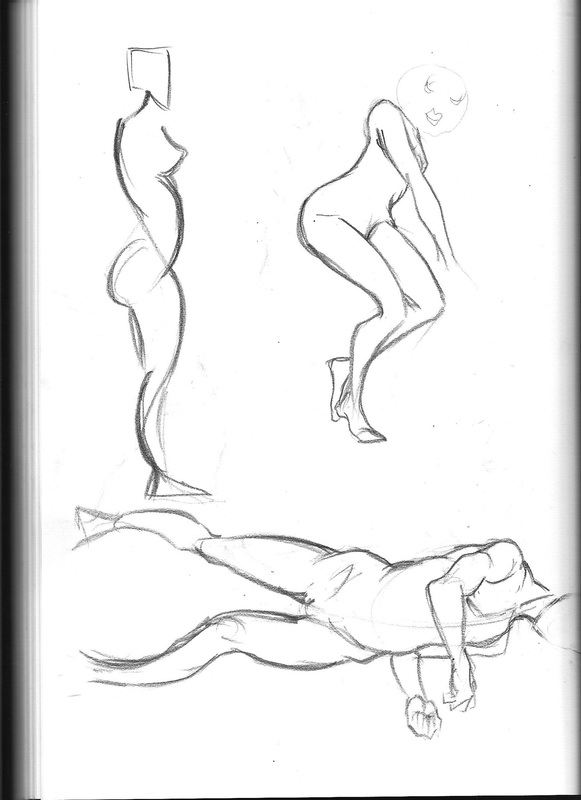
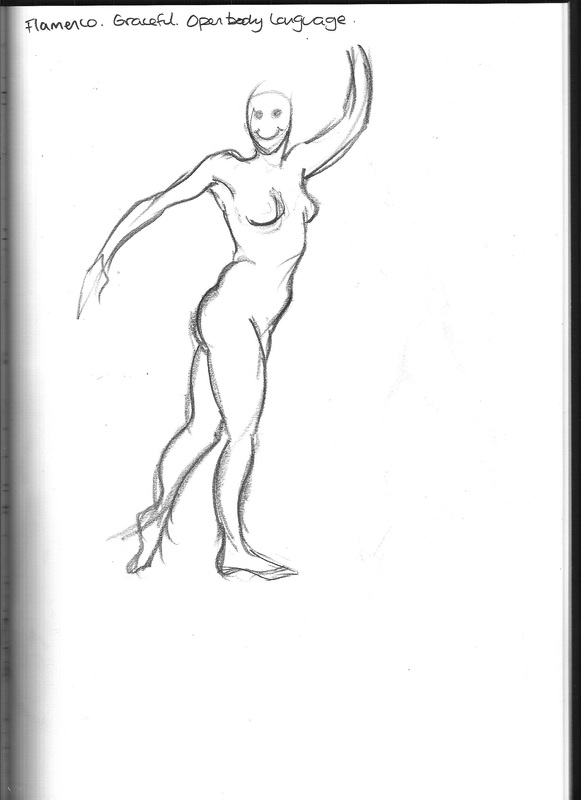
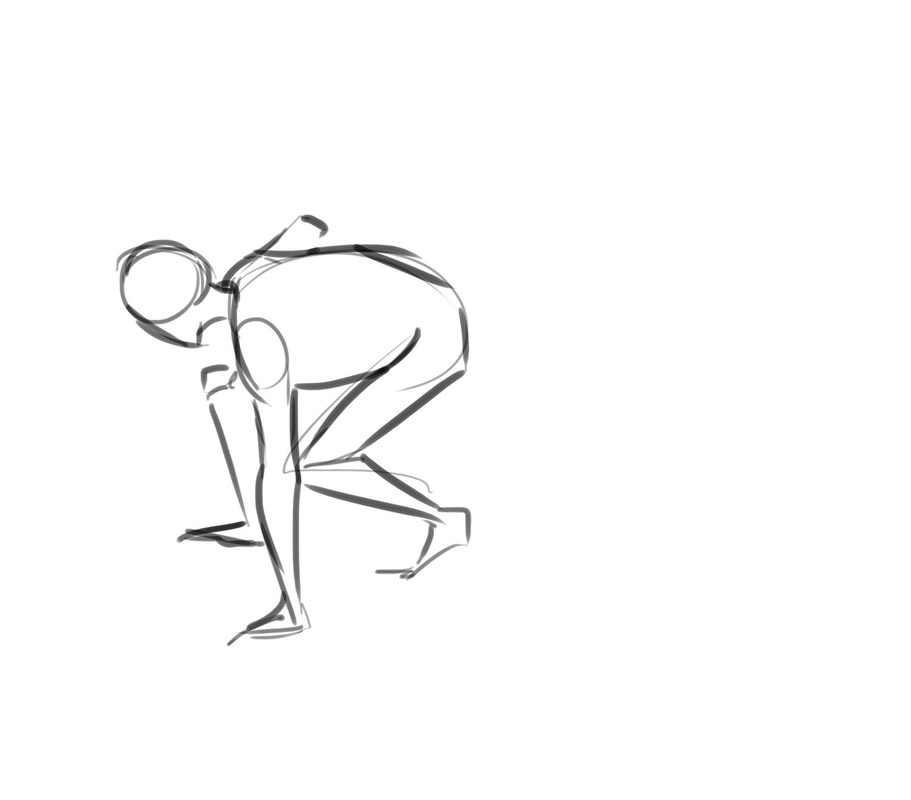
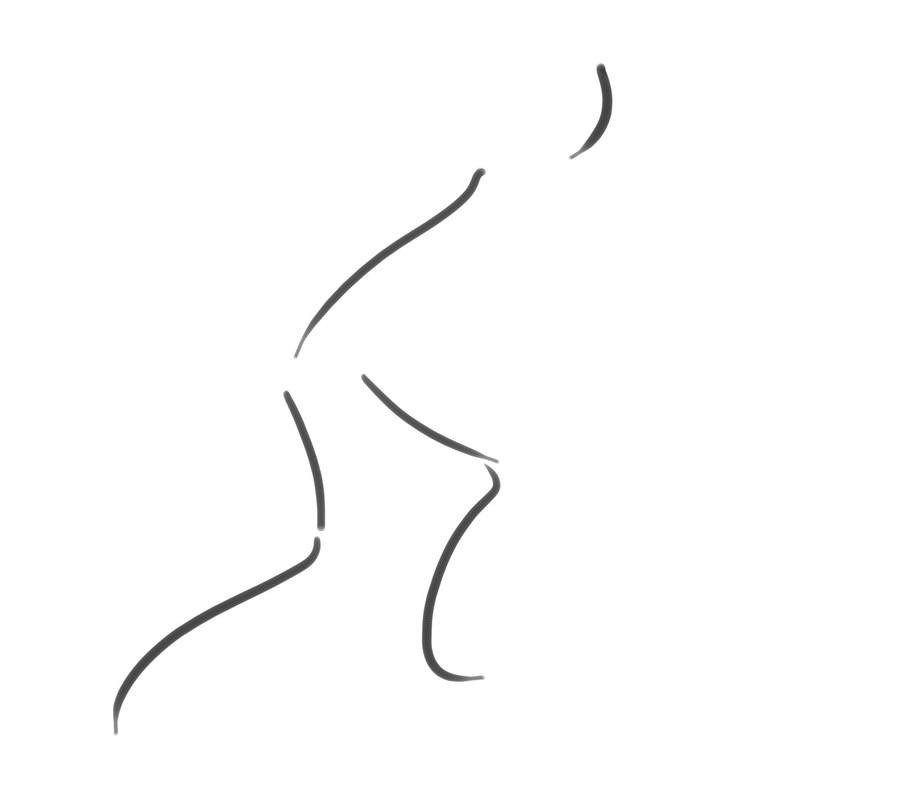
For our second week we did a few 1 minute to 2 minute poses (image examples 1, 2, 3 and 4). This was just to warm us up and get us drawing, keeping in mind our stroke lesson the week earlier. Next we looked at the emotion the model was giving off and to replicate it in our drawing (5). We then proceeded to look at flow lines and why they were important for when we draw.
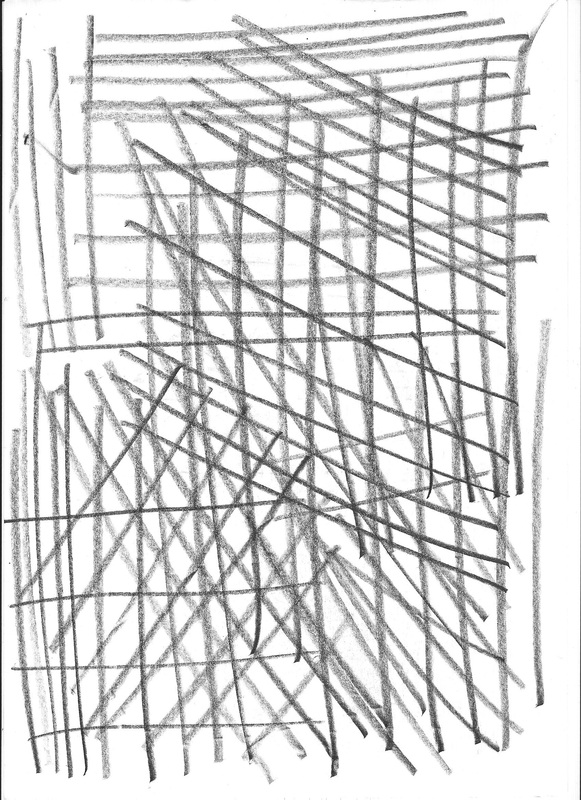
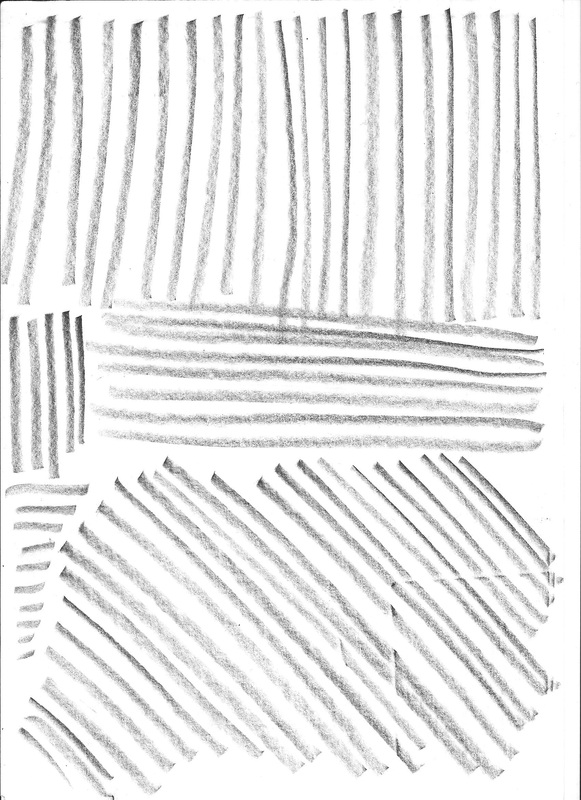
I thought it was really interesting learning about flow lines and how the audience will perceive a pose if the flow lines are off. I didn't particularly enjoy drawing page after page of flow lines, but I understood by the end the importance it makes.
I thought it was really interesting learning about flow lines and how the audience will perceive a pose if the flow lines are off. I didn't particularly enjoy drawing page after page of flow lines, but I understood by the end the importance it makes.
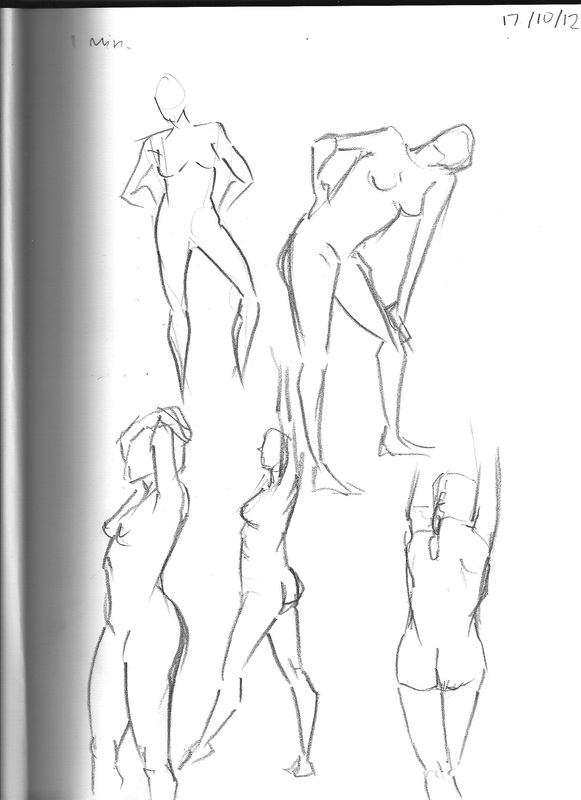
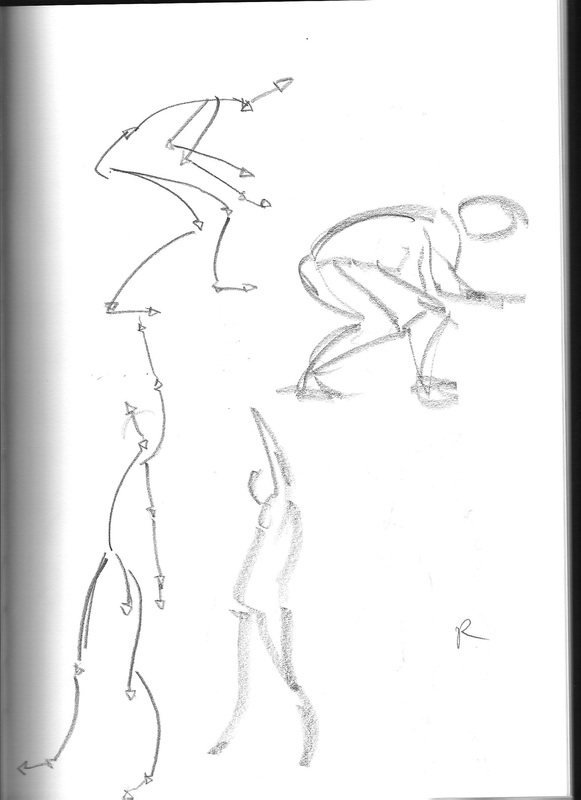
Week 3 (17/10/2012)
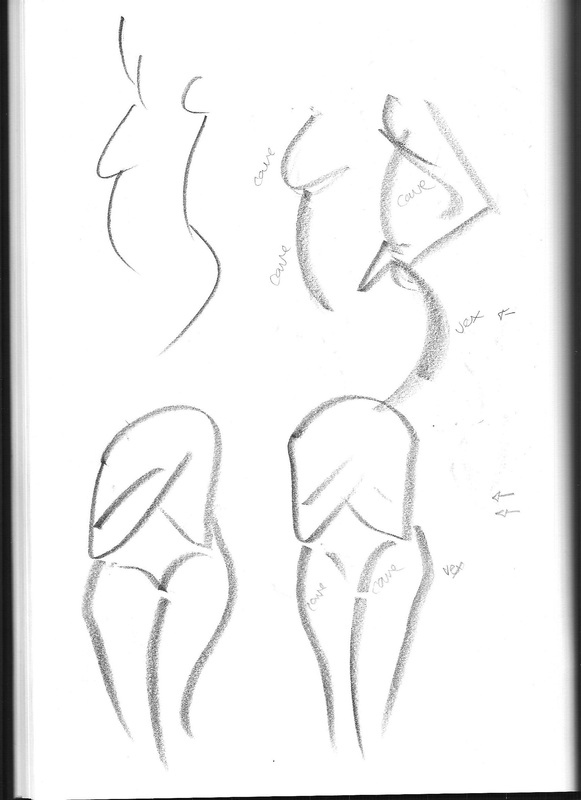
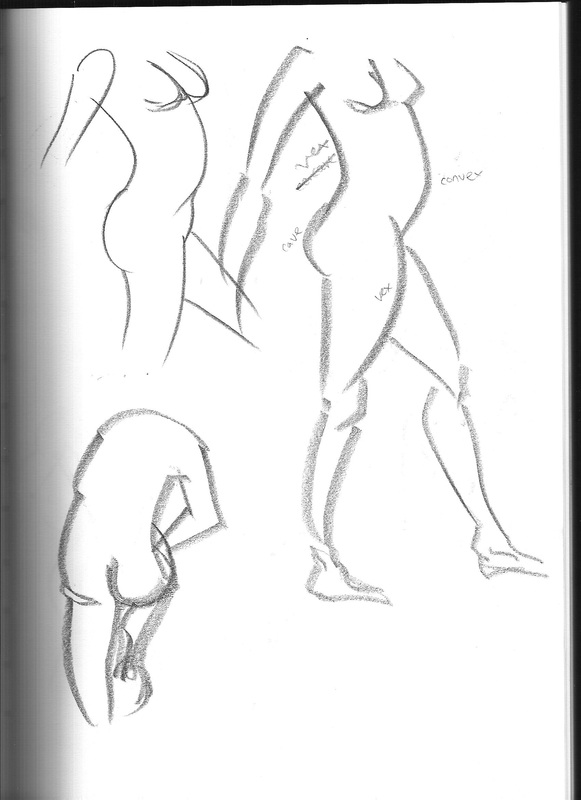
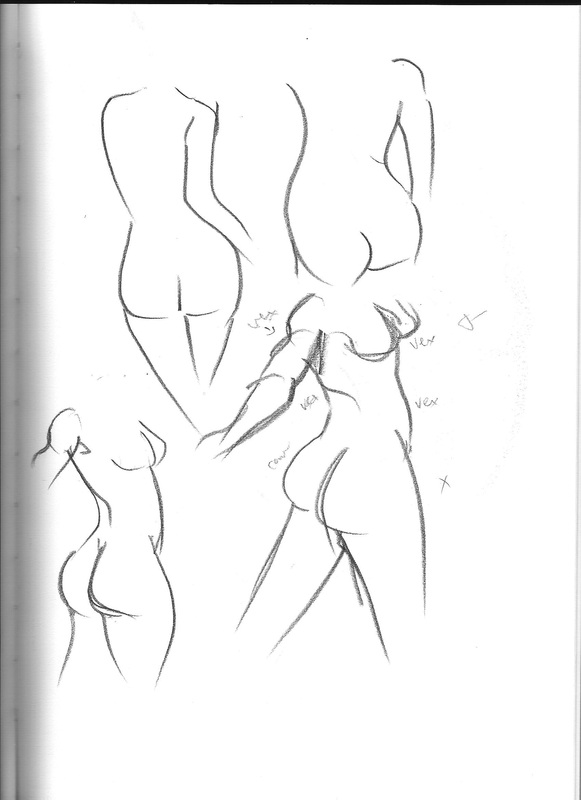
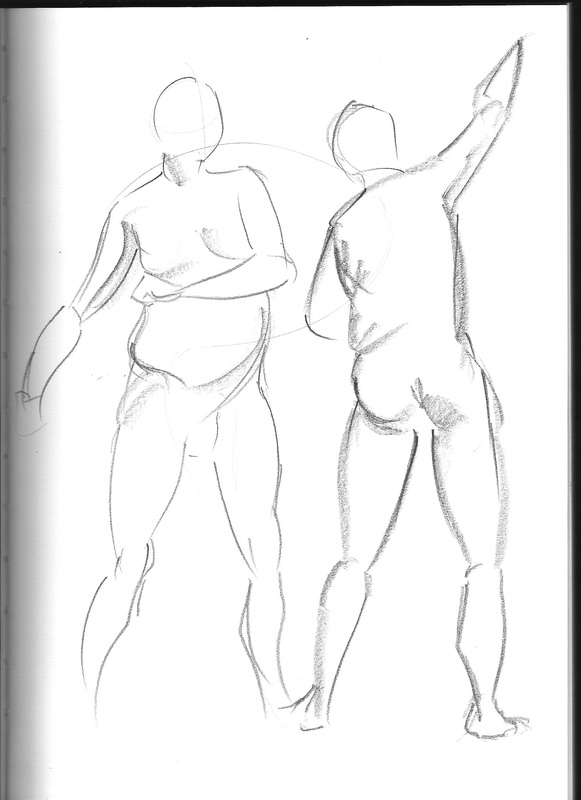
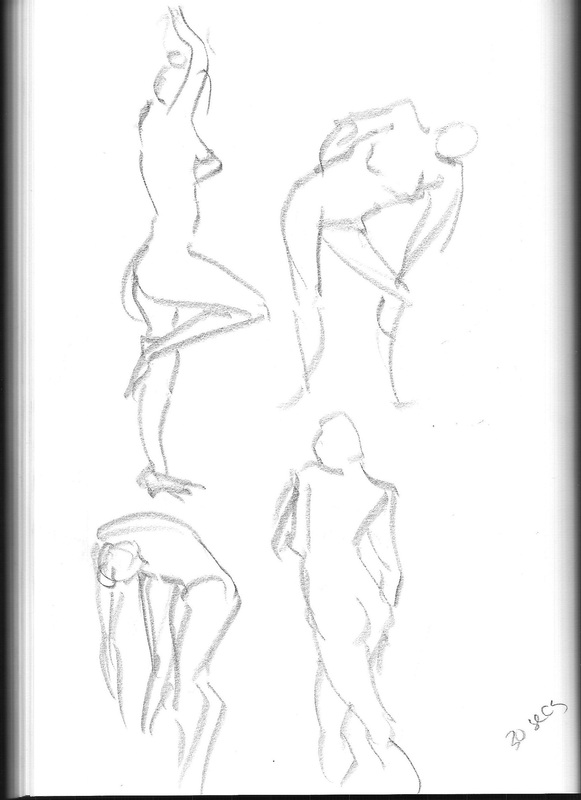
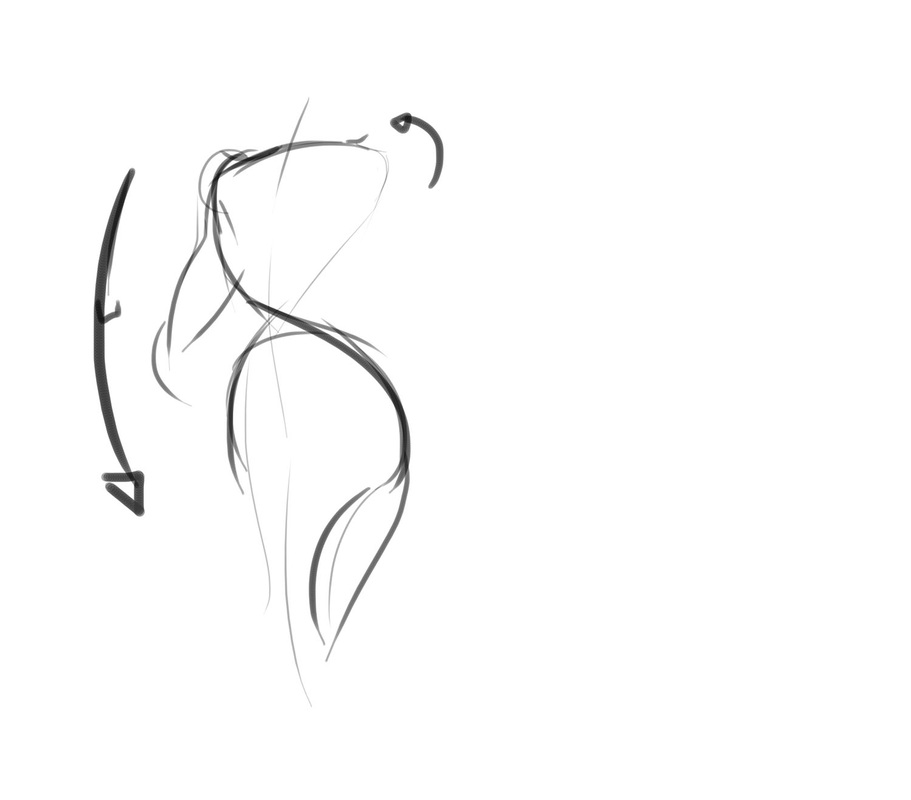
We did a few warm up poses for 1 minute at the beginning and then went over flow lines once more. (1,2 and 3). We then started looking at convex and concaves as well as how the body is made of curves rather than straights.
I think it is really interesting seeing these change of flow in my drawins from the first warm up drawings to the later drawings. The concave and convex was actually confusing for me at first, but by the end I understood and could apply them to all my drawings. I like learning about the opposing curves and how two convexes or concaves should never really be parallel.
I think it is really interesting seeing these change of flow in my drawins from the first warm up drawings to the later drawings. The concave and convex was actually confusing for me at first, but by the end I understood and could apply them to all my drawings. I like learning about the opposing curves and how two convexes or concaves should never really be parallel.

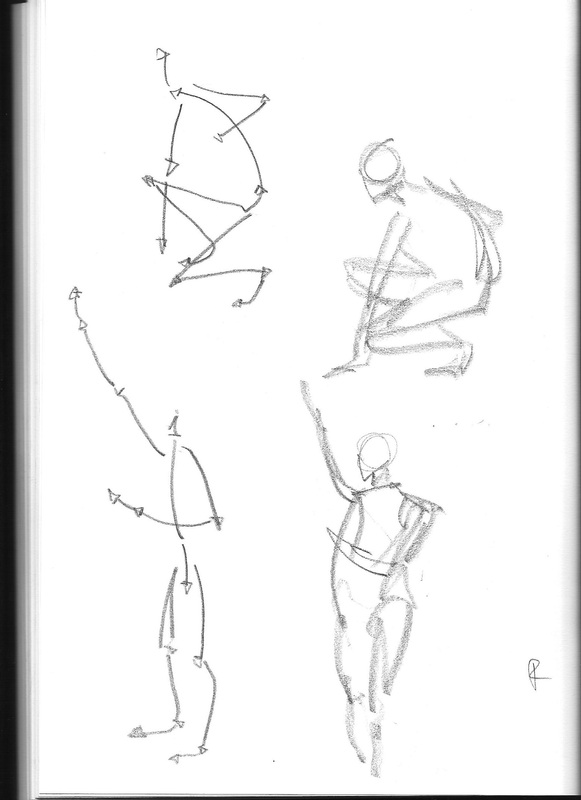
Week 4 (24/10/2012)
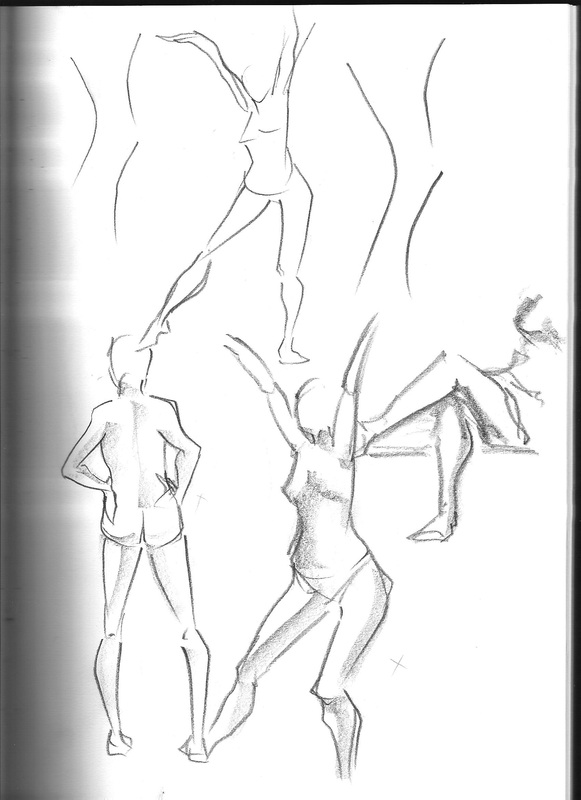
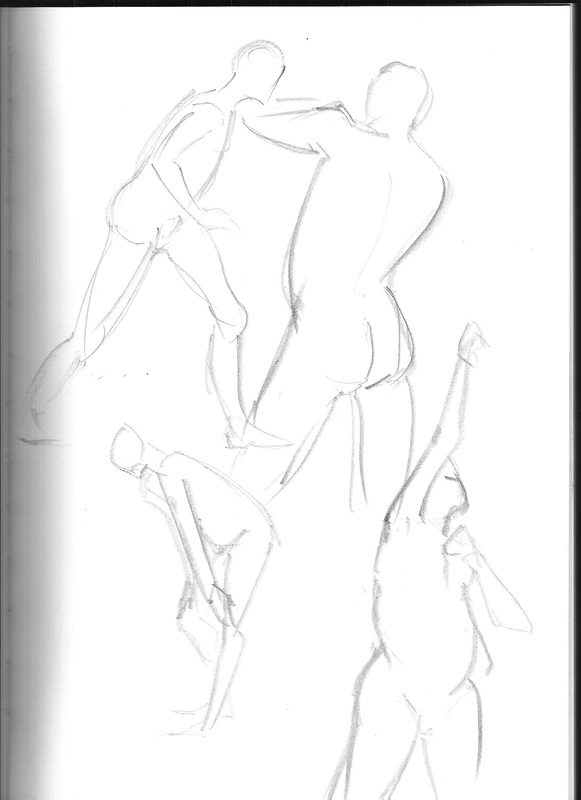
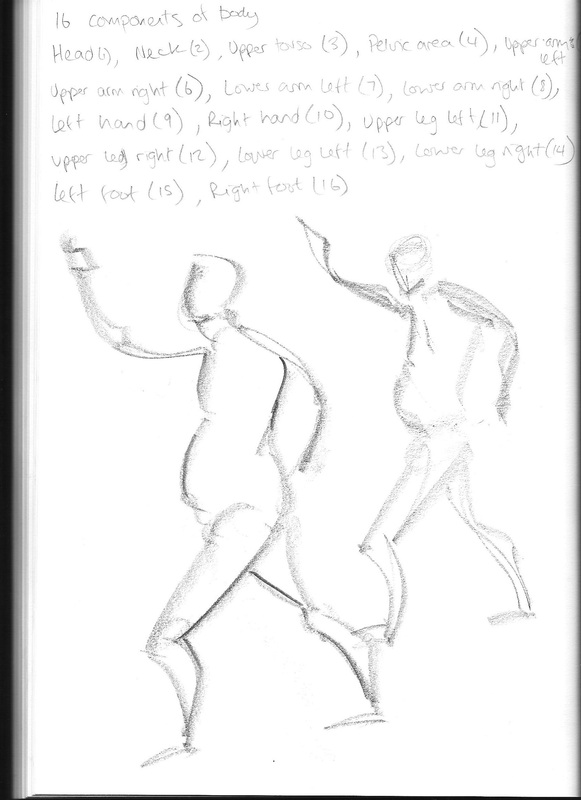
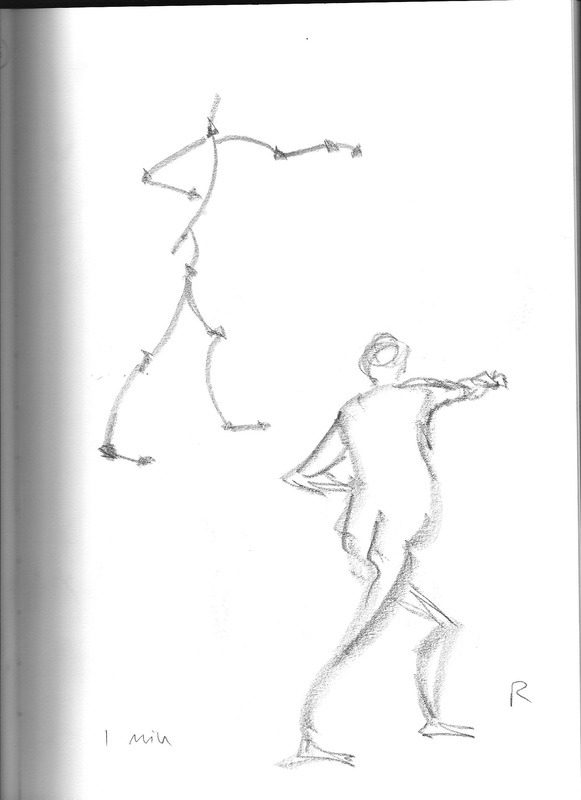
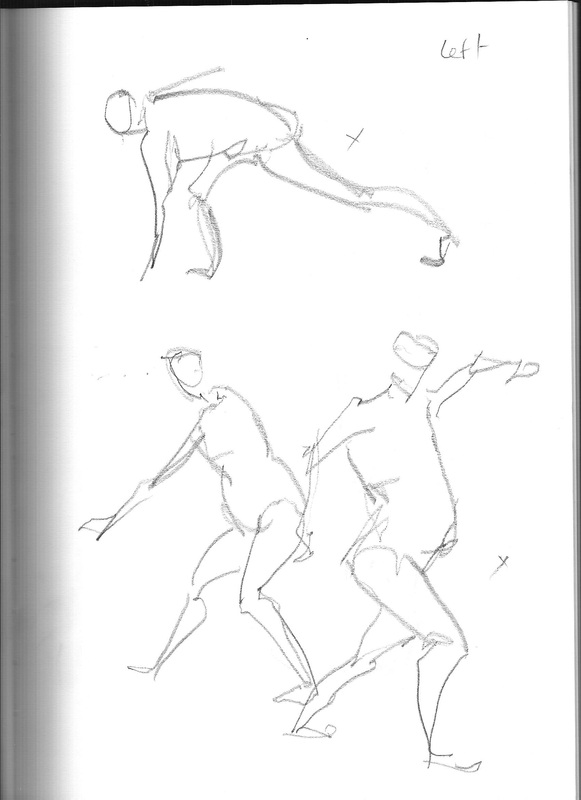
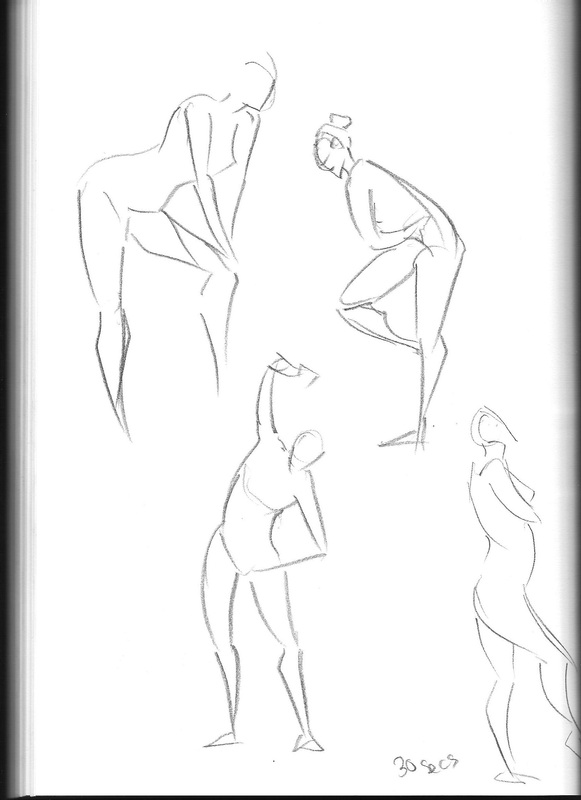
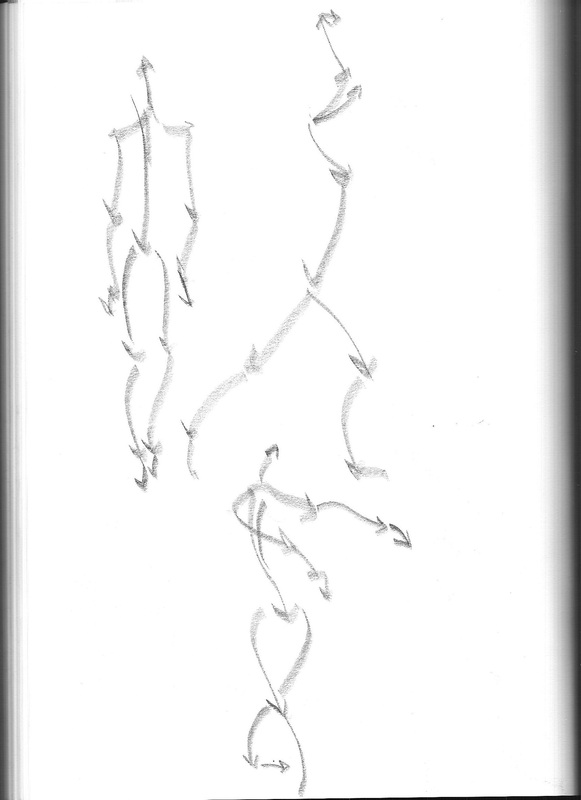
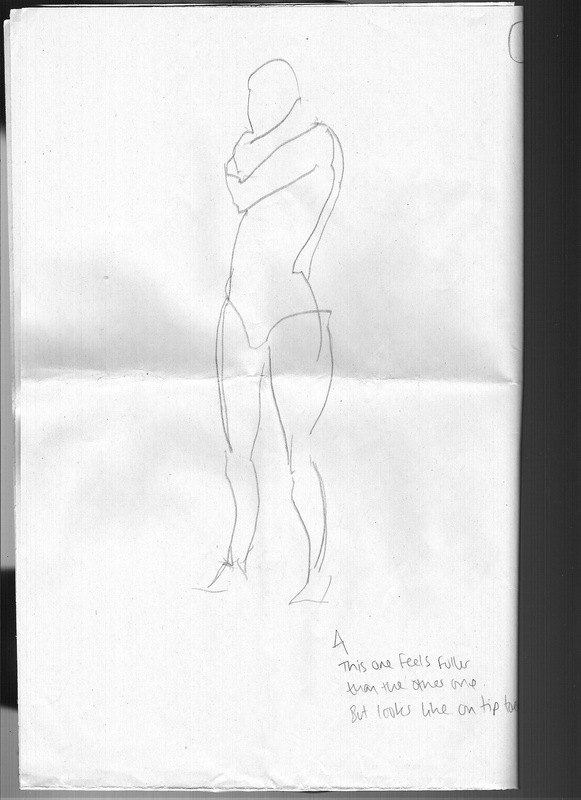
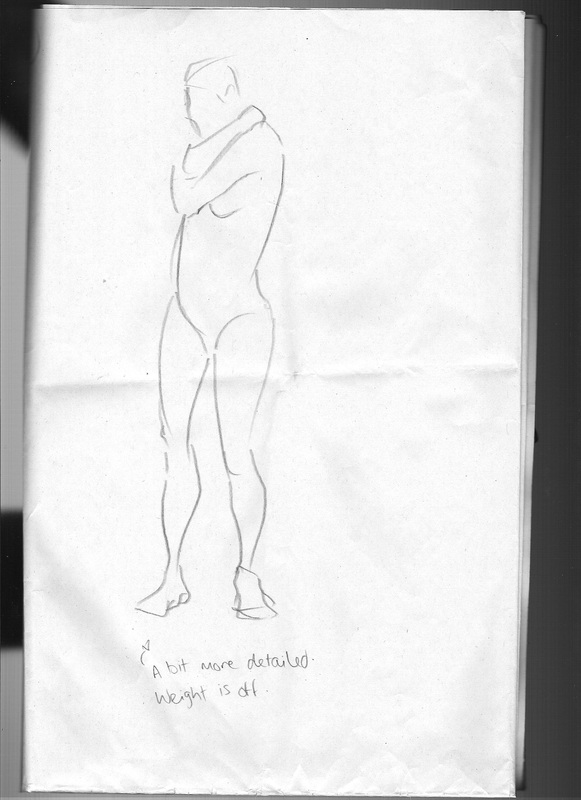
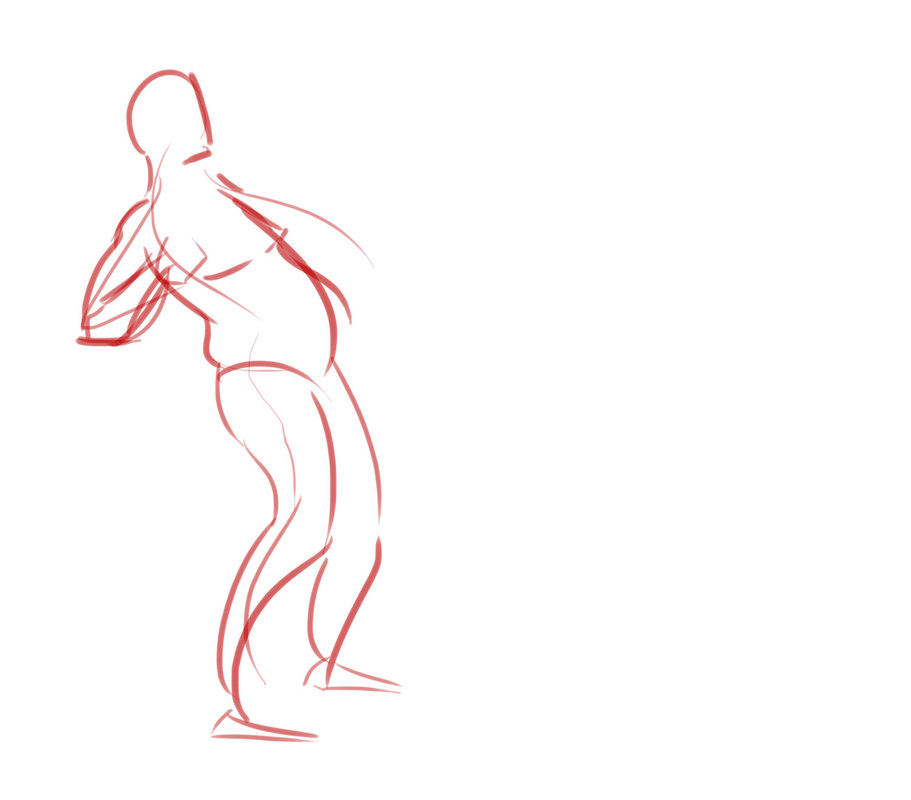
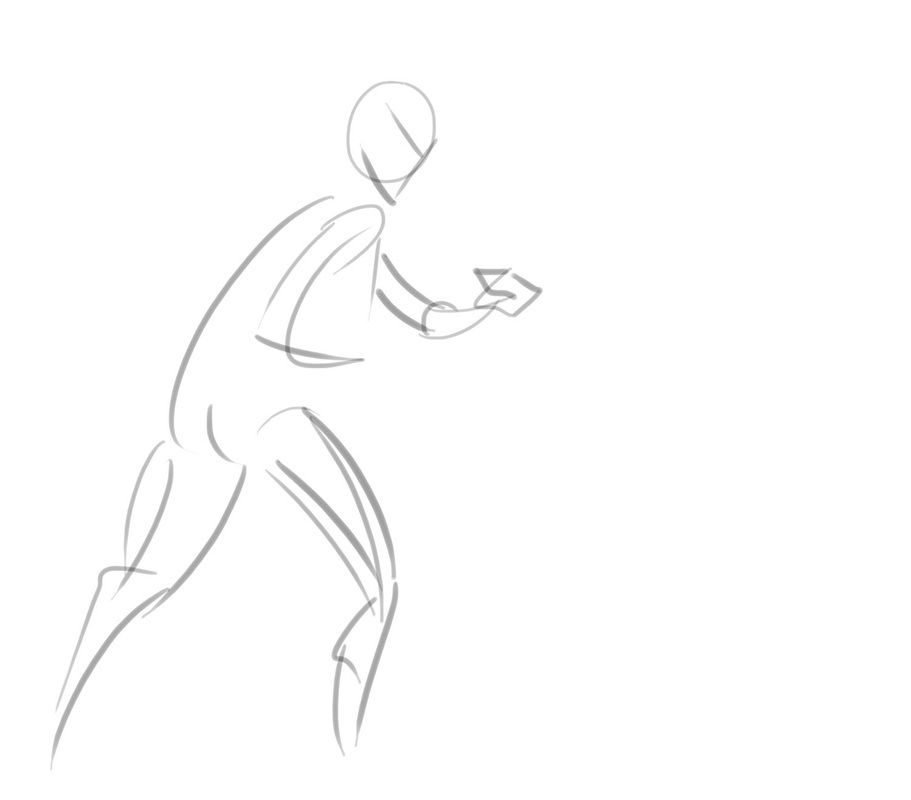
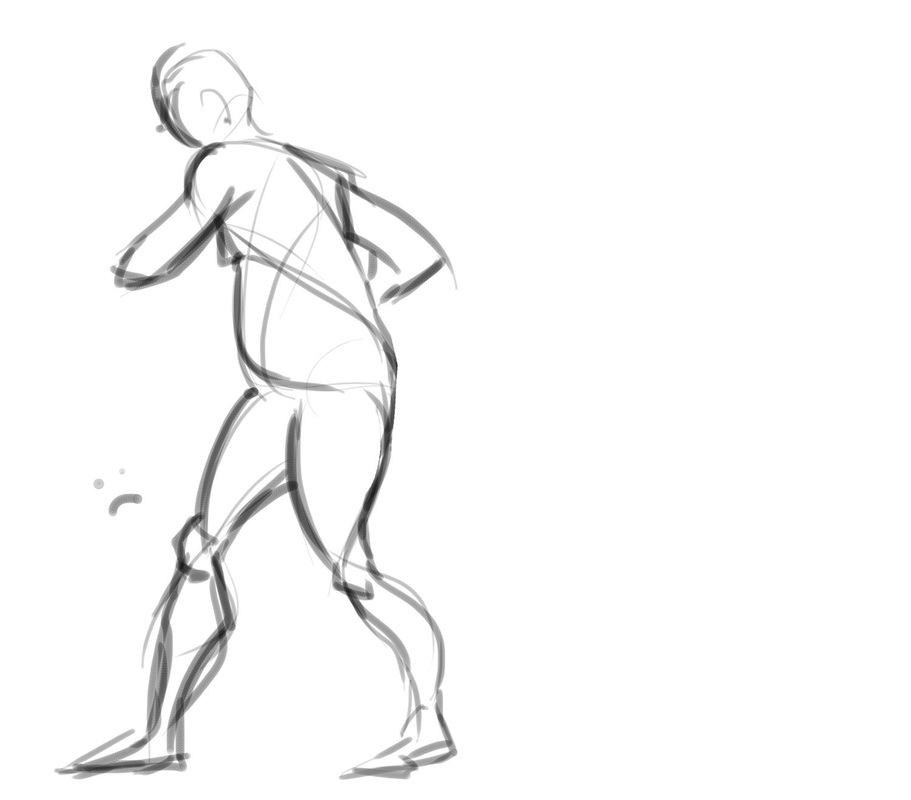
Once again we had warm up drawings for 1 minute at a time (1 and 2). I already took into account out earlier lessons and held my pencil a different way and immediately I could see the difference in my strokes. We also did some more flow lines and looked at using arrows to show the direction of weights of the pose. We also learnt the 16 main body parts.
I really enjoyed this particular session as I really liked doing the arrow drawings and doing the actual pose next to them (even if we weren't meant to). We were given 1 minute each for each arrow pose. Also, we did a few opposite hand drawings. Since I'm right handed I used my left and got rather surprising results. My work was much more dynamic and freer when using my left. I didn't focus too much on getting it exactly like the model (because I physically couldn't) so I just tried to get the right shapes and lines down and it worked out nicely.
I really enjoyed this particular session as I really liked doing the arrow drawings and doing the actual pose next to them (even if we weren't meant to). We were given 1 minute each for each arrow pose. Also, we did a few opposite hand drawings. Since I'm right handed I used my left and got rather surprising results. My work was much more dynamic and freer when using my left. I didn't focus too much on getting it exactly like the model (because I physically couldn't) so I just tried to get the right shapes and lines down and it worked out nicely.
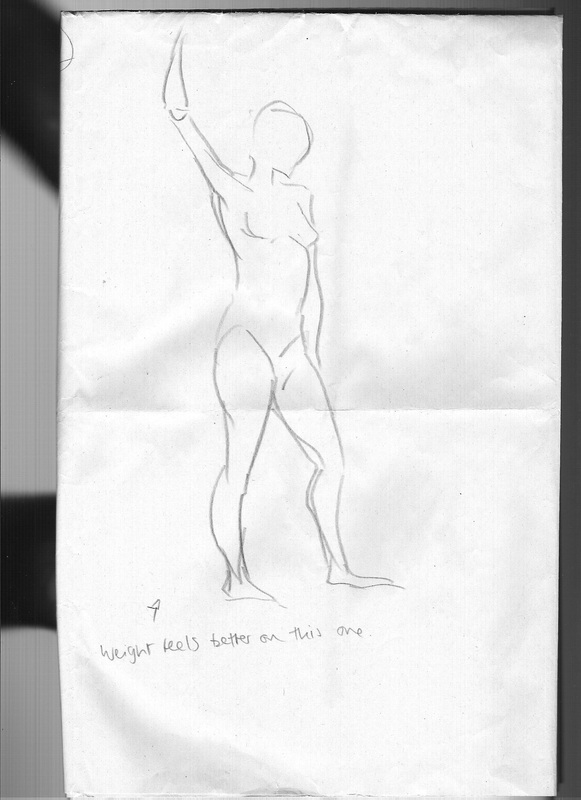
Week 5 (31/10/2012)
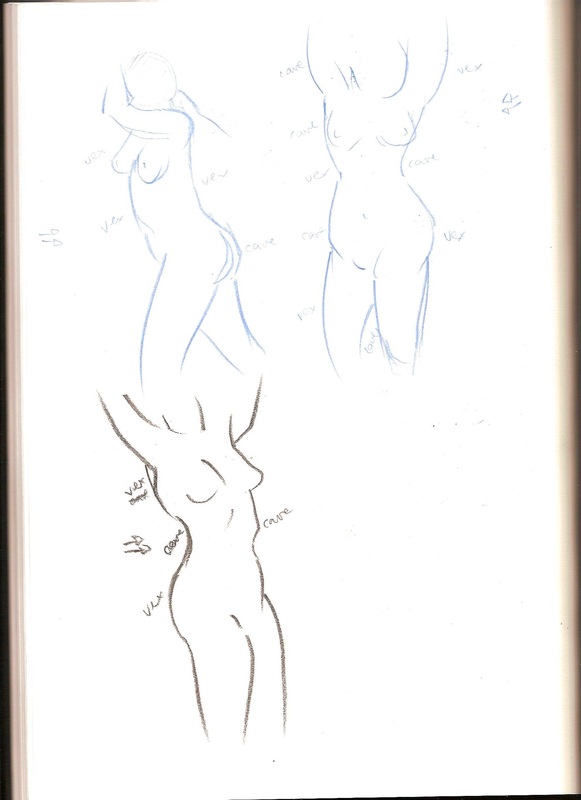
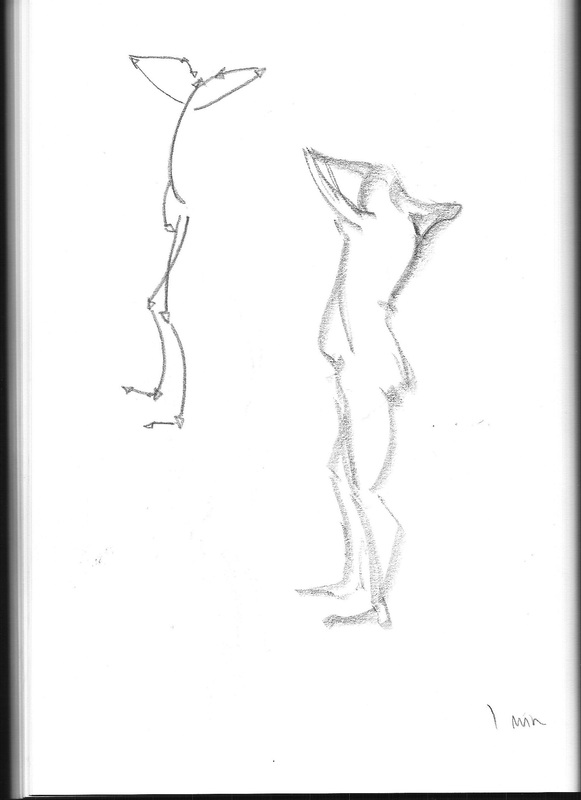
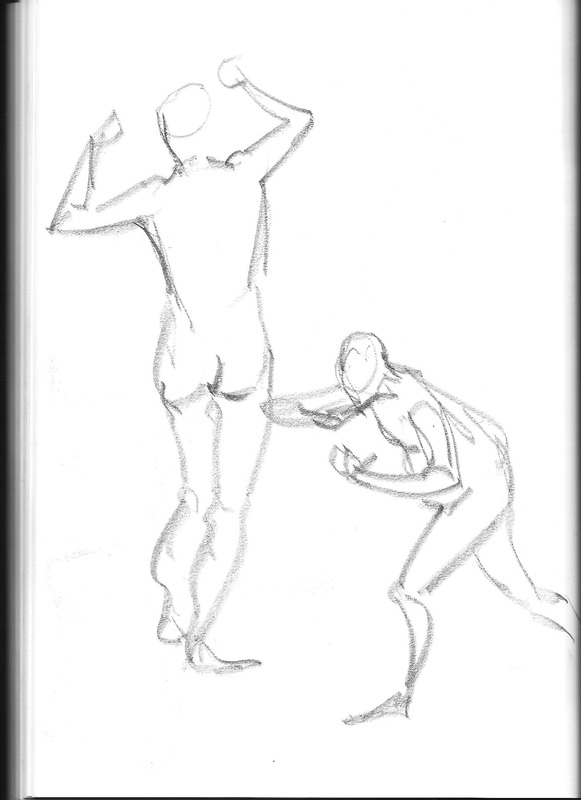
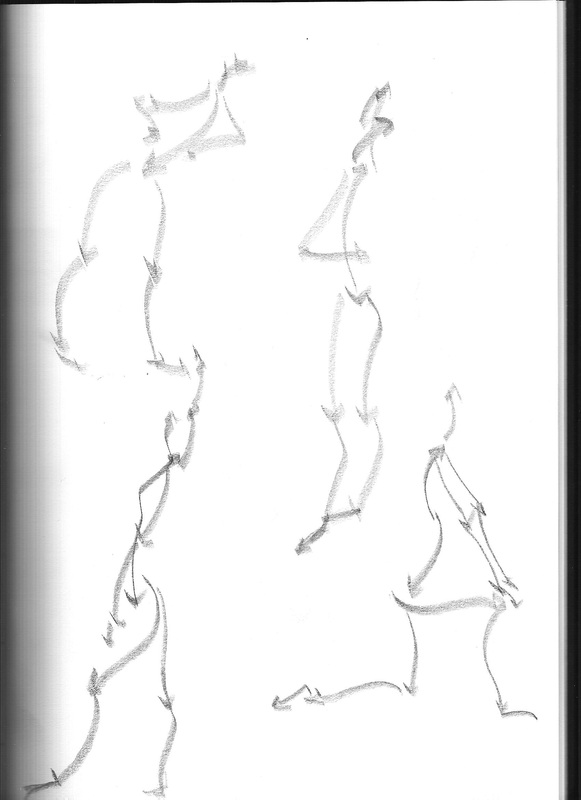
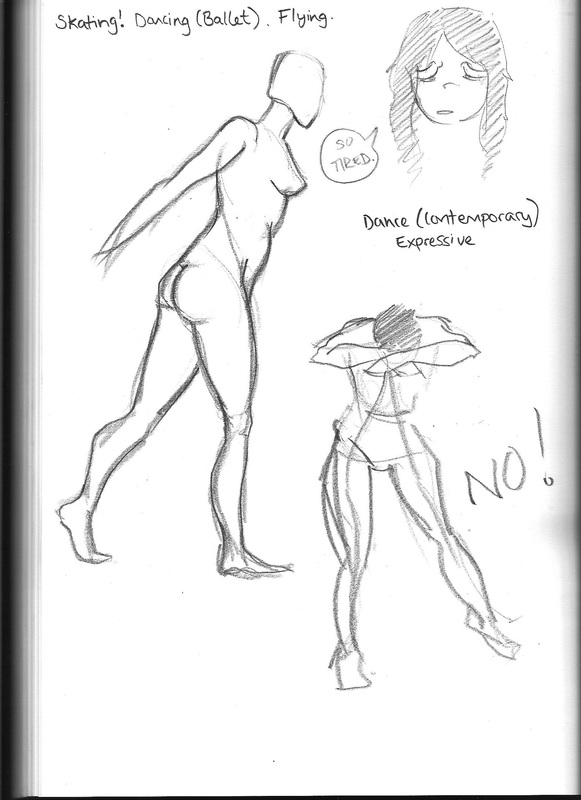
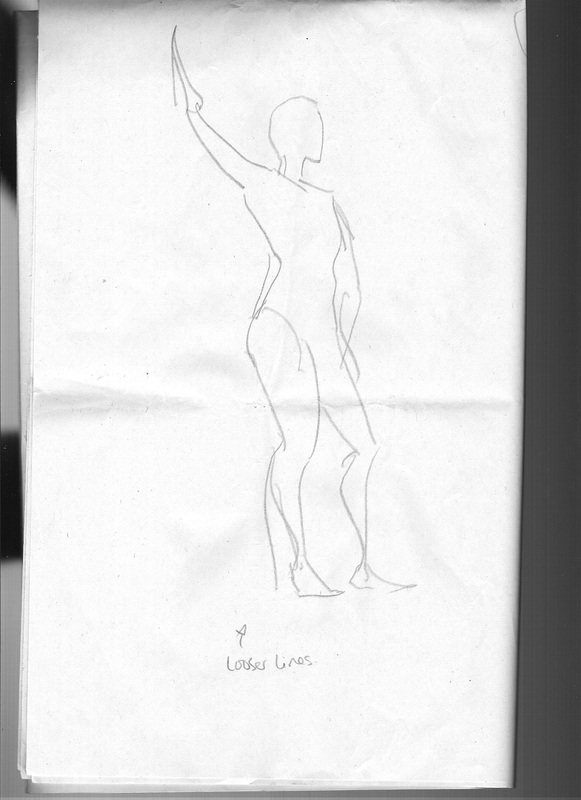
Even with our 1 minute sketches at the beginning I tried to be a bit more loose, so I held the pencil in the way Dan showed us. For some reason this week I was finding it hard to just draw in general. We did a few more exercises, with the usual flow lines and arrow figures before we looked at the whole idea of opposing curves and how a body should have curves like a 'ski slope'. This means that the body's curves should kind of act like ski curves as one go down it and that each curve should be able to flow into the next.
The last line of drawings should demonstrate the idea of the ski slopes, but I couldn't get it down that well for some reason.
The last line of drawings should demonstrate the idea of the ski slopes, but I couldn't get it down that well for some reason.
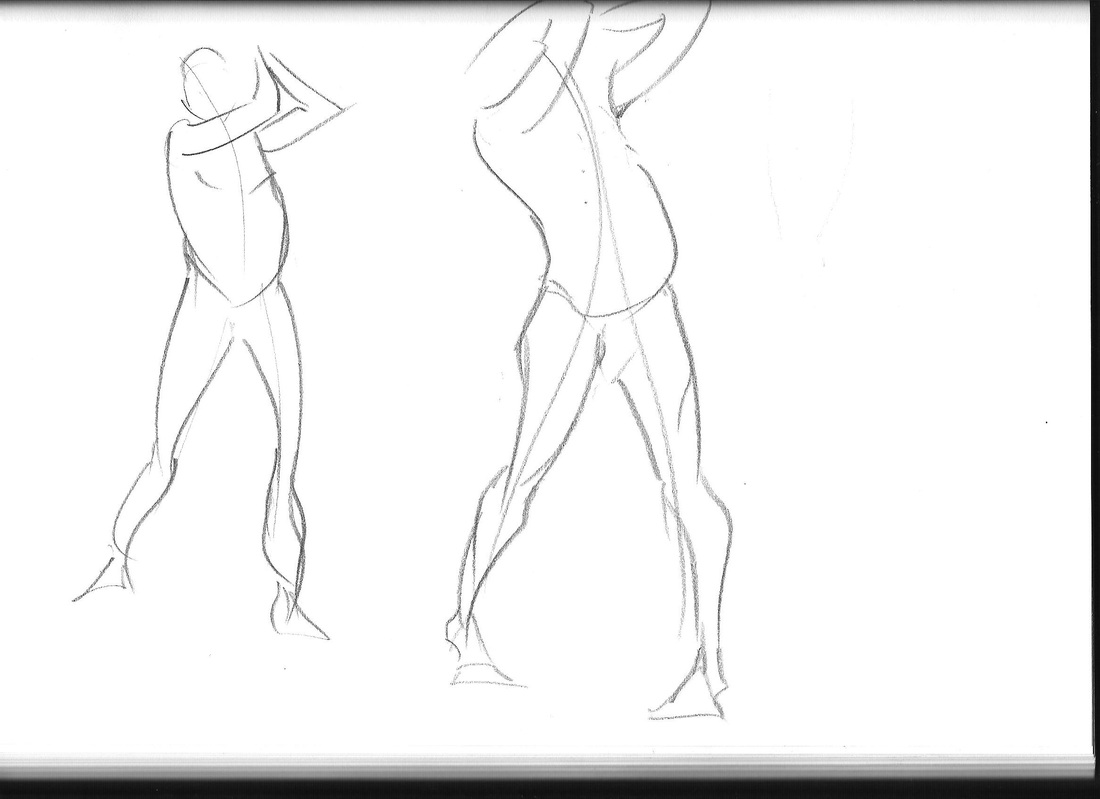
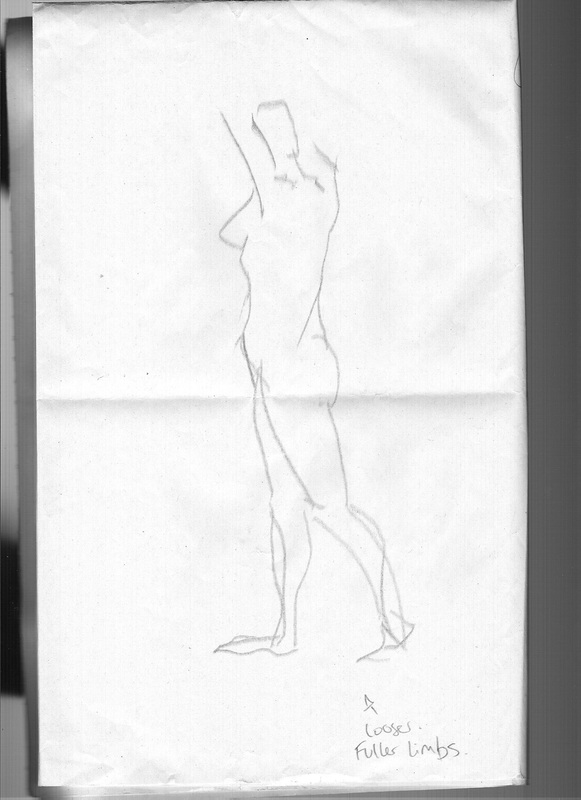
These are a few more life drawing pieces that I did where we drew the same pose, one left handed, one right handed.


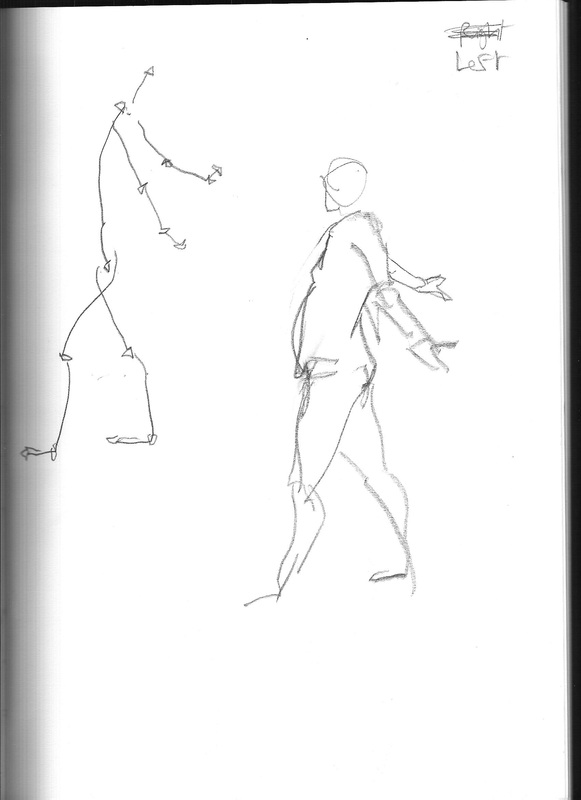
Week 6 (07/10/2012)
Because we had a schdeuled lecture, we didn't have a proper life drawing lesson. Instead, Dan taught us about timing, staging and movement through a Mr Bean video that I though was really well structured. We learnt about how important the use of camera is at portraying the story and that the movement of a characters should correspond and work in tandem with the shot of the camera. Mr Bean is a good example of this. Since he uses no words, his expressions and gestures do the talking which is used to full effect in the video below.
We also did a few quick drawing studies of the video as it went on to look at how his body is positioned and movement.
Week 7 (14/10/2012)
Unfortunately I missed this week due to illness.
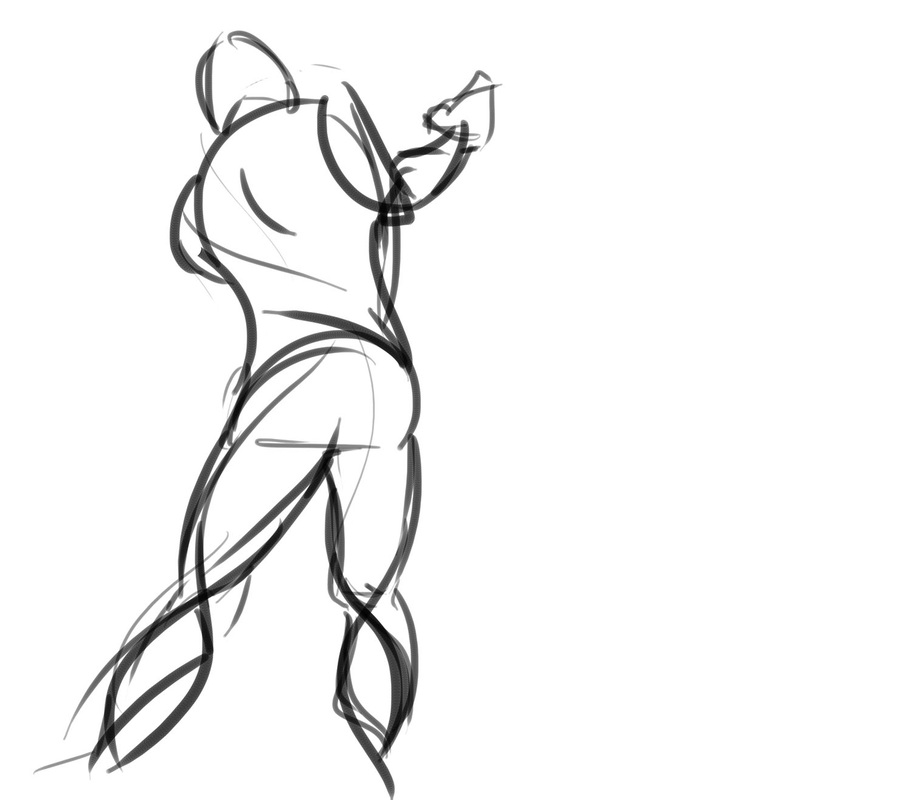
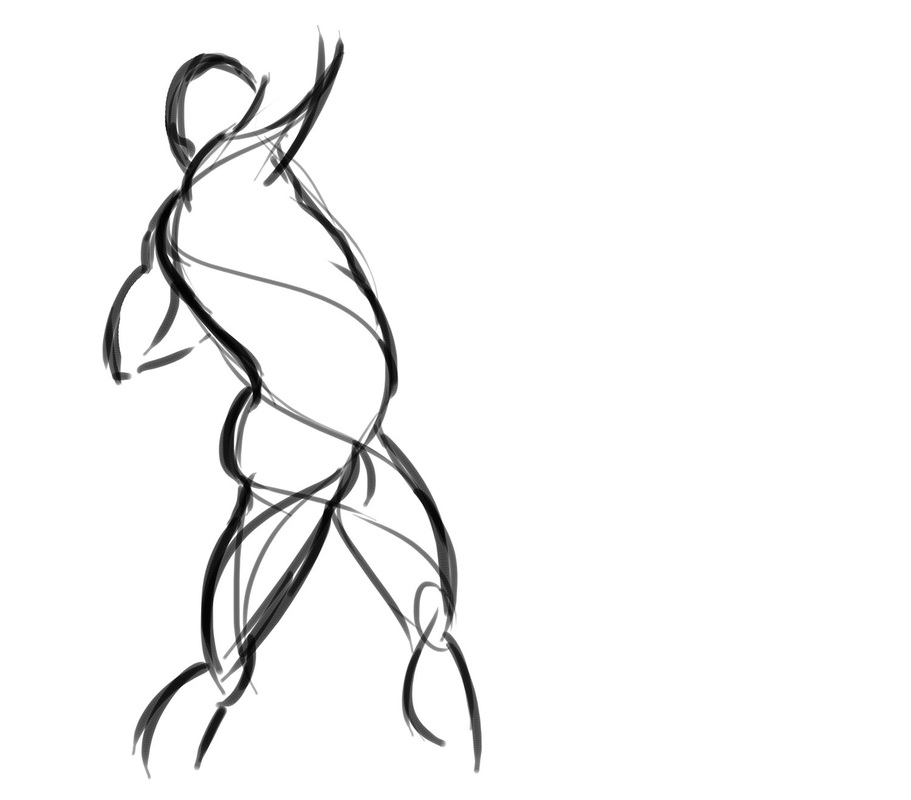
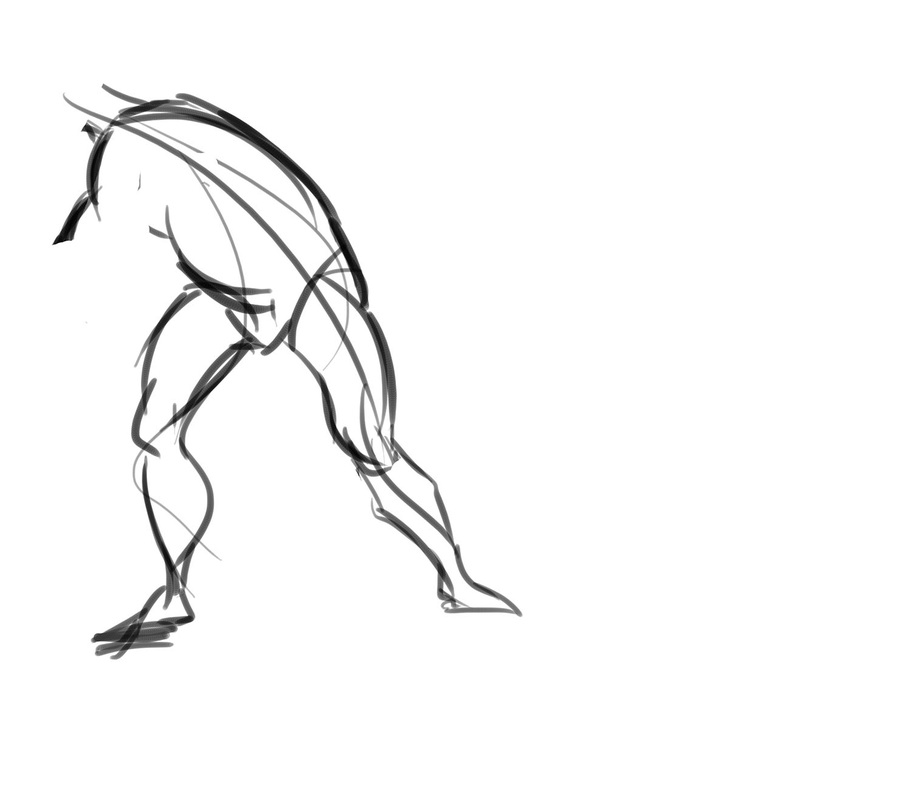
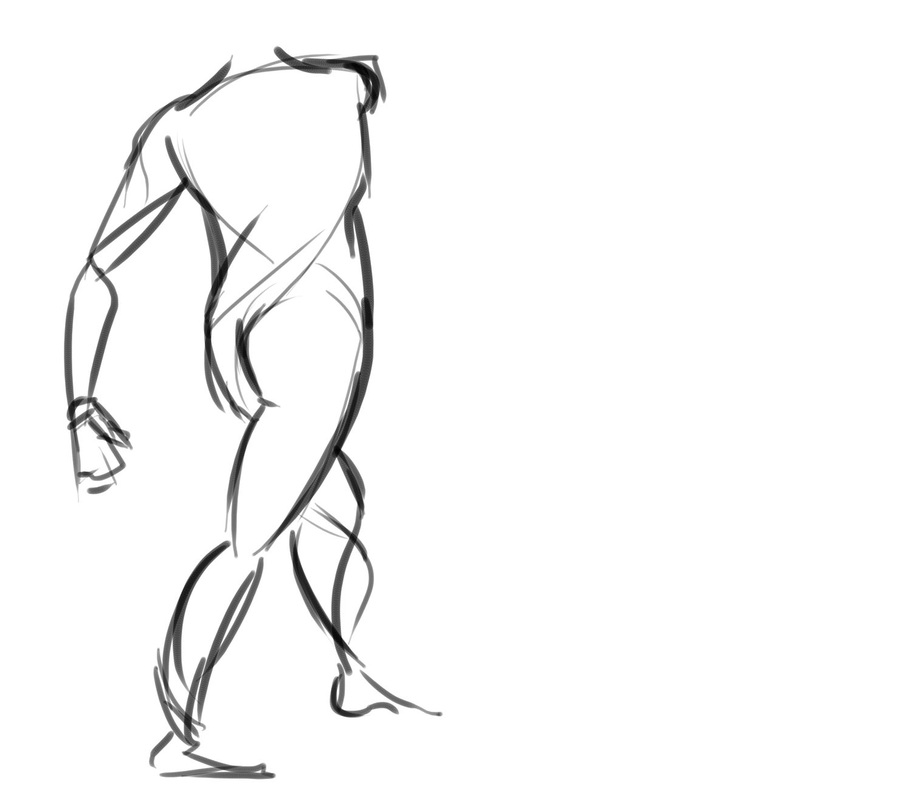
Week 8 (21/10/2012)
This time, considering it was our last one of the term, I decided to use a graphics tablet and photoshop for my drawings. It was really fun, but I think paper and life drawing will always be best.
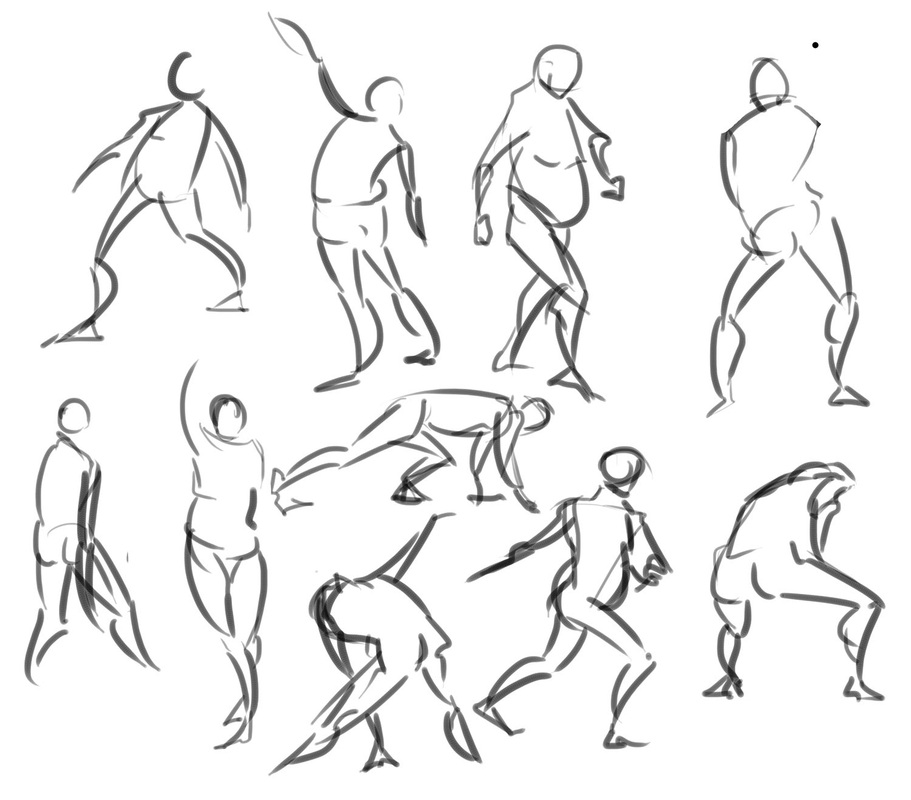
The first couple are 1 minute drawings and the later ones were 1 minute 30 seconds. This lesson we were pretty much allowed to draw in any way, taking into account everything we have learnt and to use the flow from one curve to another. I tried to highlight the use of it in the darker drawings below. I found these ones in particular really fun to draw and I think they were quite successful.
I decided to draw much smaller for the thumbnail page as it was quicker and easier at getting a gesture down more efficiently.

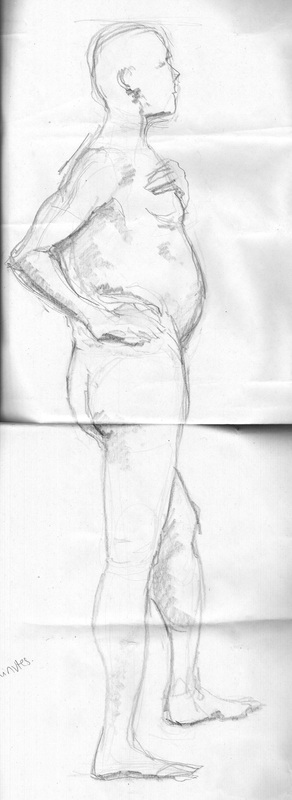
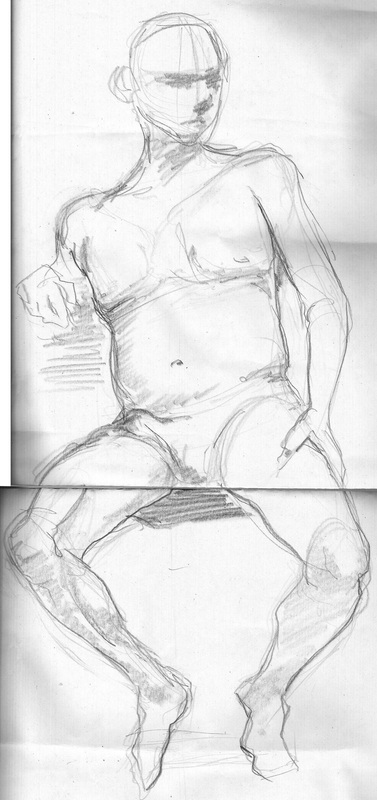
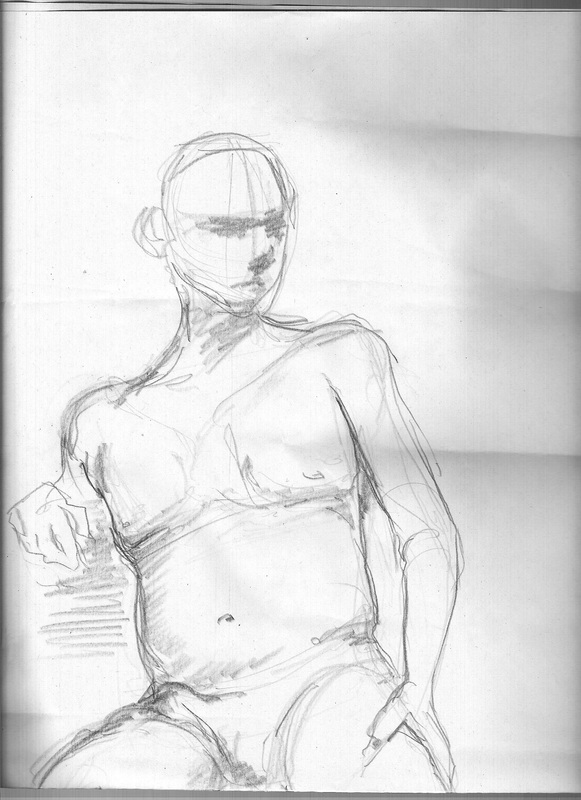
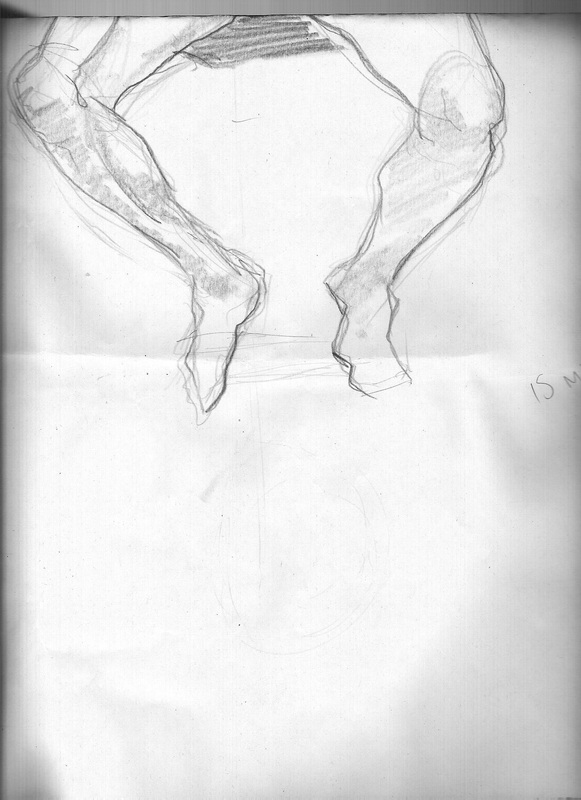
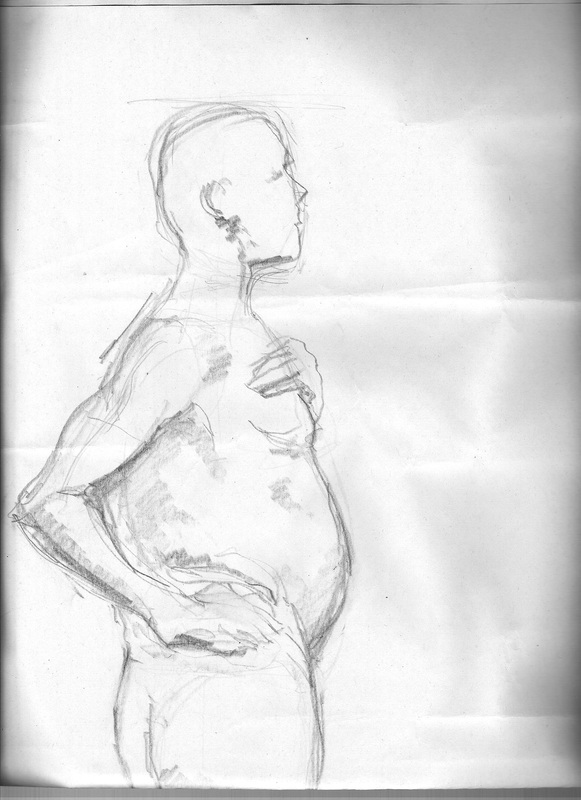
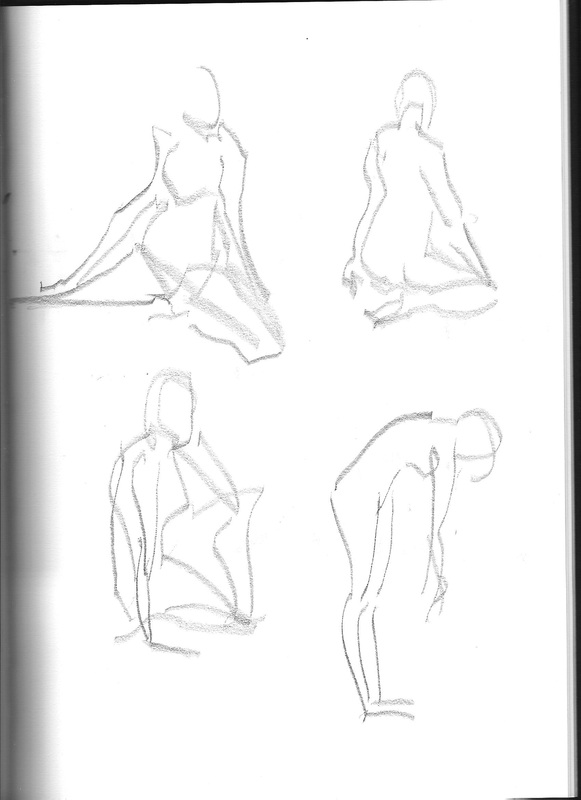
At the end of the lesson we did two 15 minute drawings. This is the longest we have had to draw in the whole term and I found it actually hard at first. But I used the technique where I hold the pencil at the tip and it was much easier to draw. We drew on big, A2 sized paper so we it was quite difficult getting proportions right. I think the standing one is much more successful than the sitting pose because the proportions aren't as off. He looks quite squashed in the sitting one.