Maya
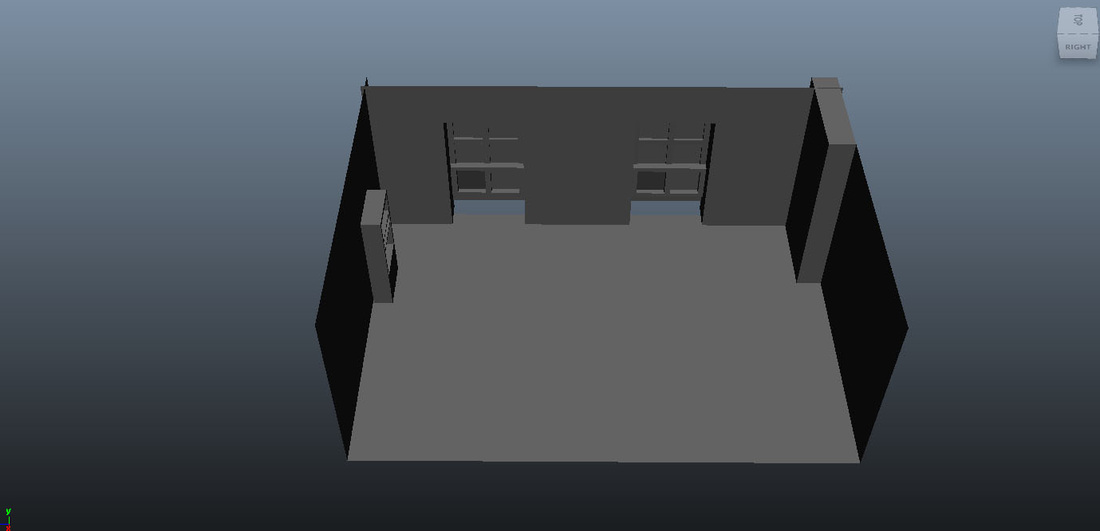
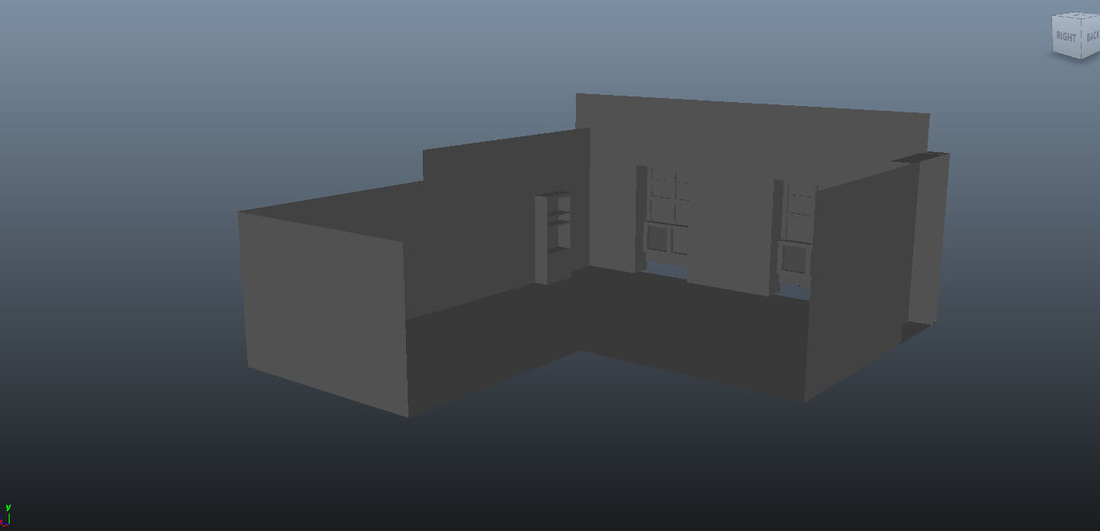
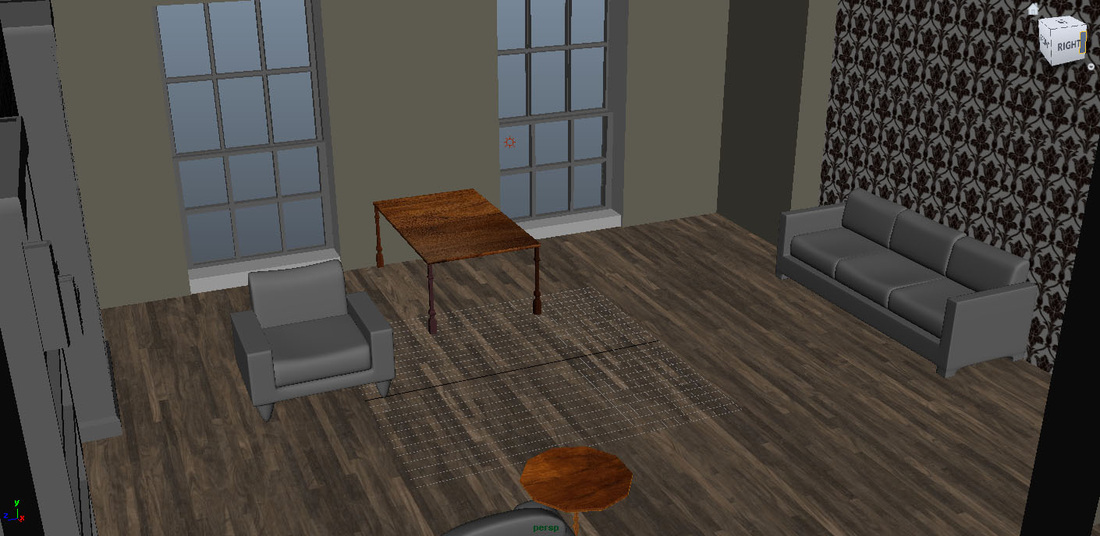
Below I have already started trying to get the room layout down. In the third picture, you can see I have even added an extra part, that corresponds to the where the kitchen would be. I don't think I will add the kitchen, but I put it there for reference purposes.
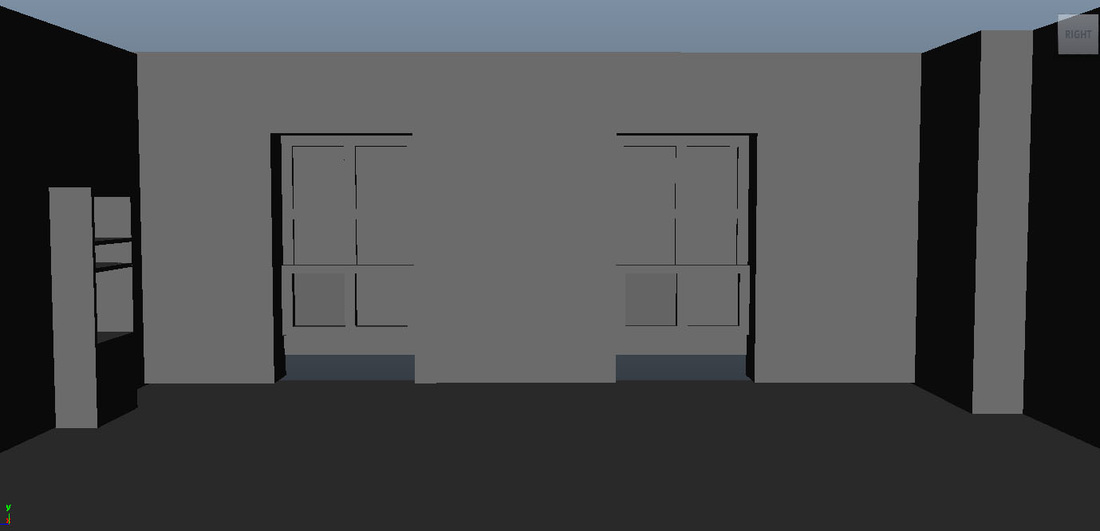
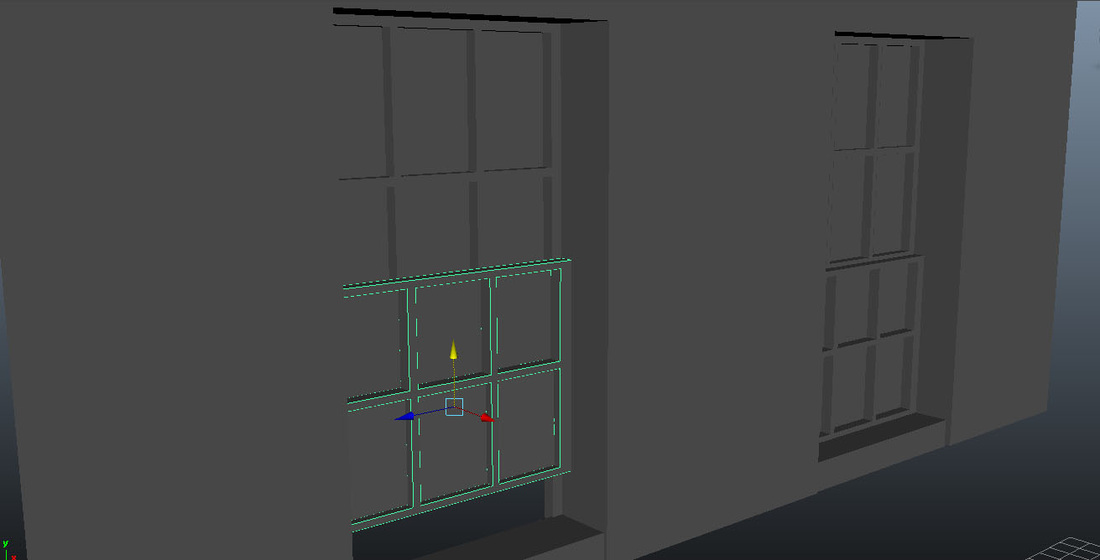
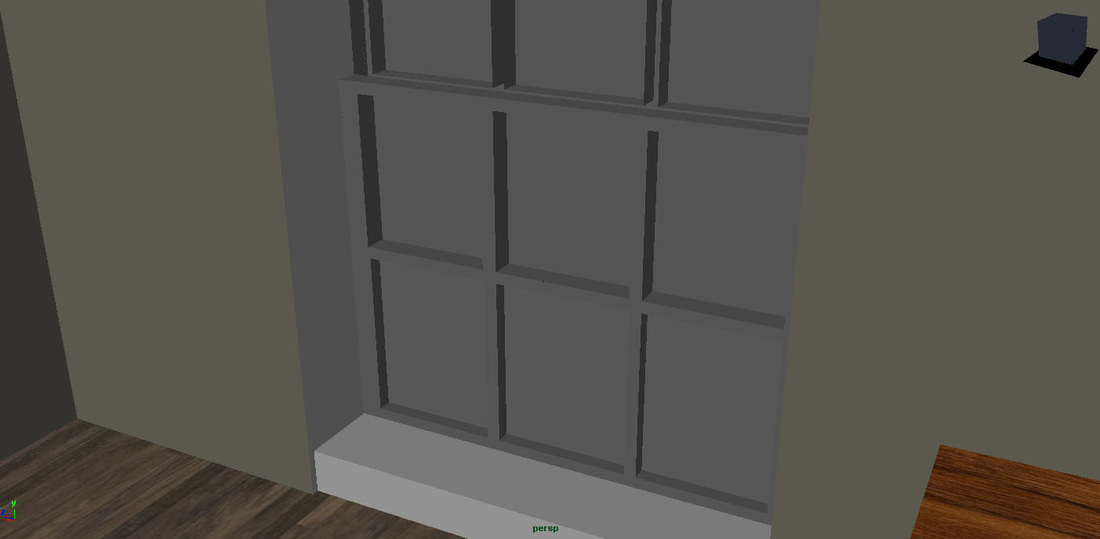
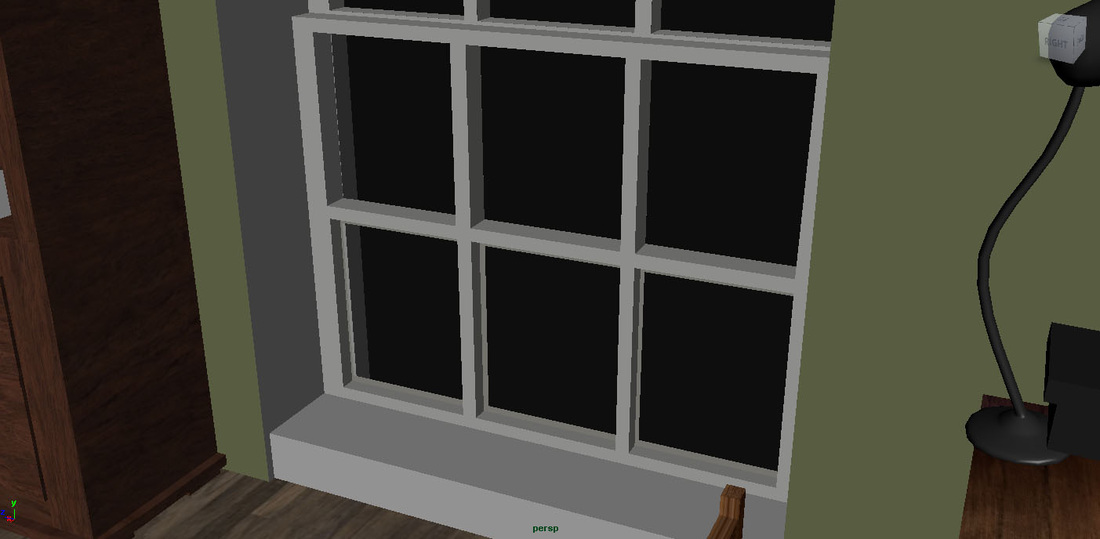
For some reason it took me a really long time to do the windows, even now I have made some mistakes which I will have to fix or even redo the whole windows again. It is unfortunate, but should not take too long now that I know what I am doing.
For some reason it took me a really long time to do the windows, even now I have made some mistakes which I will have to fix or even redo the whole windows again. It is unfortunate, but should not take too long now that I know what I am doing.
Above: Here is a quick playblast just to get an idea of what it is like to move around in the room. I was merely playing with the camera and testing.
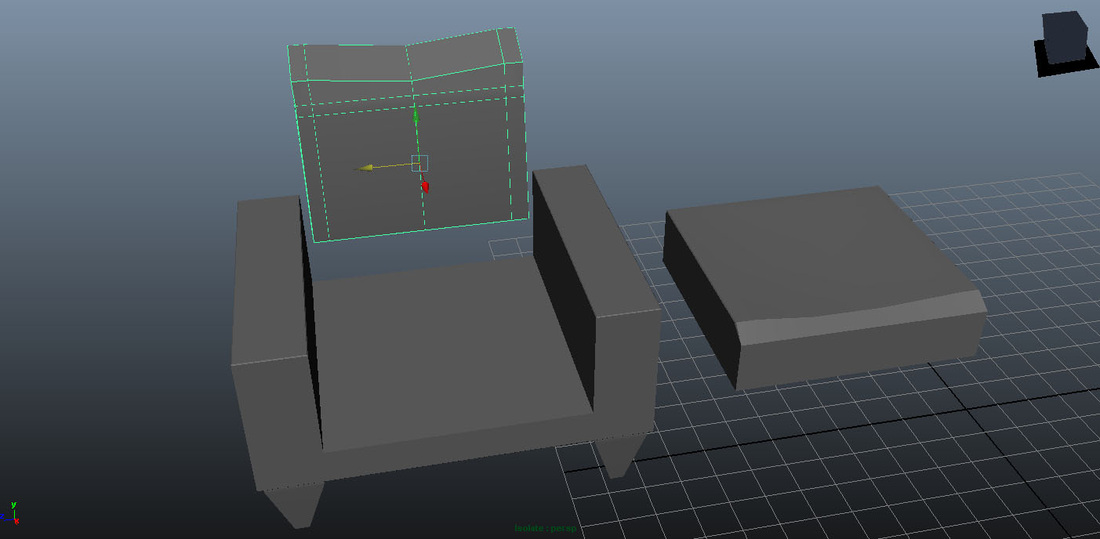
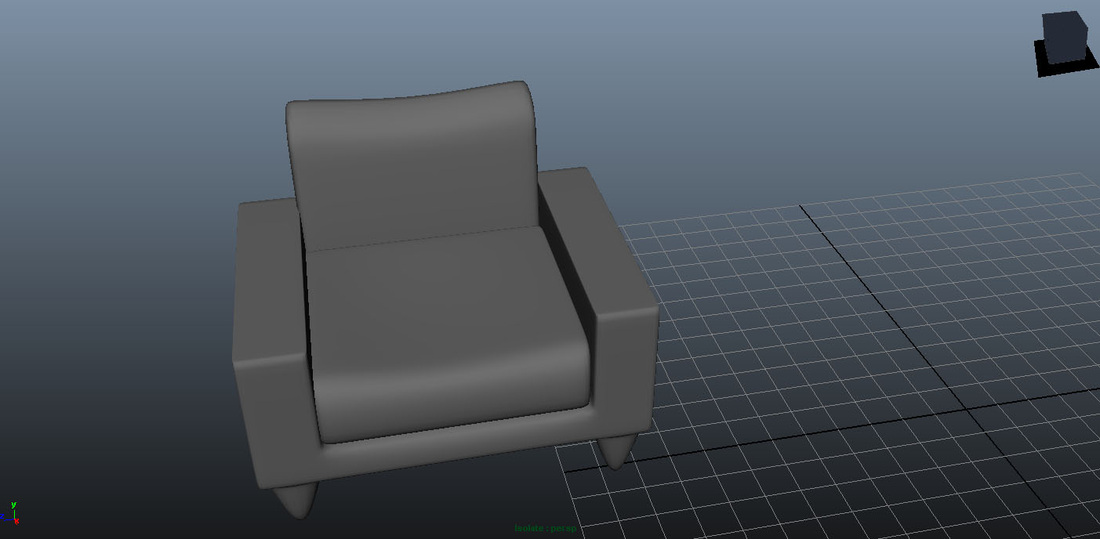
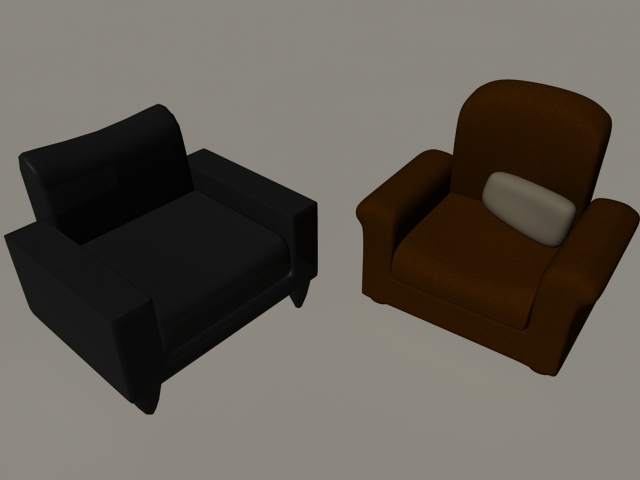
Below: Here are some of the chairs I modeled. I used a lot of different, but simple techniques including duplicating, merging verts and bevels. I modeled then smoothed everything by the final render so it rendered properly.
Below: Here are some of the chairs I modeled. I used a lot of different, but simple techniques including duplicating, merging verts and bevels. I modeled then smoothed everything by the final render so it rendered properly.

Below I also had to remodel the windows. The first try came out so badly and I was missing edges etc. This version, I separated the bottom and top so you could move the bottom part of the window up and down if I wanted.
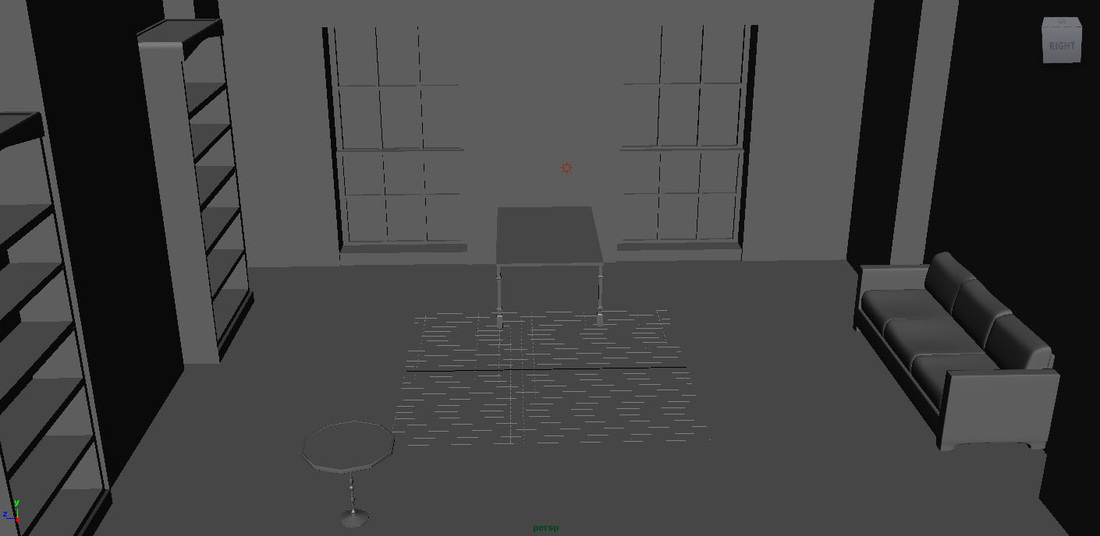
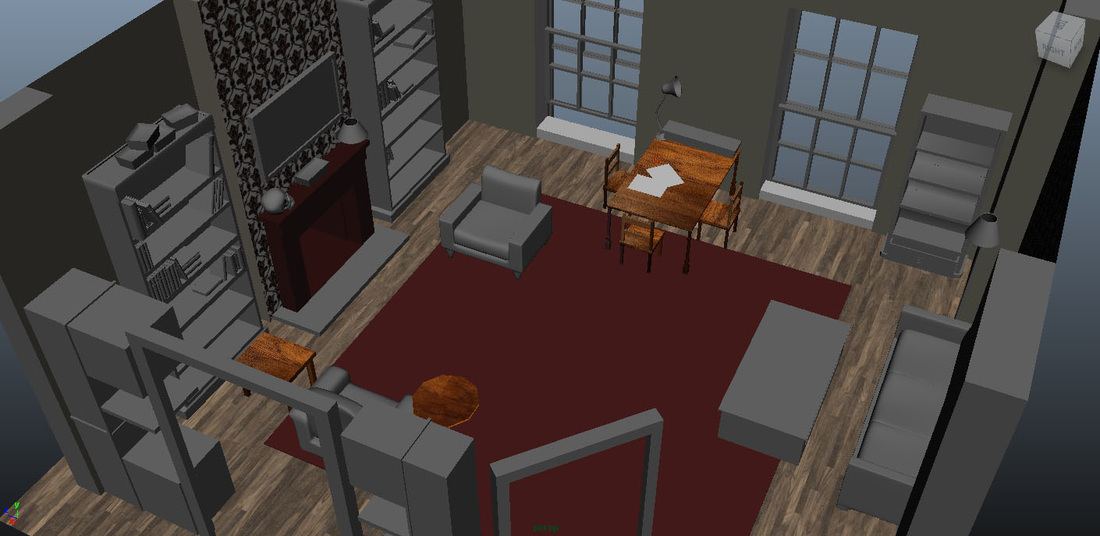
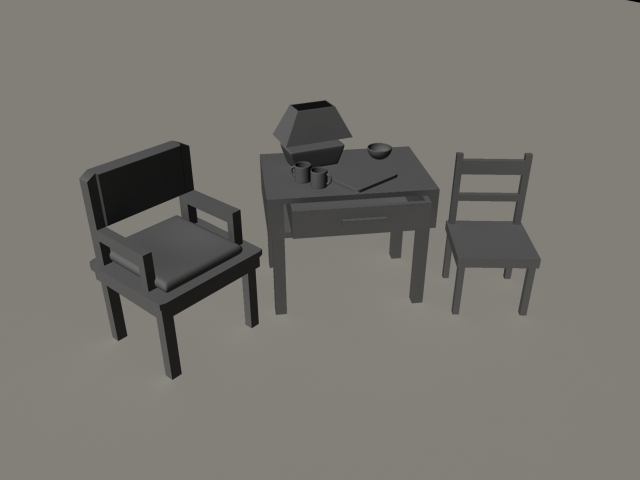
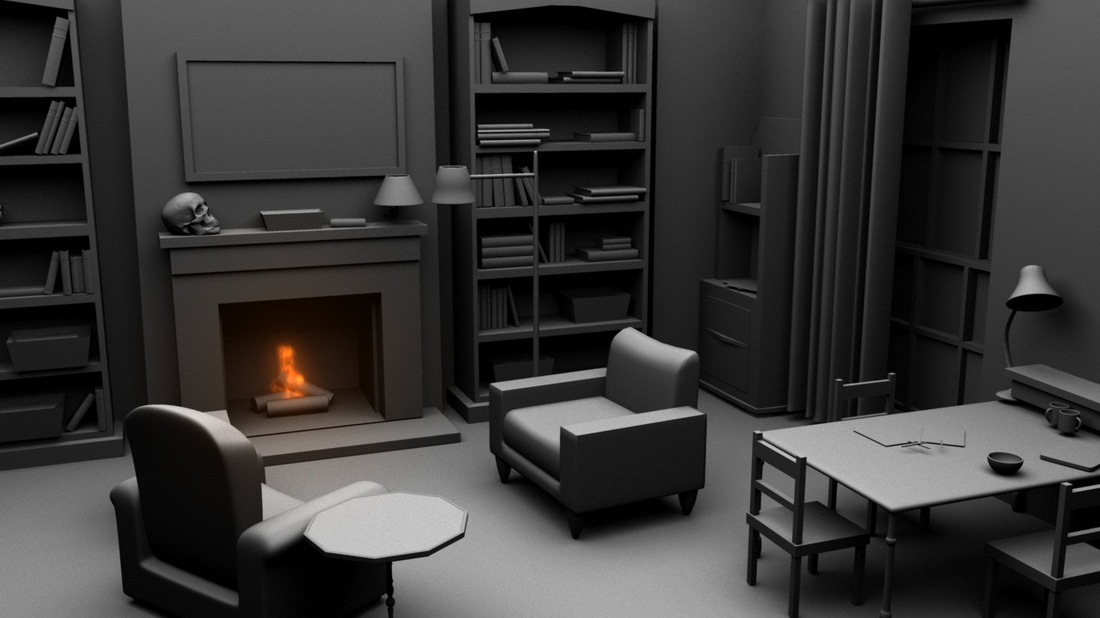
Above: Here is my start and how it looked right at the beginning. These show the slow steps it took to getting to the final piece and how everything had changed since the start. A lot has been moved around and considered from the beginning to the final. The first image, I had added the table, the round table and the two bookshelves provided by my lovely friend, Jennifer, who did a great job modelling these items for me. She also did three different types of books for me which I added a bit later (as you can see in the third picture)
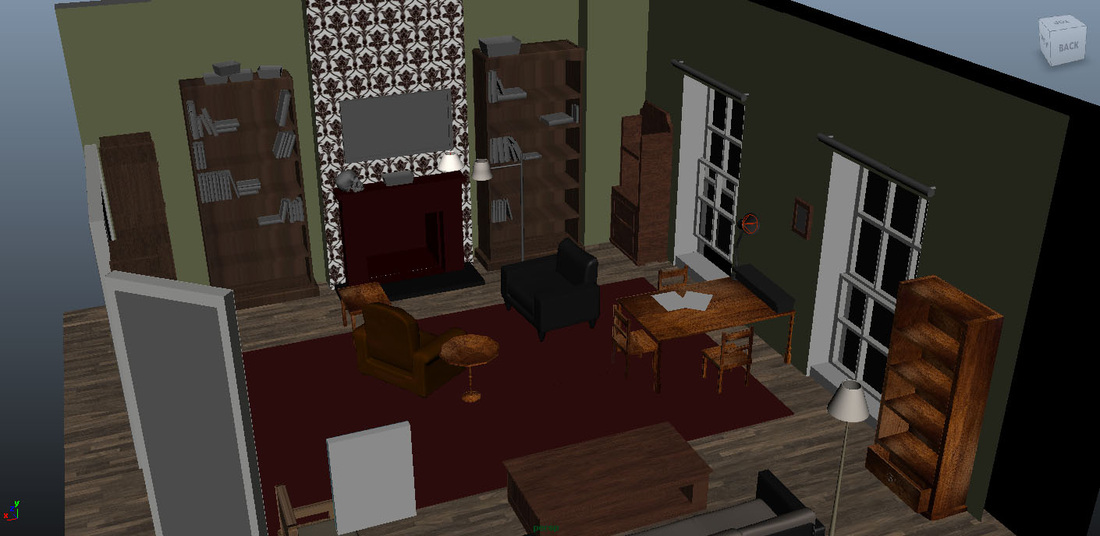
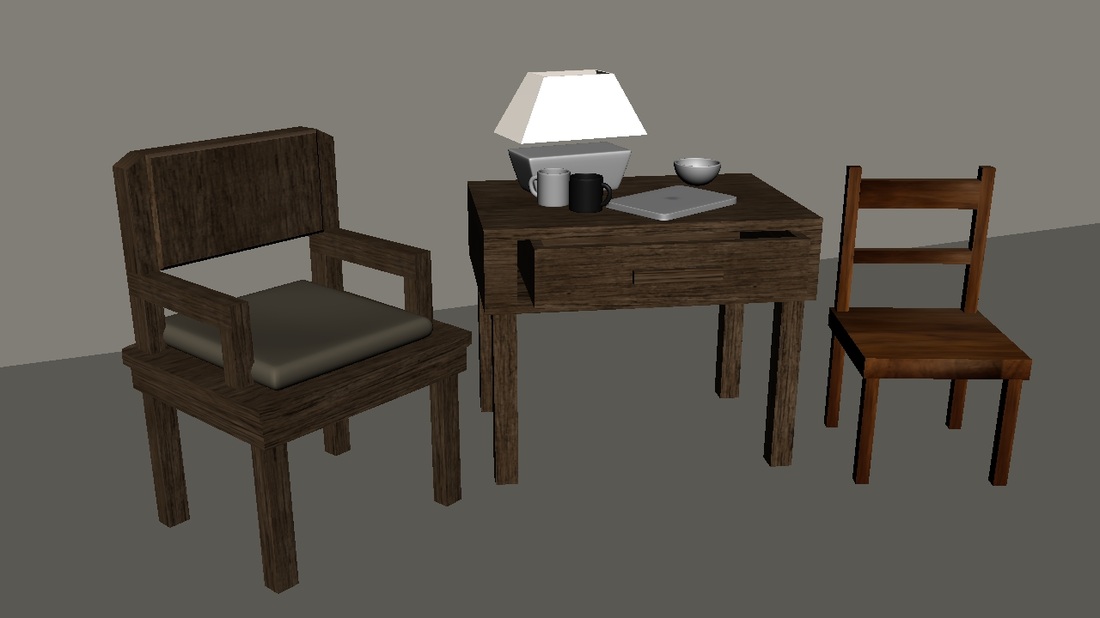
Below: Above are some more images showing the completion of the room step by step. As you can see I am slowly adding more textures and objects, refining and moving things.
Below: Above are some more images showing the completion of the room step by step. As you can see I am slowly adding more textures and objects, refining and moving things.

Above: Here is a simple playblast to show a part of the room just to get a glimpse of what it may look like.
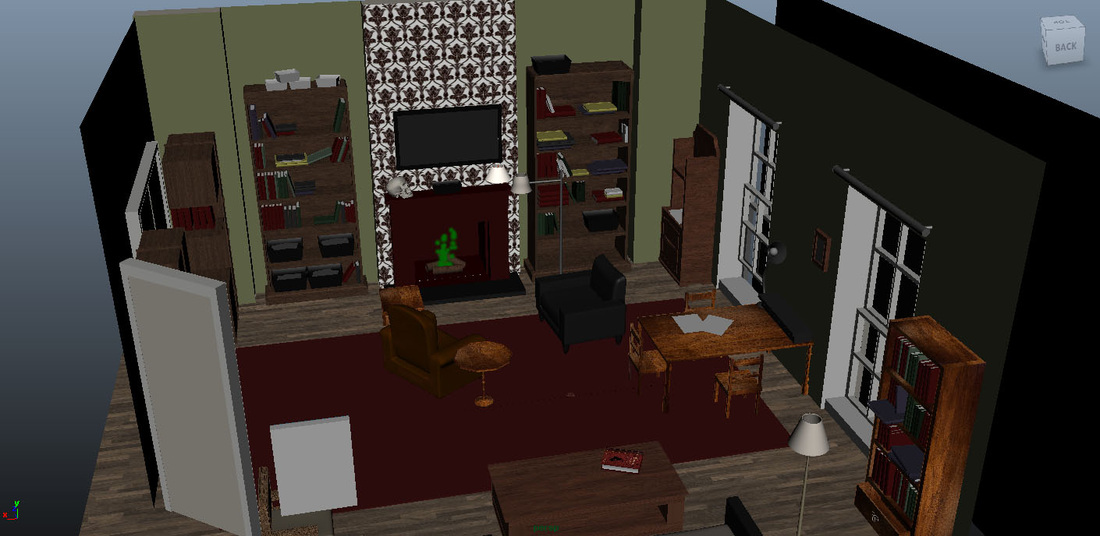
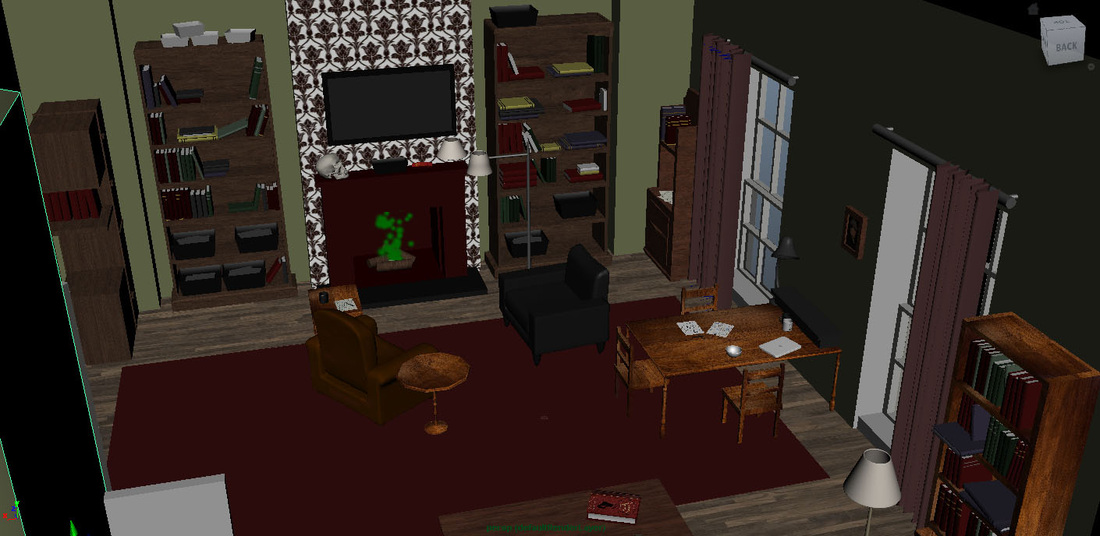
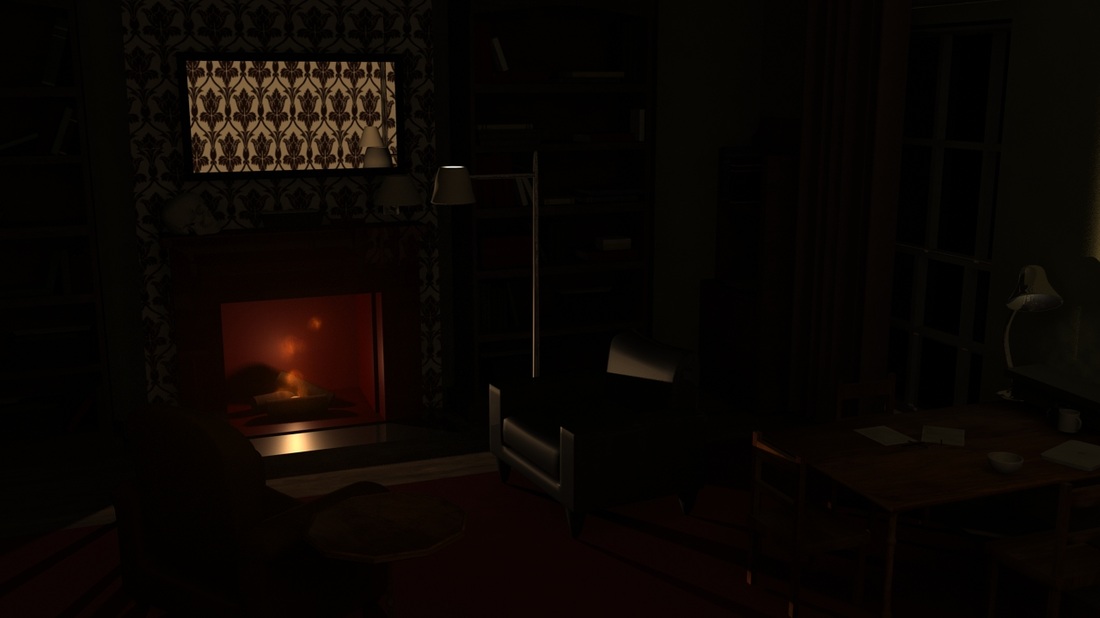
Below: Here is a more final look into the room. By now it is almost done.
Below: Here is a more final look into the room. By now it is almost done.
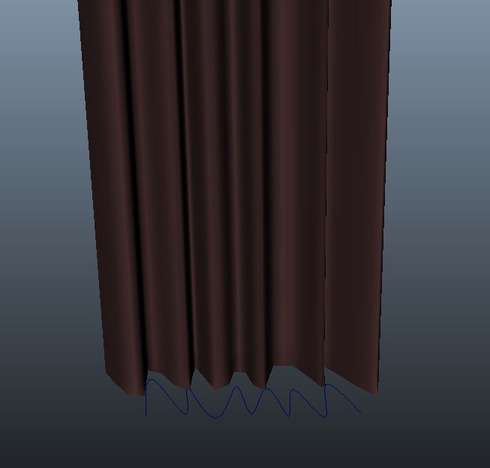
I actually left the curtains for last to model. I don't know why I thought they would be so hard to do. They weren't after watching a tutorial. All I had to do was a squiggly line and lift it and it seemed to come together really nicely. Then I smoothed it and voila, I had my curtain. That's the thing with Maya, the things you think are going to be hard end up being dead easy.
Texturing
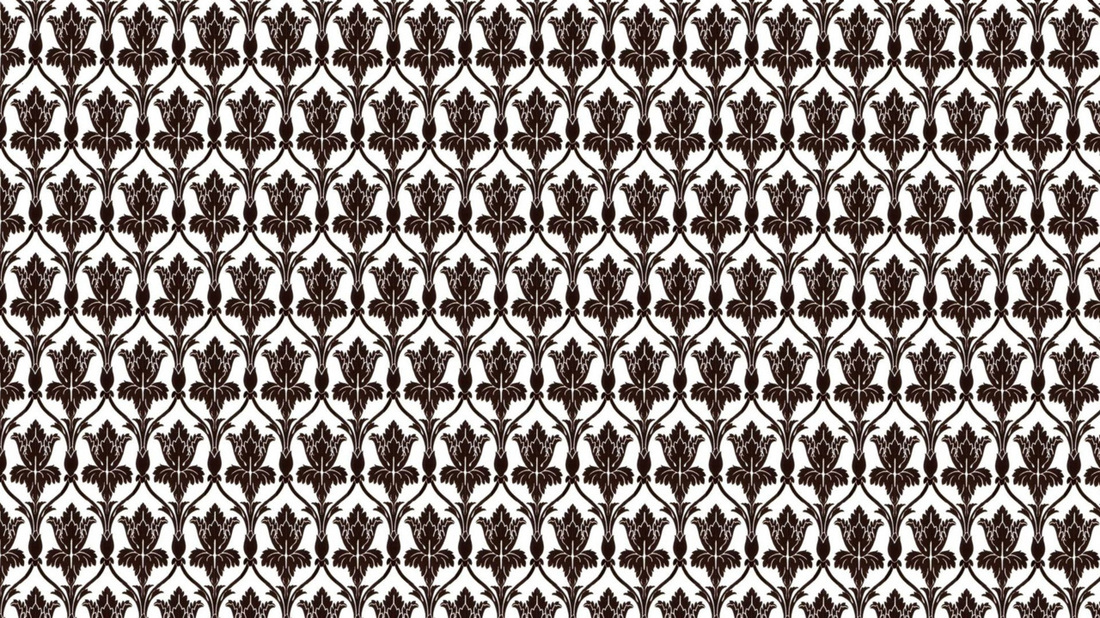
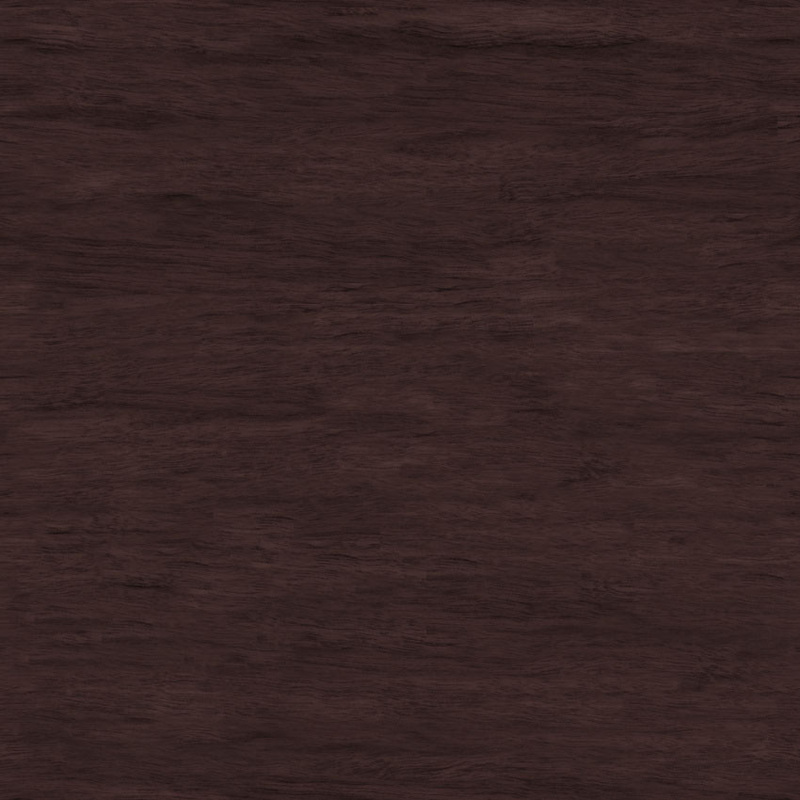
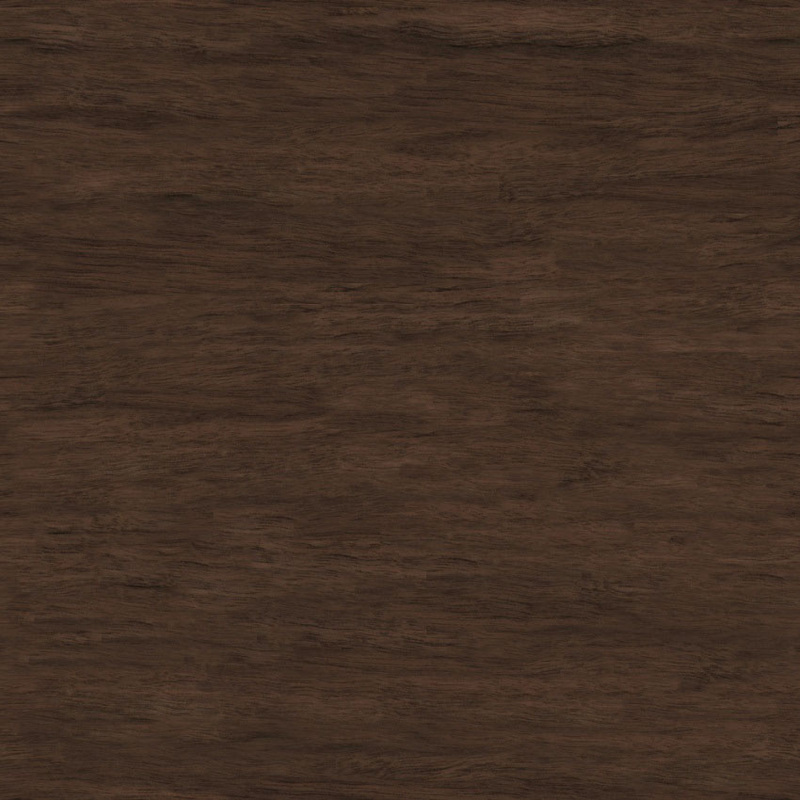
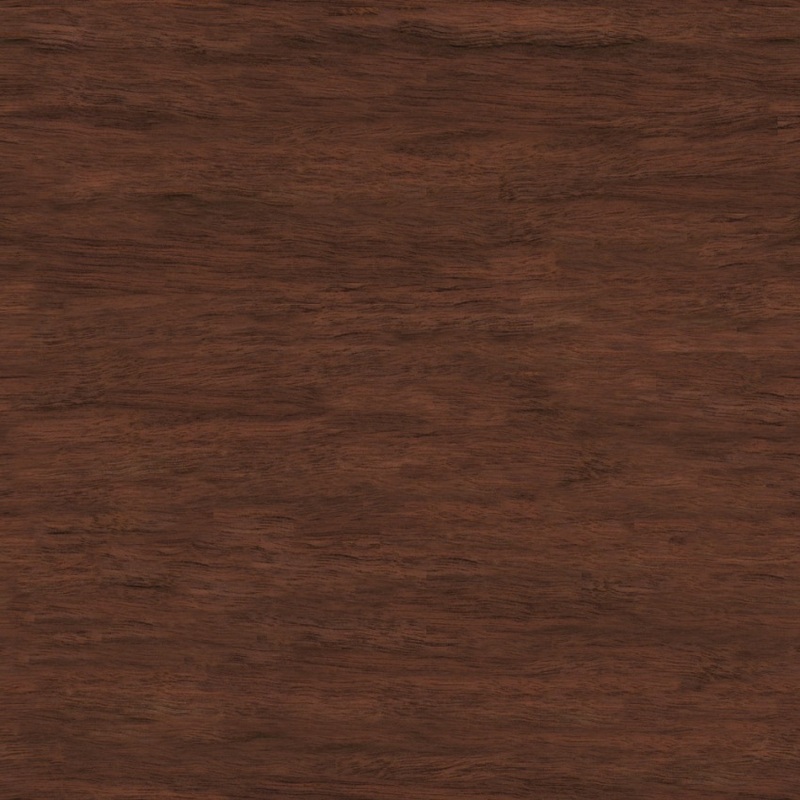
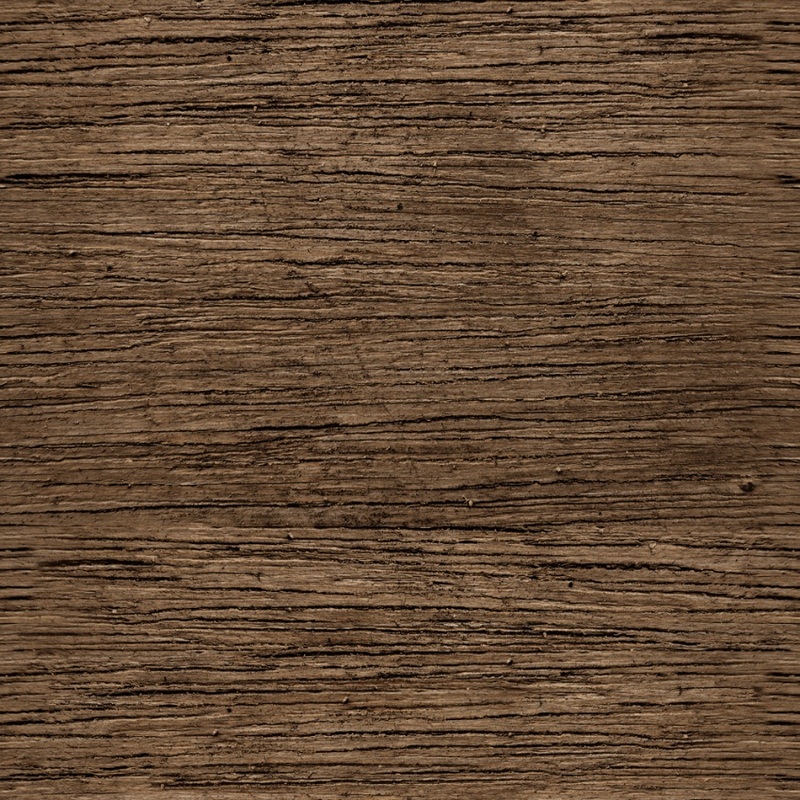
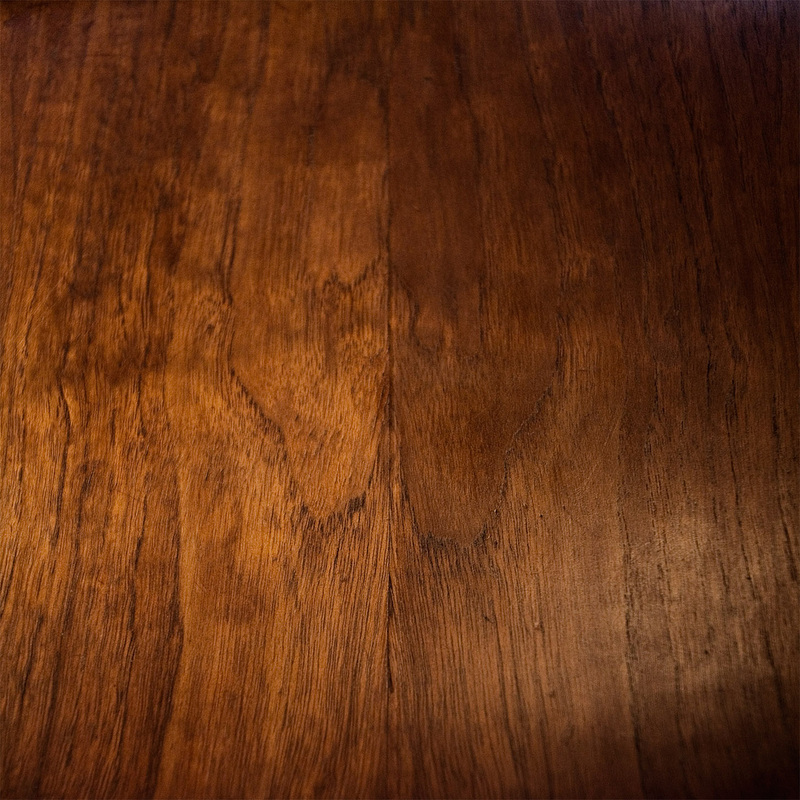
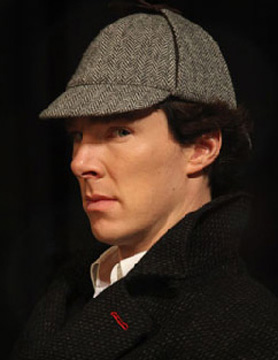
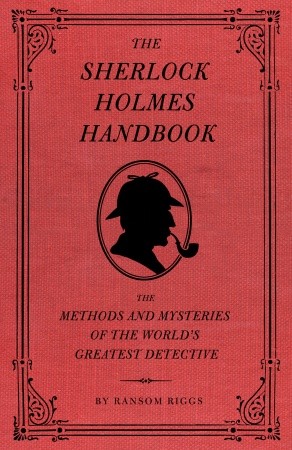
Below are some of the images I used for texturing. There was a need for a lot of wood textures. I also used little hints to the room such as the Sherlock Holmes books and a newspaper with a chilling front page. I also put in a picture of Sherlock somewhere in the room because I thought it would be nice. And I added a Harry Potter book as well because I am a big fan and the room is covered in books anyway. The writings aren't anything specific, they were just used for the papers scattered in places.


Below, you can see the window which I textured. It's hard to tell in the non-rendered version, but the second image used a blinn with reflective and transparent properties on. I thought making glass would be hard, but I was amazingly wrong as usual. It was easy and gave me a really good effect (which you will see in my images later).
Adding Fire and Lighting
I decided to add fire during the course of making the whole room. I wanted the room to be at night rather than during day. I thought a fire would really set a mood for the room and provide a centerpiece for the viewer to look at.
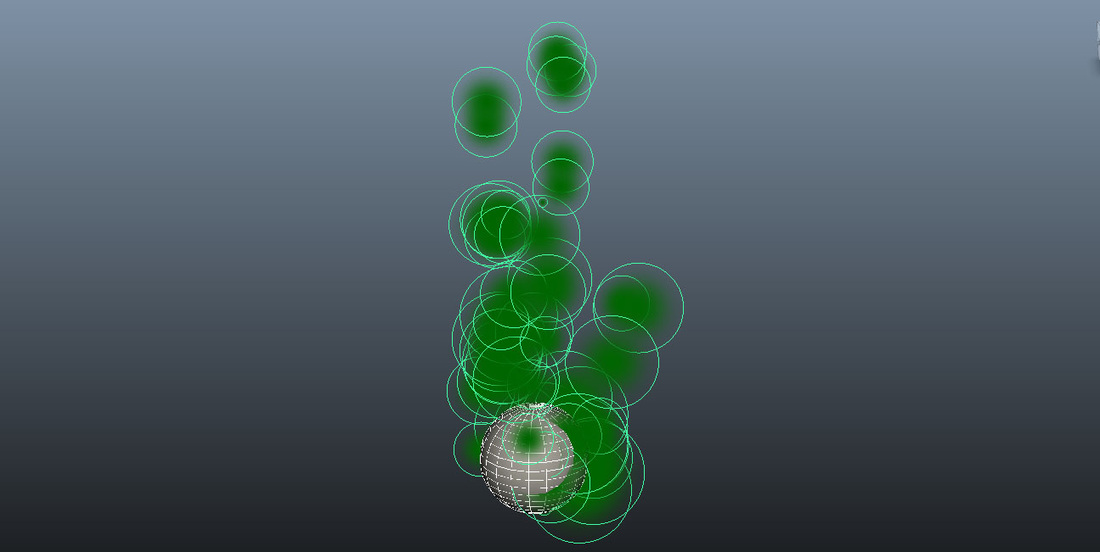
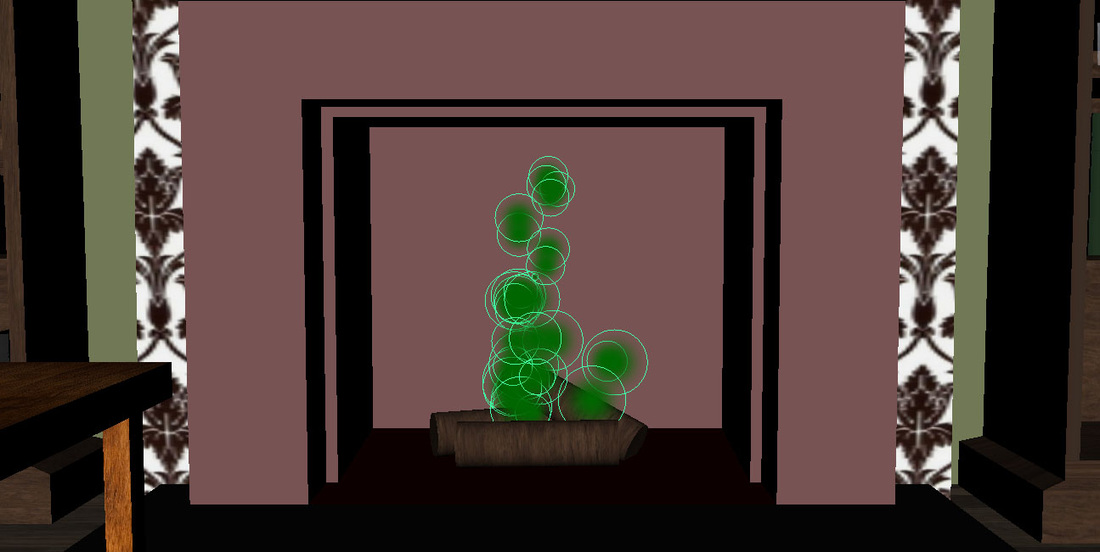
Thanks to the dynamics lessons, I was able to successfully use them to make the fire below. I made a polysphere and simply used the fire option in ndynamics to provide a convincing looking fire. I added a point light to add more light to give extra light to the room.
Thanks to the dynamics lessons, I was able to successfully use them to make the fire below. I made a polysphere and simply used the fire option in ndynamics to provide a convincing looking fire. I added a point light to add more light to give extra light to the room.

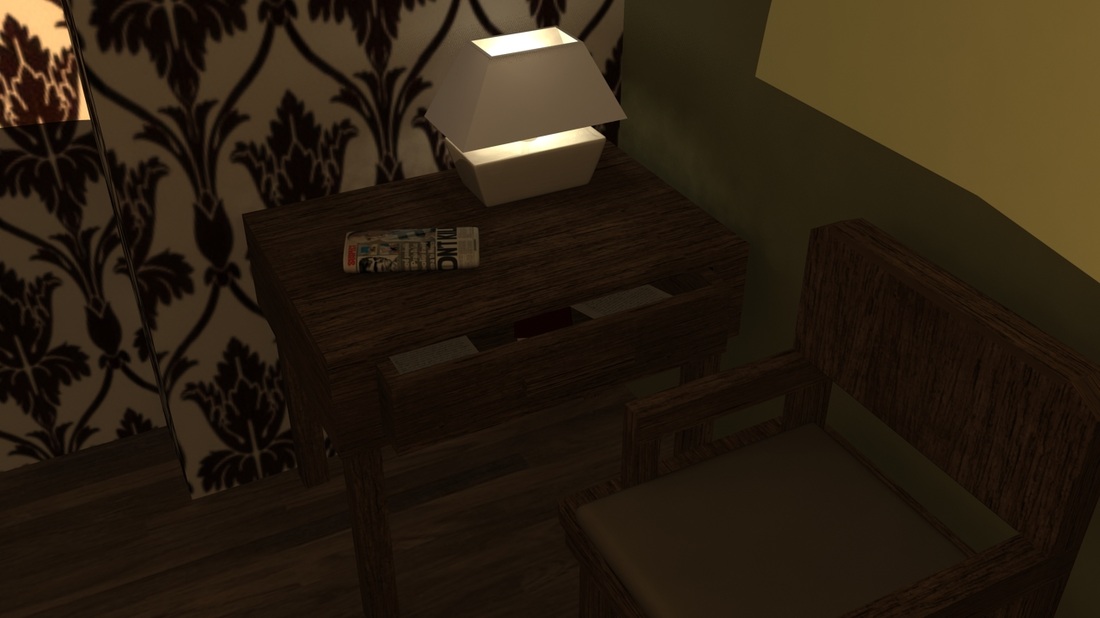
Above: I needed to make a bulb, because I thought the viewer would be able to see the inside of the lamp. I used the hypershade and a mia texture and a mia light surface to create this lit look that looks like a bulb. It even casts a bit of glow and light reflection on the walls and the actual lamp. It was little things like this that I liked learning because they added a little extra to the whole room.
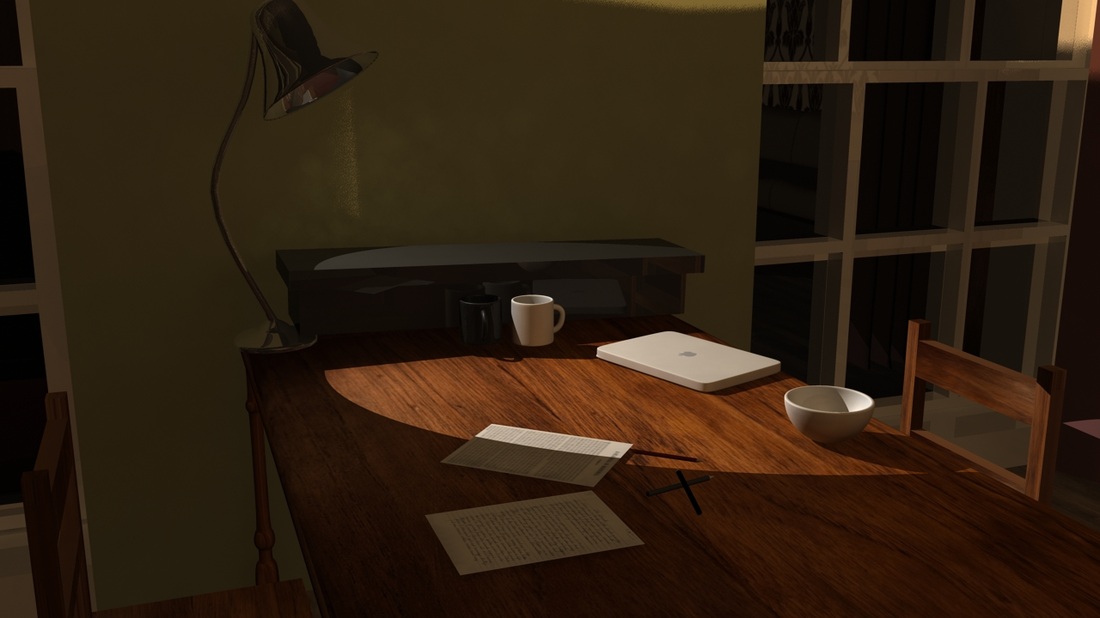
Below: I decided to point the light down anyway, and I used a spotlight in place to highlight the items on the table. I think with the shadows and textures of everything, it really came out looking nice.
Below: I decided to point the light down anyway, and I used a spotlight in place to highlight the items on the table. I think with the shadows and textures of everything, it really came out looking nice.

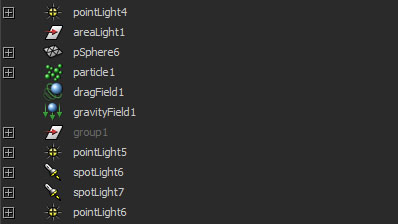
Abive are the lights I used in the actual scene. I have 5 different lights. A point light for the fire, one for the corner lamp, a spotlight for the table lamp as well as the lamp by the fire and finally one point light to give the room a little bit more light in general. I was contemplating getting light coming from the outside, but I had curtains and I wanted all the attention to be within the room. Also, there would be too many bits of ligh filtering from everywhere and I thought the piece had enough lights.
I used raytrace shadows for almost all the lights to give more depth and reality to the room. I think it came out well.
I used raytrace shadows for almost all the lights to give more depth and reality to the room. I think it came out well.
SPECIALISED SUBJECT: Modelling
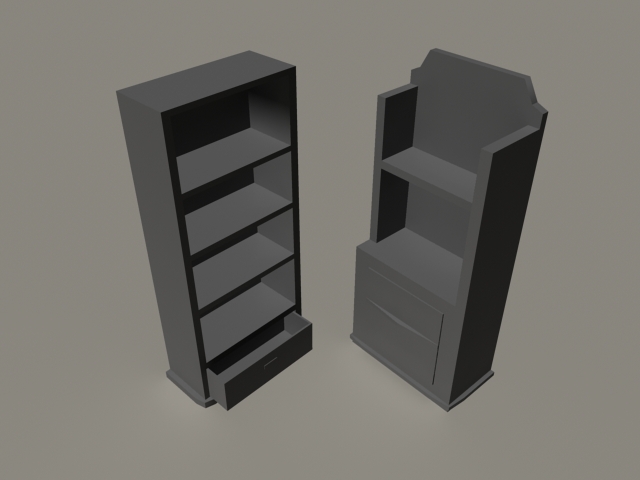
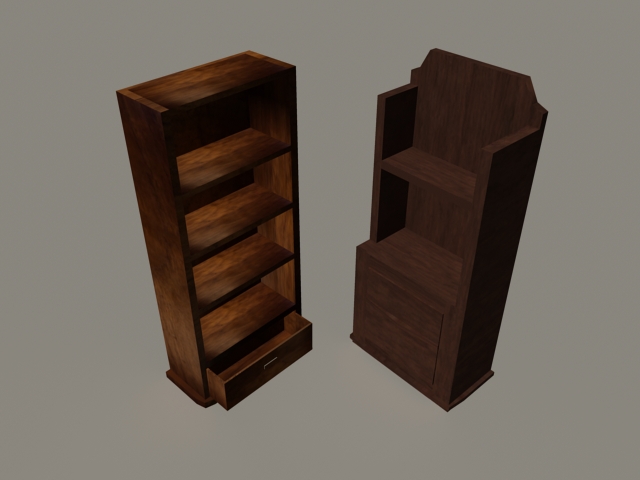
For my specialist subjects I chose both Concept Art (which you can see in Industry Exercise and on the concept art page of DE) and Modelling. For modelling, I chose to do it for my project as I knew there was a lot to do. Below are just some examples of my modelling, but I pretty much modeled the whole room (except for the dining table, the two bookcases next to the fireplace, the small round table, the book and the skull done by Jennifer and Jenny respectively). I did all the modeling and texturing of each item and am happy with the results.

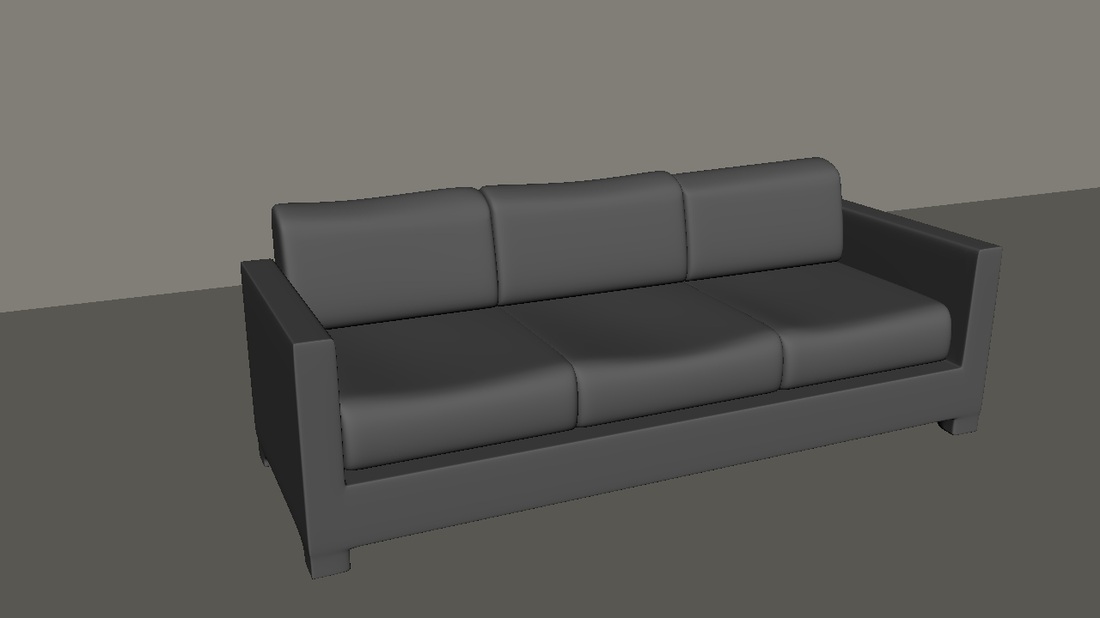
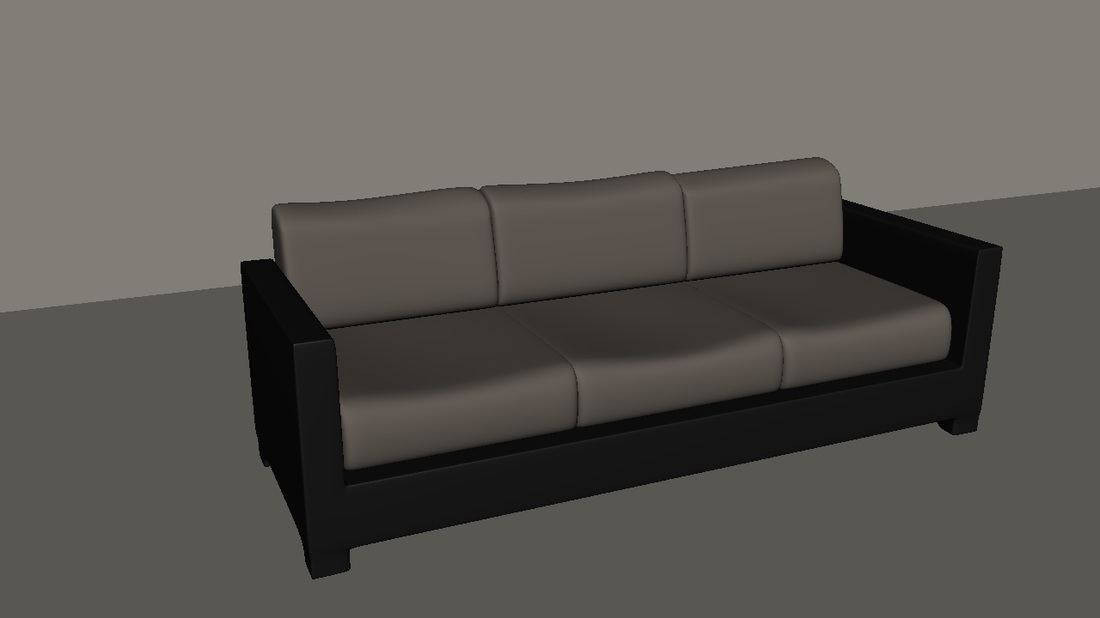
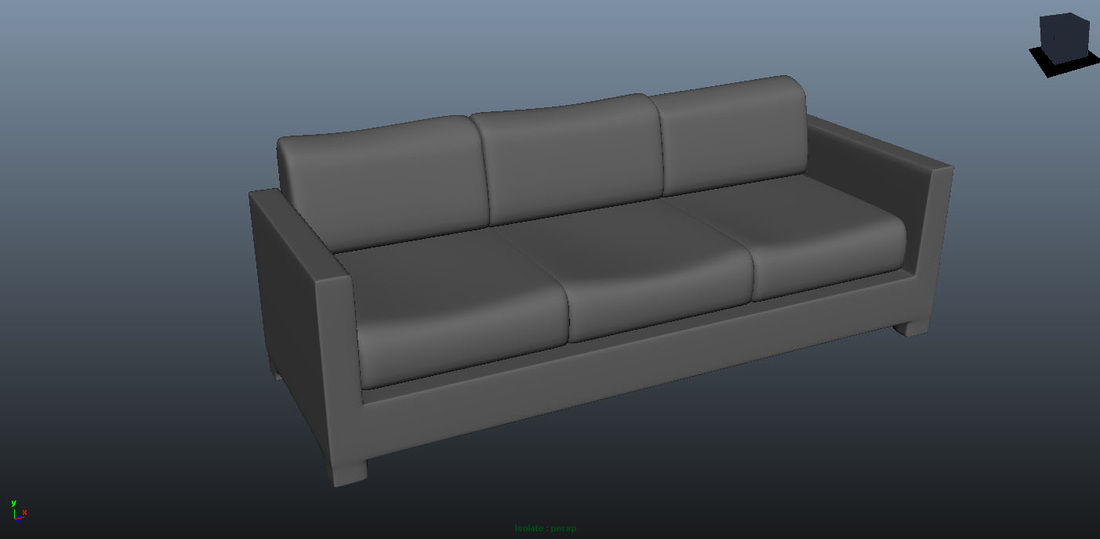
Above is an example of the sofa I did. This was one of the first things I modeled. Here are the non textured and textured version. Below is the final, rendered result.
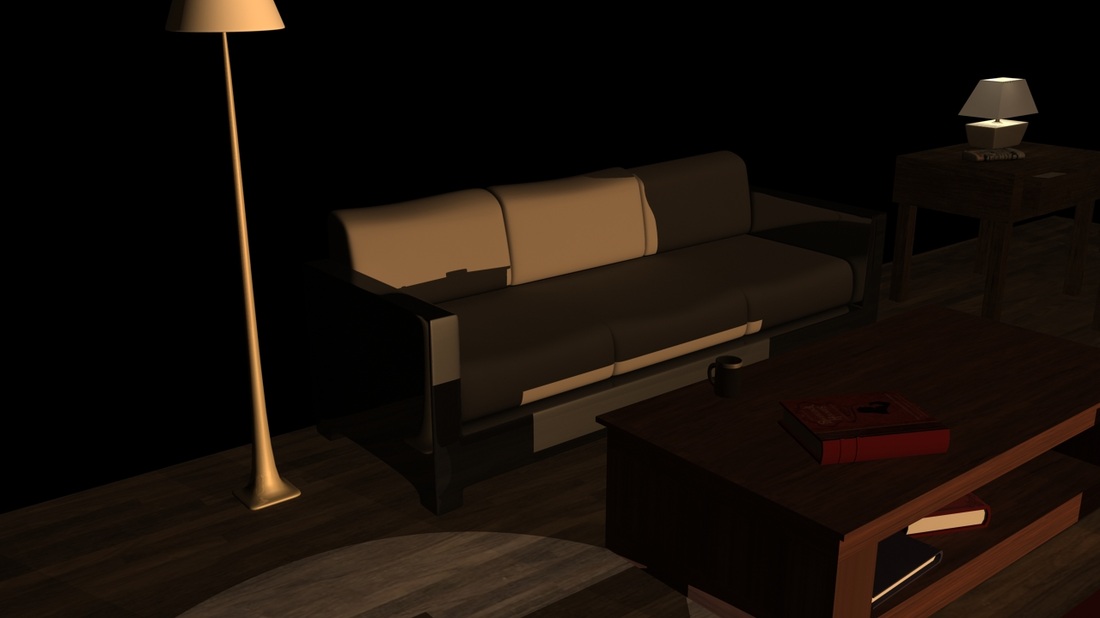
A lot of my furniture actually differed from my original concept, but that was due to time issues or the fact that I felt something else would work better in its place.
Final Images
Below are some of the final images I did for my digital environment.

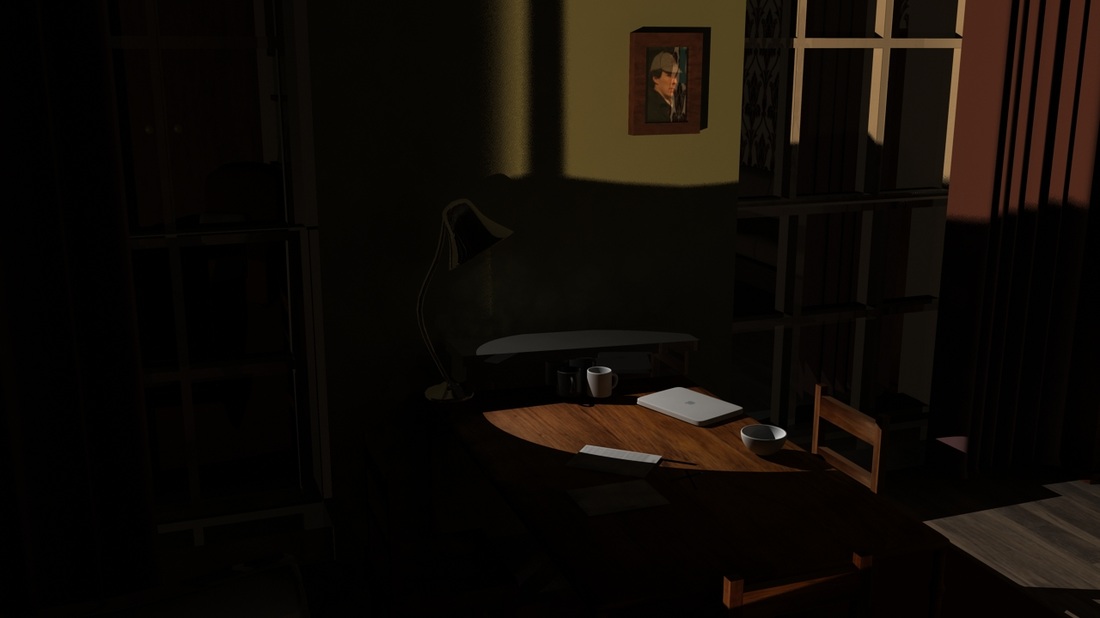
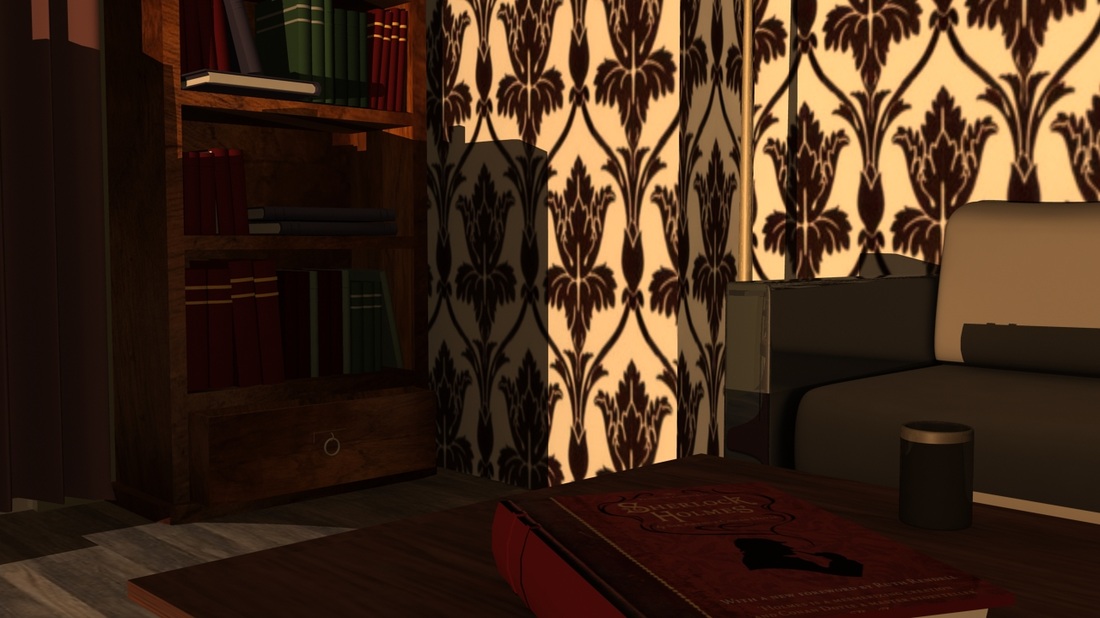
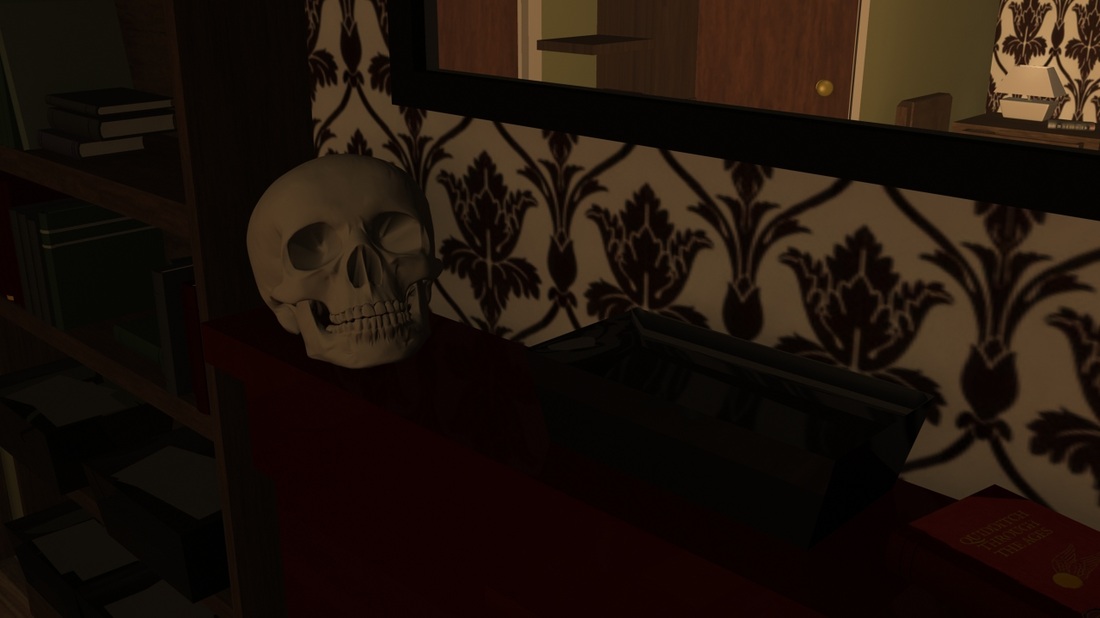
Above: Here are some render passes I did and further images showing zoomed in parts of the room. I highlighted the table and with a lamp so you could see someone was working there at some point as if someone was just there. The skull in the image was modeled wonderfully by my friend, Jenny and really adds to the room. In the original BBC Sherlock, he is known for keeping a skull.
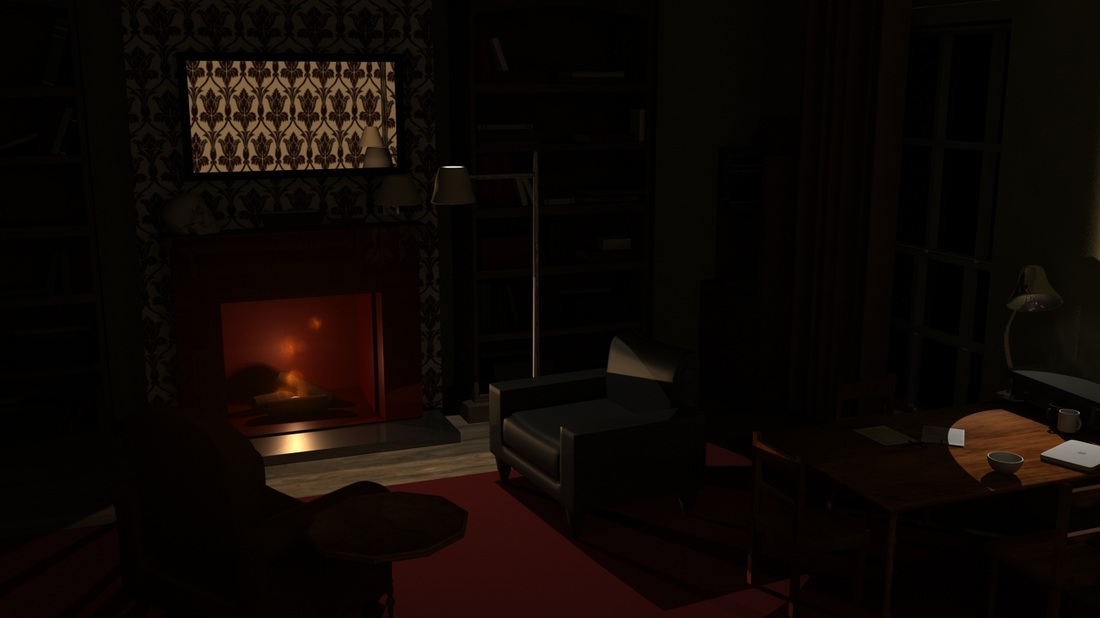
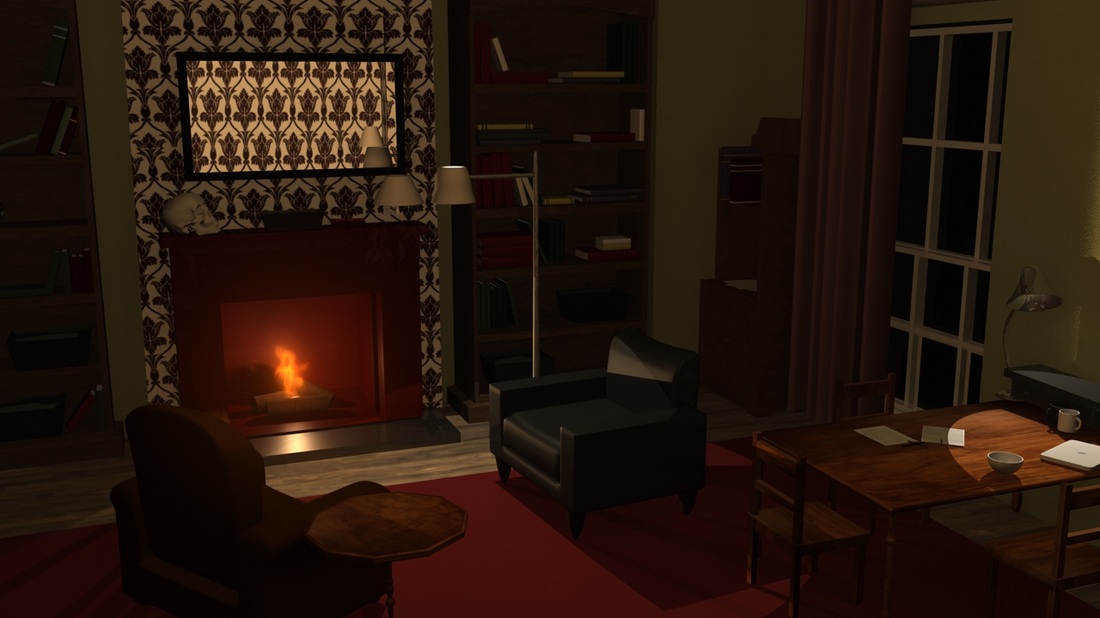
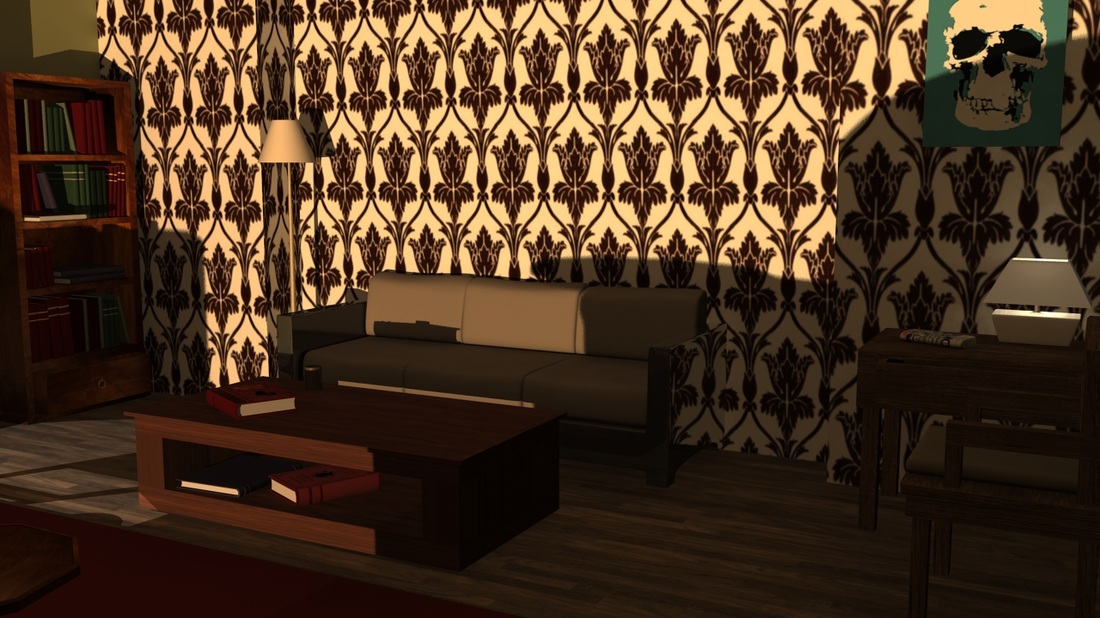
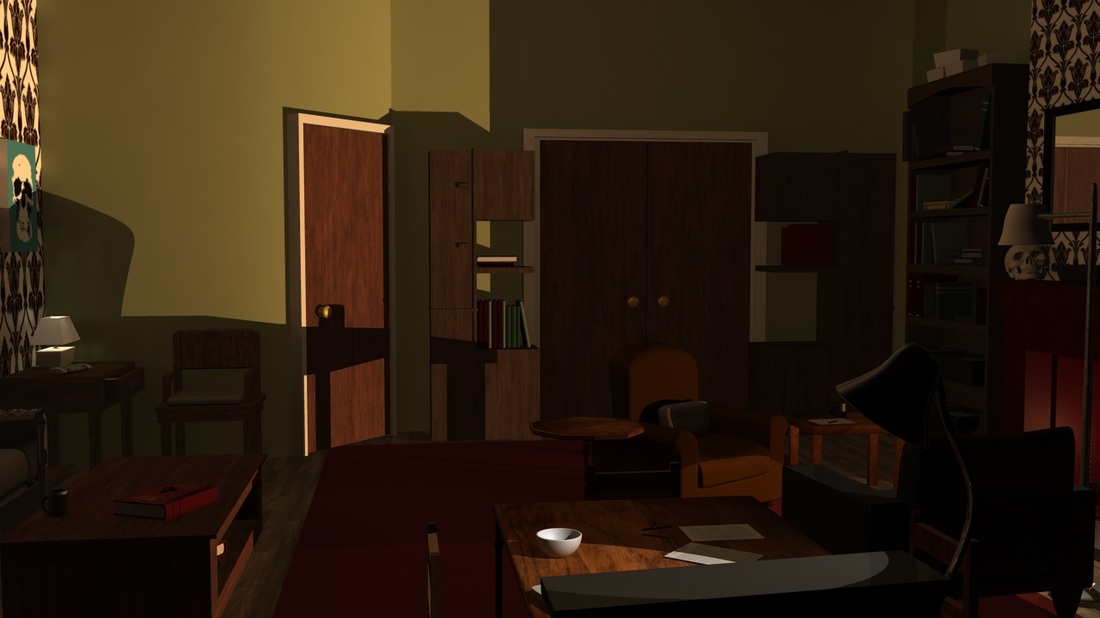
Below: Here are some bigger images of the room. Theses are the far shots of the whole room from each side. I am very proud of this room and it was extremely rewarding and fun to do. Here you can see the curtains and the slight reflection off the windows. Also, you can see the various shadows.
Below: Here are some bigger images of the room. Theses are the far shots of the whole room from each side. I am very proud of this room and it was extremely rewarding and fun to do. Here you can see the curtains and the slight reflection off the windows. Also, you can see the various shadows.

Above: Here is the other side, the side that would lead to the kitchen (through the double doors) and the stairwell (through the single door).
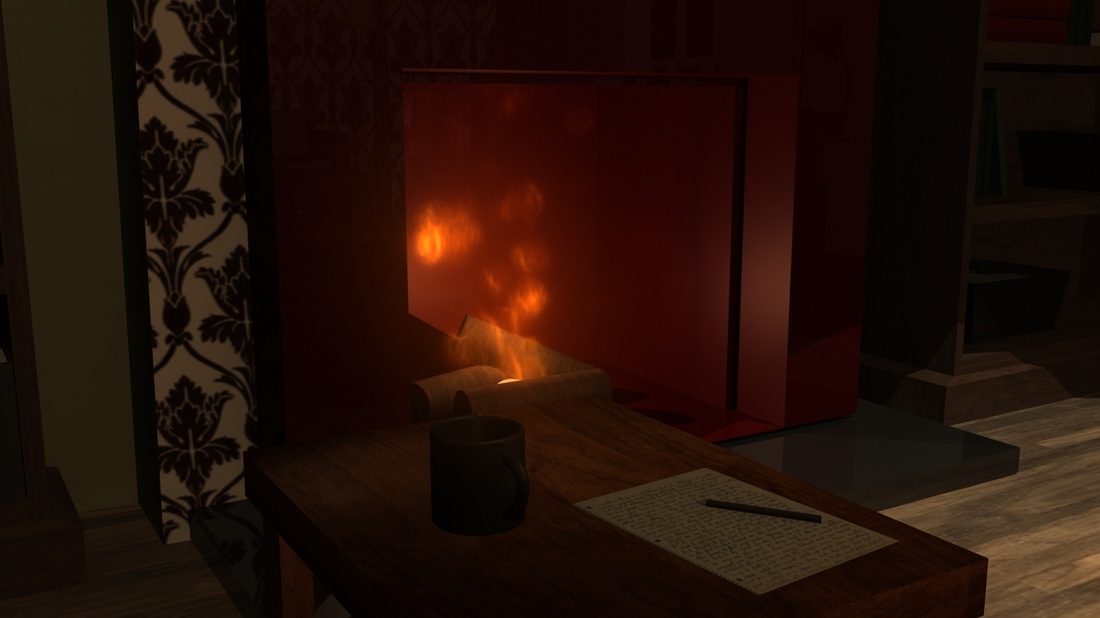
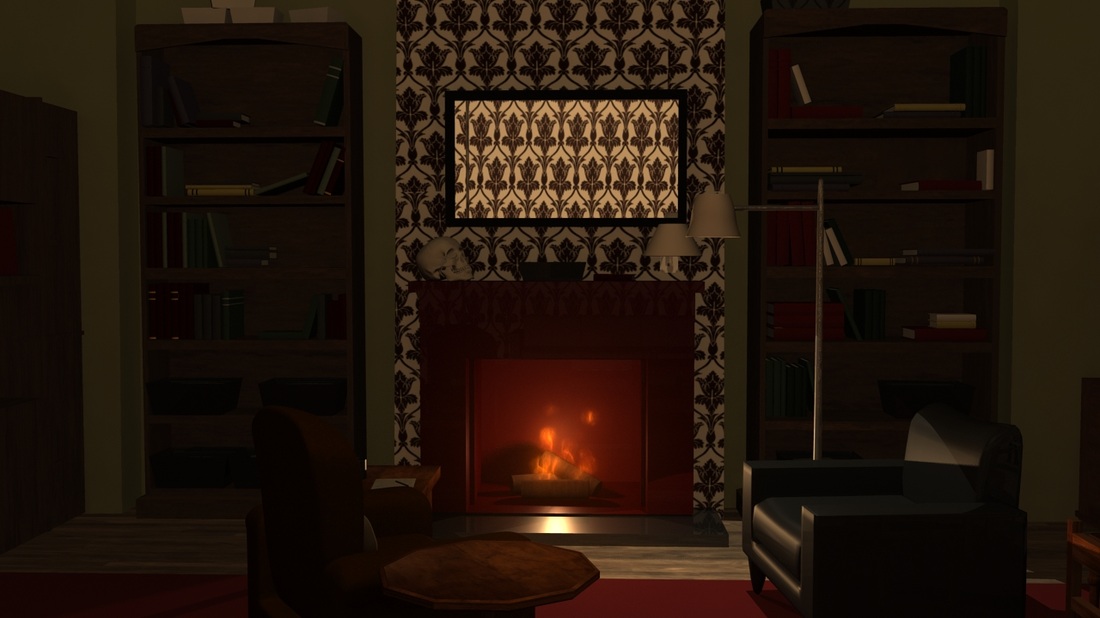
Below: Another image of the fireplace this time and the two chairs. The warmth of the fire gives the room and nice and comforting feel (I hope).
Below: Another image of the fireplace this time and the two chairs. The warmth of the fire gives the room and nice and comforting feel (I hope).

Final Showreel
Below is my final showreel showing my final modeled room and some of the playblasts.
Evaluation
I had no idea I would enjoy this project so much. I am not a fan of doing environments and I was dreading the idea of modelling so many things. I had originally chosen animation as my specialised, but then I realised as I started that modelling was more my thing when it came down to it.
Putting everything together was so rewarding and I've had to deal with random personal issues that held me back, but as soon as I put my head down and got on with it and had the time for it... it was so fun! I have learnt a lot of little things whilst working on this room. Modelling objects is definitely one of them. A month ago I could not have done any of this, but now that I had been forced to learn, it was worth it. This room may not be special to most and I'm sure there are a lot of dodgy parts to it, but considering what I knew of environment design and creating, I think I did well.
I think what I found most difficult was the texturing and lighting. I remember trying to put off the texturing for a while, then I finally forced myself to do it. It took really long actually, but I learnt how to use UV texturing and planar mapping. Also, the lighting, something I didn't realise would take so long, made me frustrated. Rendering the lights and getting it right was quite hard. I finally managed it, but I'm still not 100% with it. I like the lighting, but I think it could have been better. Especially the fire light. It is far too strong to seem real, but it works in a way.
If I had to do anything again, I don't think it would be anything big. I think I would add a few more things to make it look really cluttered. It looks a little too neat, much neater than I intended, but it is just little things like that. I didn't follow the concept of some of the items to perfection, but I don't think it matters in the end. I think what I made still worked, despite some minor differences from the concept art.
In the end, no matter how long it took, it was a great experience and really made me dread modelling objects and such much less. If anything I dread character modelling than anything now.
