WEEK 18
LO1: Now I became the compositor so we could throw in all the Maya renders that Niel rendered out and the animations that I would render from photoshop.
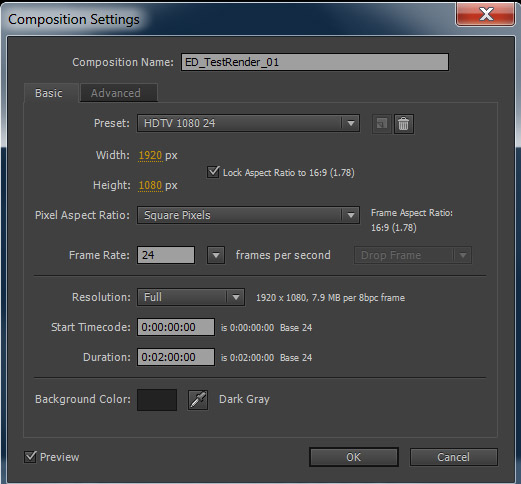
When it came to compositing, I knew i had to be ordered and organised. So I made sure there were folders that I could follow so I could put everything into AE correctly. I also made sure the composition settings were correct with the size at 1080 and the frame rate at 24fps.
When it came to compositing, I knew i had to be ordered and organised. So I made sure there were folders that I could follow so I could put everything into AE correctly. I also made sure the composition settings were correct with the size at 1080 and the frame rate at 24fps.
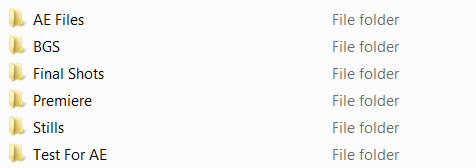

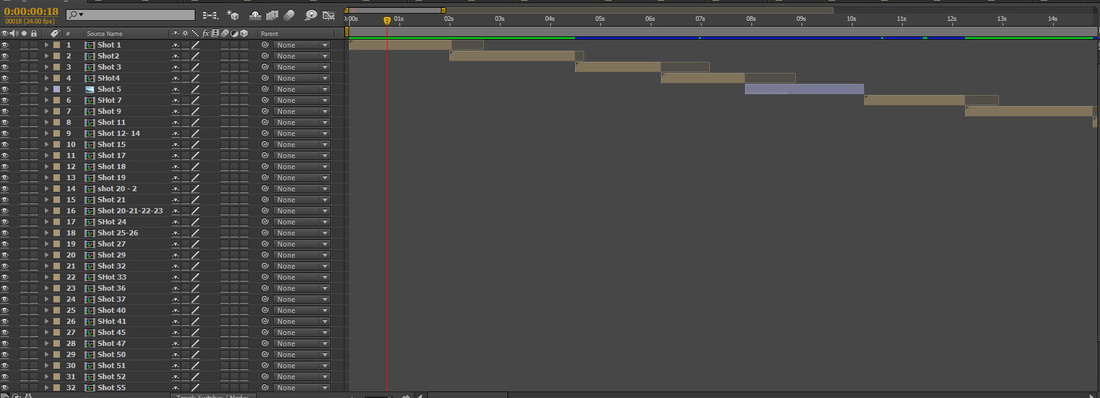
Here is the shot of all the files put in.
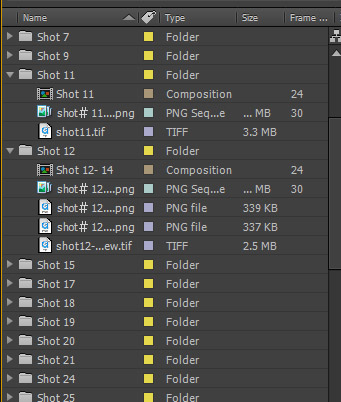
(Below) You can see how I ordered everything. I put each shot into labelled folders and put them within compositions. It was much easier to have everything segmented and organised like this. So when we went into edit anything, it would be easy to jump into the comp and change things for the main composition.
(Below) You can see how I ordered everything. I put each shot into labelled folders and put them within compositions. It was much easier to have everything segmented and organised like this. So when we went into edit anything, it would be easy to jump into the comp and change things for the main composition.
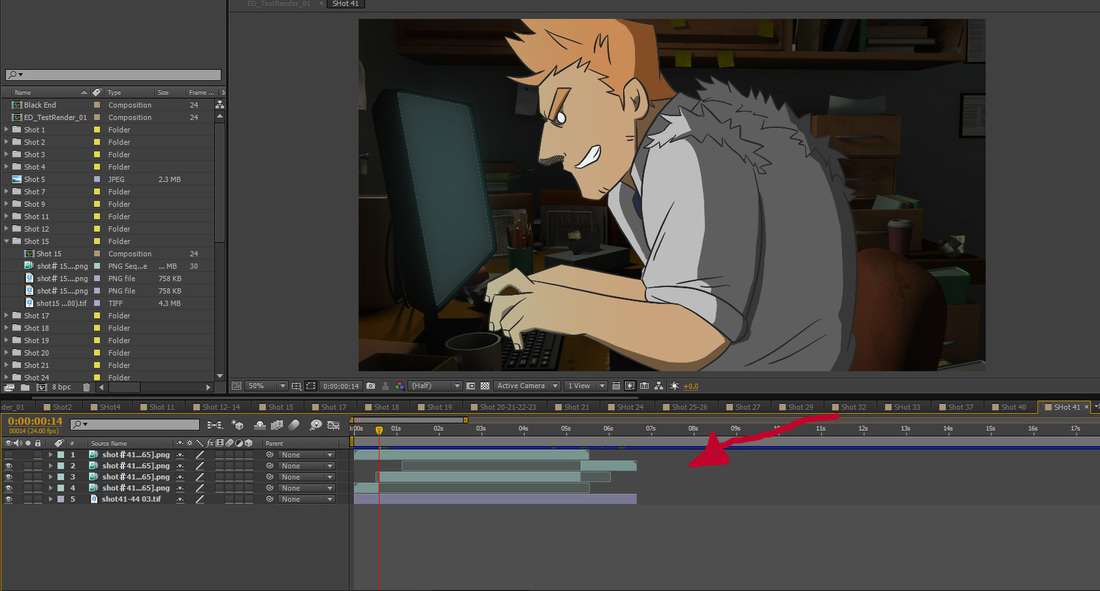
LO3: (Above) Some shots actually involved adding extended last frames to help with timing.
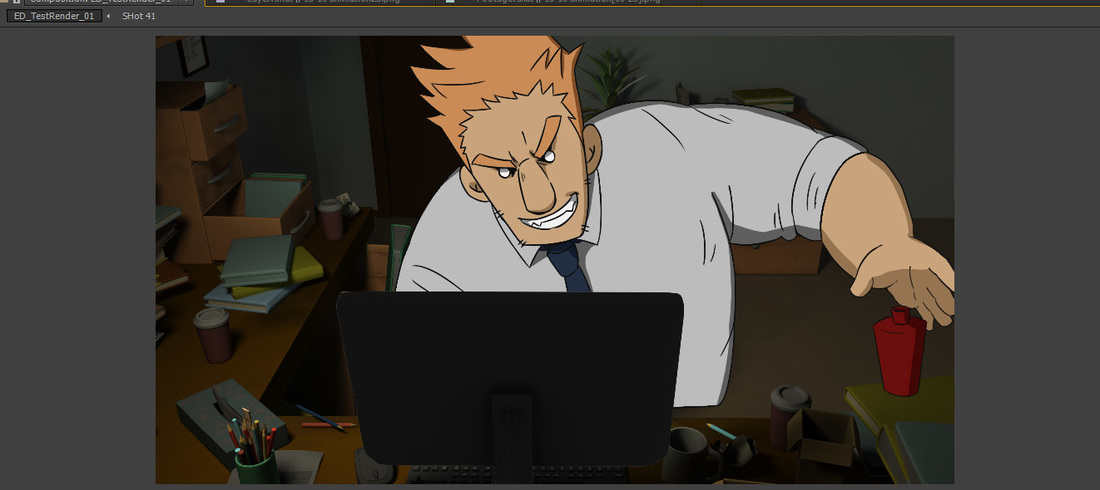
LO3: (Below) we realised some problems we had missed. For example, the desk is not high enough to cover his waist, so he looks like he is cut in half and floating! So we had to re-render the desk in Maya at a slightly lower camera angle.
LO3: (Below) we realised some problems we had missed. For example, the desk is not high enough to cover his waist, so he looks like he is cut in half and floating! So we had to re-render the desk in Maya at a slightly lower camera angle.
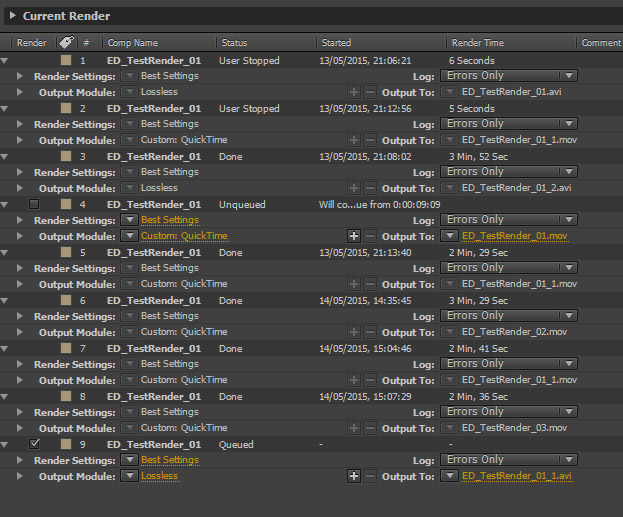
LO3: We had so many render tests done as you can see above. And there will possibly be more! We made sure to render everything in .mov as it was more pc/mac friendly than avi.
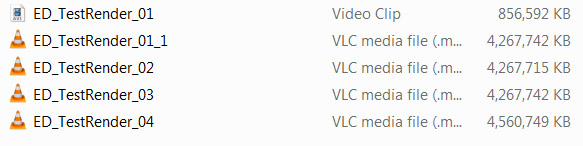
(Above) The renders from AE ended up huge. Around 4gb. So I took the file into Premierepro to export as a different codec.
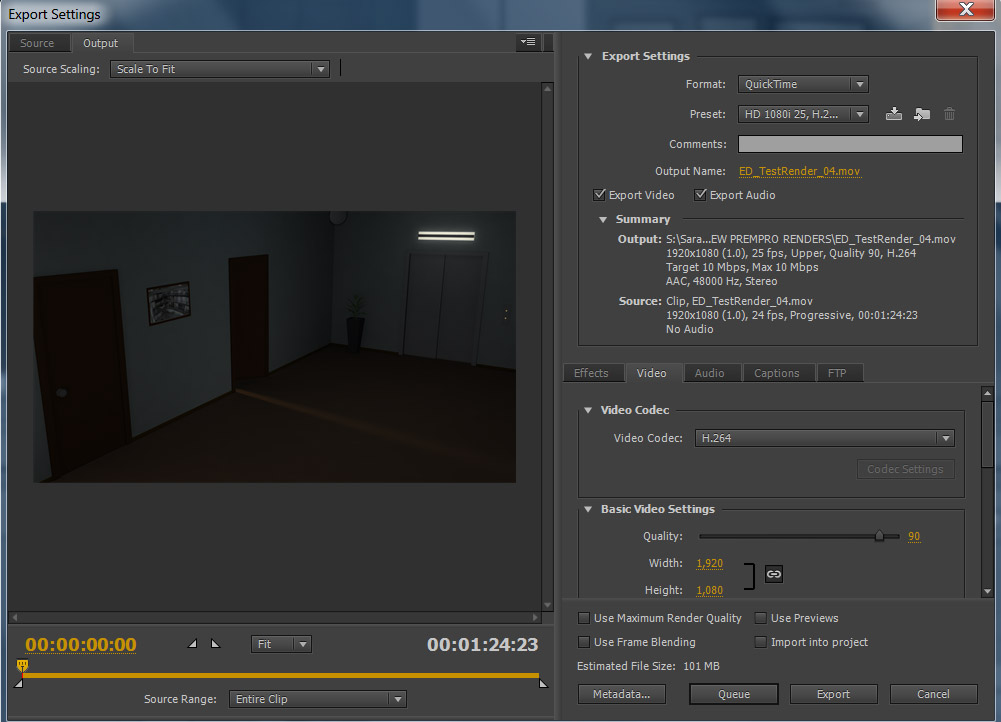
These are the render settings used. I used H.264 because the submission asked for a H.264 codec because it made the file smaller. However...
LO2: When we used this codec our colours changed! On the left is the newly rendered, H.264 render, and the right is the AE render. The colours are slightly different which to us was a problem.
LO2: When we used this codec our colours changed! On the left is the newly rendered, H.264 render, and the right is the AE render. The colours are slightly different which to us was a problem.
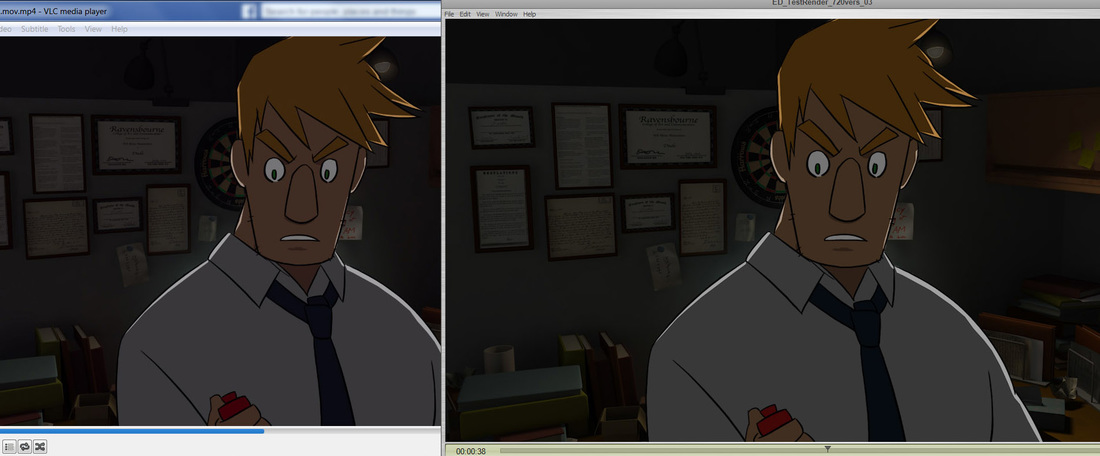
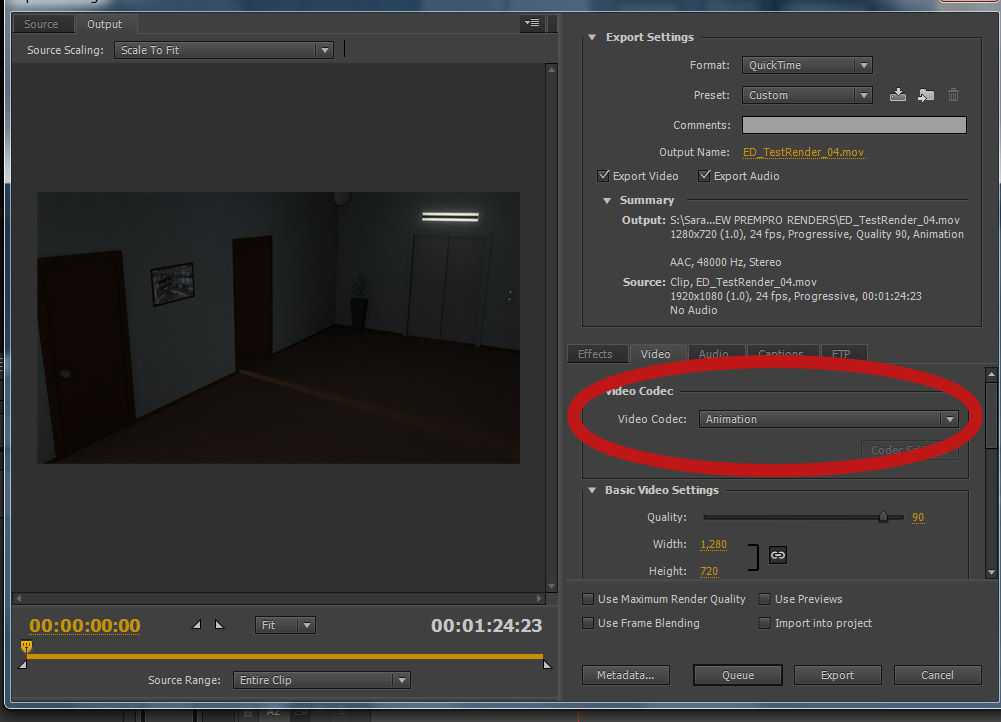
LO2: So in the end I changed the codec to Animation and suddenly it rendered perfectly fine and at a small size too.
WEEK 19
There were actually still little things to change and replace some shots with slightly changed shots. So that was done quickly by replacing the footage.
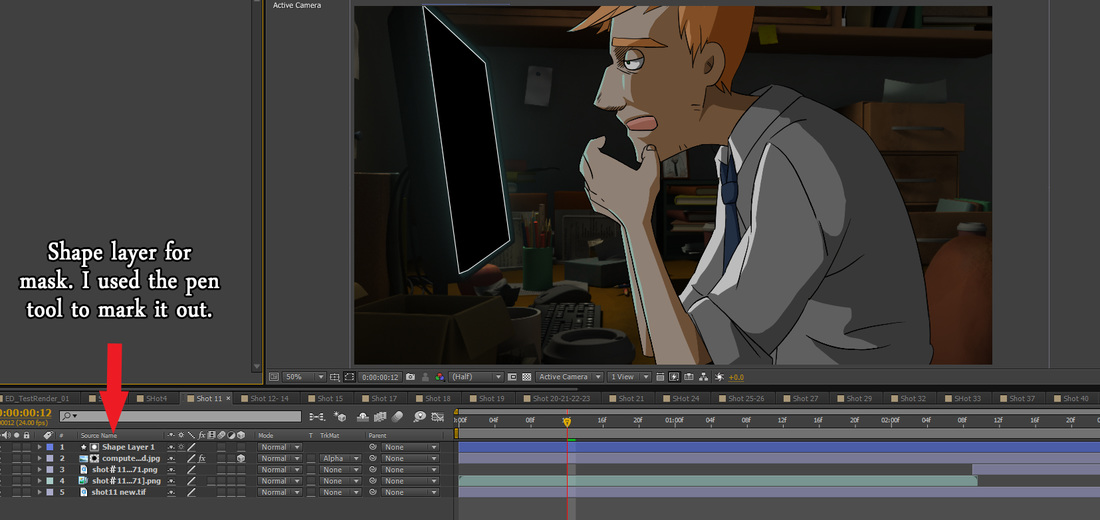
LO2: Then there came a point where we had to fill the screens with a picture of the screen. We actually forgot this so I had to figure out how to do this. I tried to look for tutorials on how to do this, but I did not exactly know what to put into google since it was a very specific problem. None of the tutorials I watched explained what I wanted so instead I did some experimenting. I kind of remembered something similar I did in year 2 and I actually accidentally pressed the pen button on the screen and it started marking out in black. So I marked out in black around the screen and it makes a shape layer. I knew about alpha masks in photoshop, so I thought I could use the same principle in AE.
LO2: Then there came a point where we had to fill the screens with a picture of the screen. We actually forgot this so I had to figure out how to do this. I tried to look for tutorials on how to do this, but I did not exactly know what to put into google since it was a very specific problem. None of the tutorials I watched explained what I wanted so instead I did some experimenting. I kind of remembered something similar I did in year 2 and I actually accidentally pressed the pen button on the screen and it started marking out in black. So I marked out in black around the screen and it makes a shape layer. I knew about alpha masks in photoshop, so I thought I could use the same principle in AE.
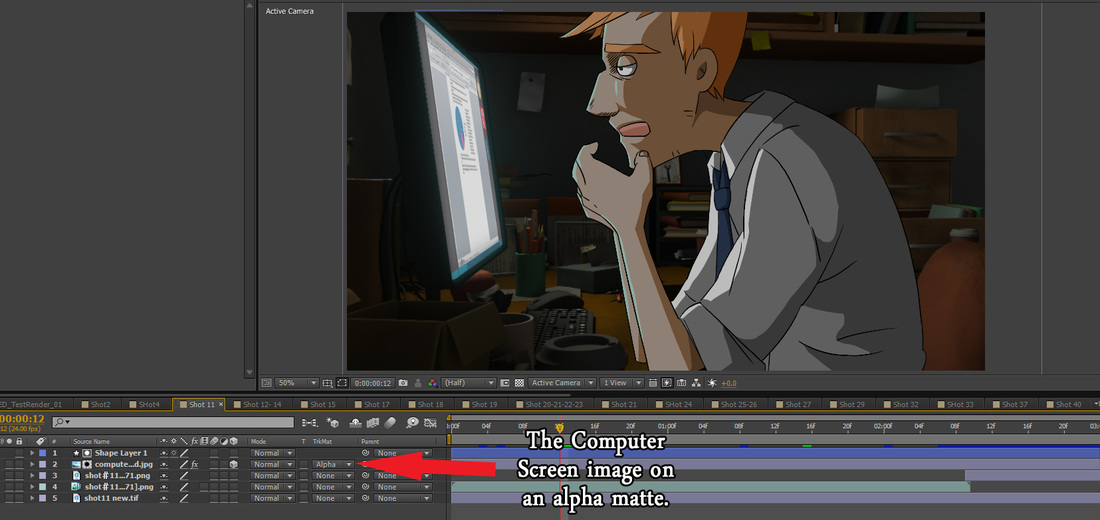
Here is actually where the alpha mask setting is. It took me a quick google search to find where they placed the alpha settings. At the start I had the computer screen on top of the shape layer and it didn't work. But I had to move the layer below it to get it to work.
LO2: Apparently there is no free transform option like in photoshop, so I used corner pins under the distort menu. It allows me to manipulate the corners much like I would have been able to do with free transform on PS. A friend actually showed me how to do this so thankfully I wasn't lost.

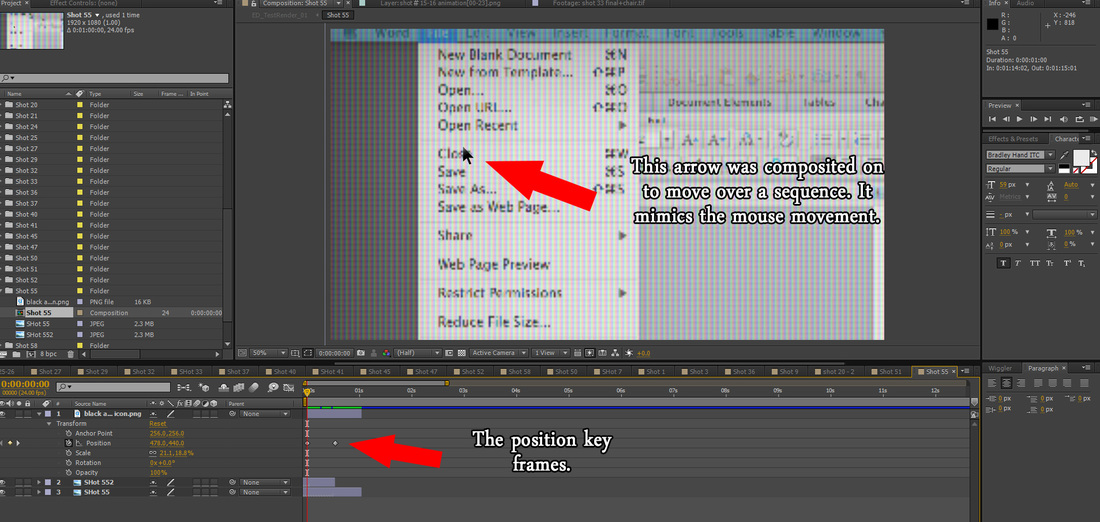
LO3: This is just more extra things I had to do. I had to add the arrow image like on a computer and move it in time with the sequence to make it look like he is moving it. It was simple, small things like this we had to remember to do.
LO5: I was glad to have Niel with me as I composited. She could see straight away if timing was off or if something was off in a shot. It helped me do things quicker thankfully.
Right on the last render when we thought it was all done, Nadia watched it through and noticed something we hadn't realised.
Right on the last render when we thought it was all done, Nadia watched it through and noticed something we hadn't realised.
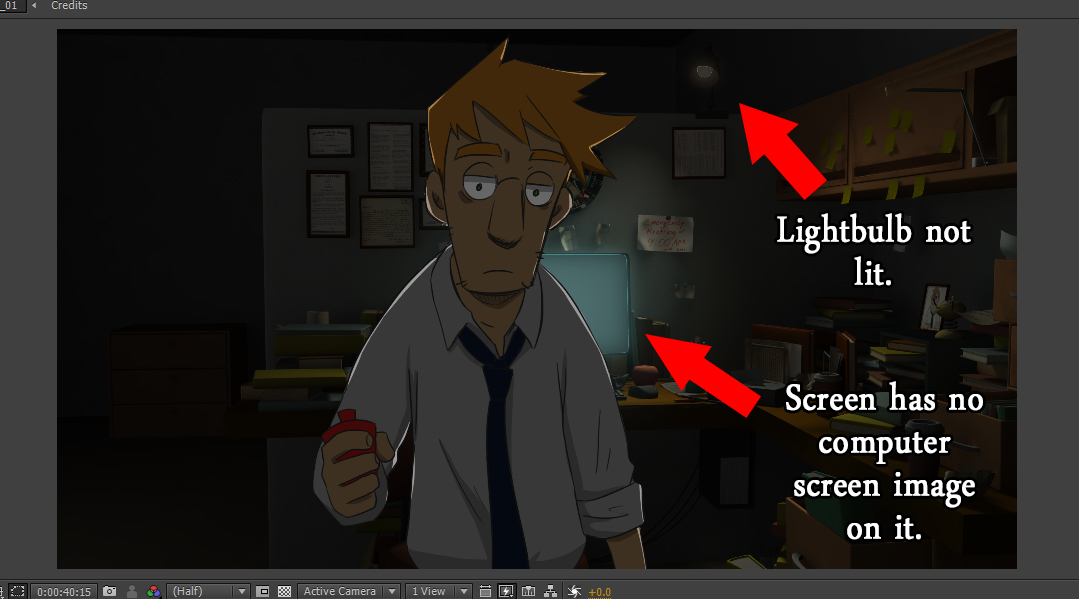
LO2 + LO4: So as you can see below, the light and screen was added. Niel had to safe the background as a jpeg instead as the tiff file made it off. There were actually a few shots like this, so we had to go back and change this. It was quite frustrating because we were so close!

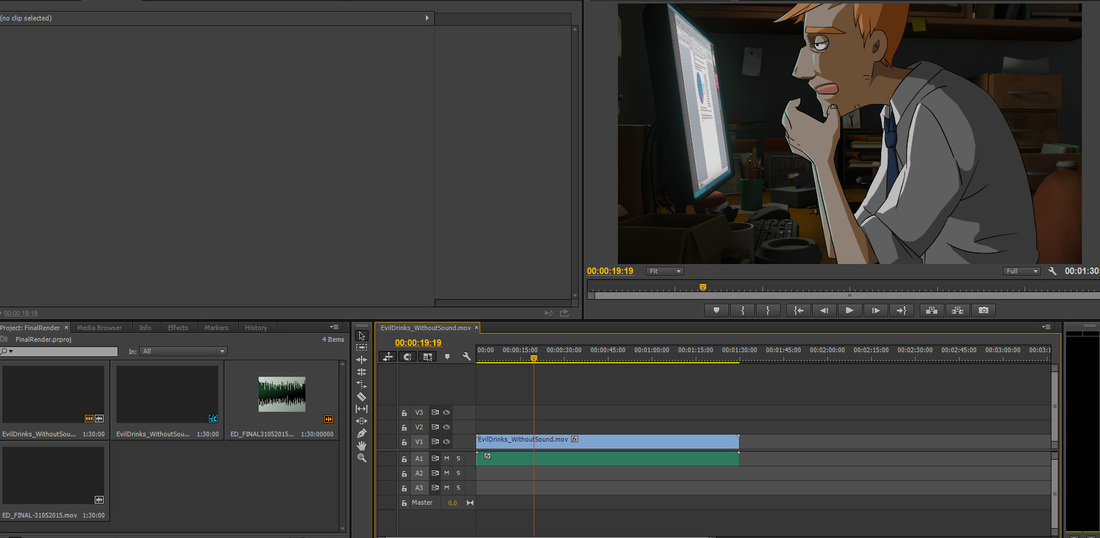
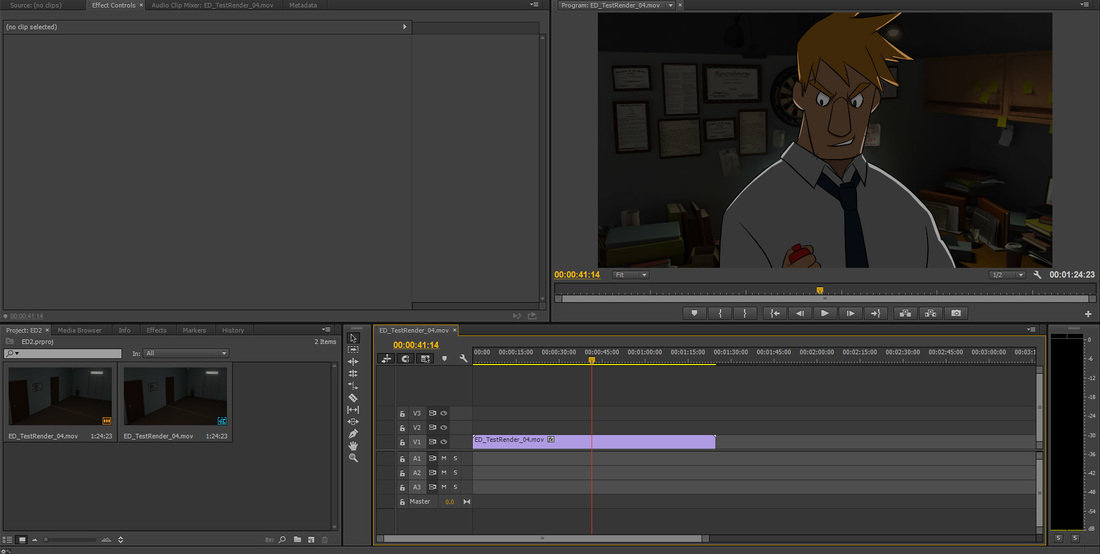
I then took it into Premiere Pro for the final edit with the sound. The sound came a bit late, but it ended up syncing up and working so well! Here you can see the premiere pro file. There were only two files I really needed, the After Effect render and the Sound file. I matched them up as you can see below on the timeline and it worked out nicely! There was only one small problem. At first the sound was a bit weird on premiere, but sounded fine when I opened the file itself. So I realised it must be the settings. I changed the audio setting to a better quality HZ and the sound then sounded perfect. I then rendered it with the animation codec as I explained above with our earlier renders.
Please clock the link below to see the final piece!!!
Please clock the link below to see the final piece!!!